The best (and easiest) diy nursing cover you will ever sew. This really is the easiest tutorial for a full-coverage nursing cover. So much cheaper than buying a nursing poncho online, too! Five minutes and five dollars and you’ll have your very own nursing cover!
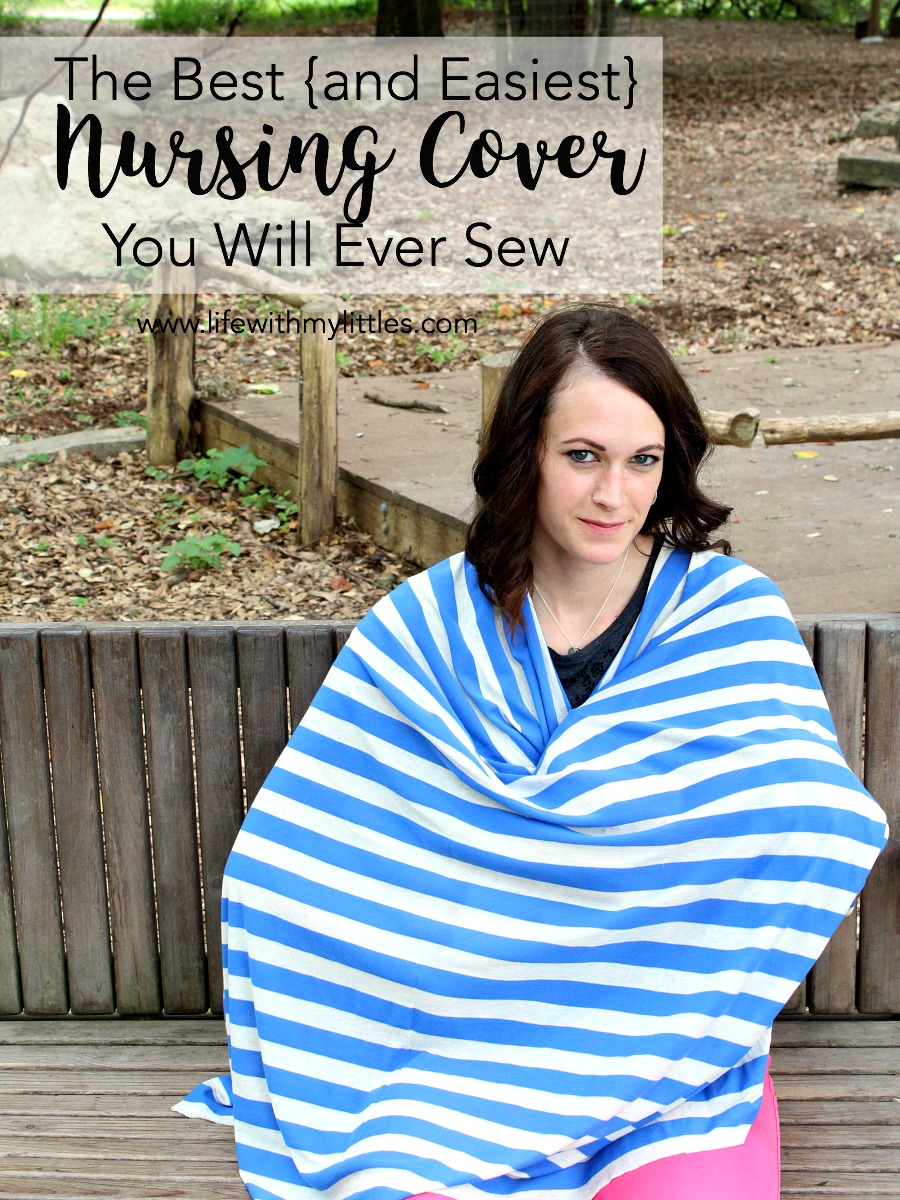
When my first was born, I made one of those nursing covers that has a strap you put over your head and it only covers the front of you. I hated it. I felt so exposed and never wanted to feed him in public. Then the nice full-coverage poncho nursing covers came out, but they were so dang expensive. When I was pregnant with my daughter and my best friend told me that you could easily make a full-coverage nursing cover for just a few dollars, I was sold. I made one before she was born and it really was the best (and easiest) nursing cover.
That nursing cover lasted me the whole time I nursed her, and I’ve been using it to nurse Little R in public, too. I feel so much more comfortable, there’s no chance of exposure, and it fits easily in my diaper bag. Today I want to share the super easy tutorial with you guys! It takes less than 5 minutes and costs a lot less than the overpriced full-coverage nursing covers you can buy online!
All you need is 1 yard of stretchy knit fabric and all-purpose thread. Use a coupon and get it from Jo-Ann or Hobby Lobby and you’ll only pay a few dollars!
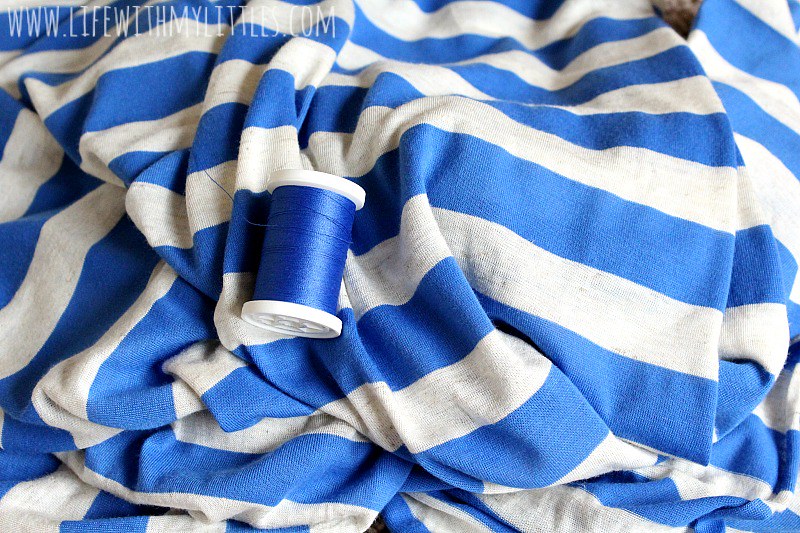
Now I usually recommend pre-washing all fabric you are going to sew with, but you don’t have to with this because you are sewing such a small amount of the fabric. I mean you can, but don’t worry about it if you don’t.
Now fold the fabric in half hamburger-style so you get more of a square shape.
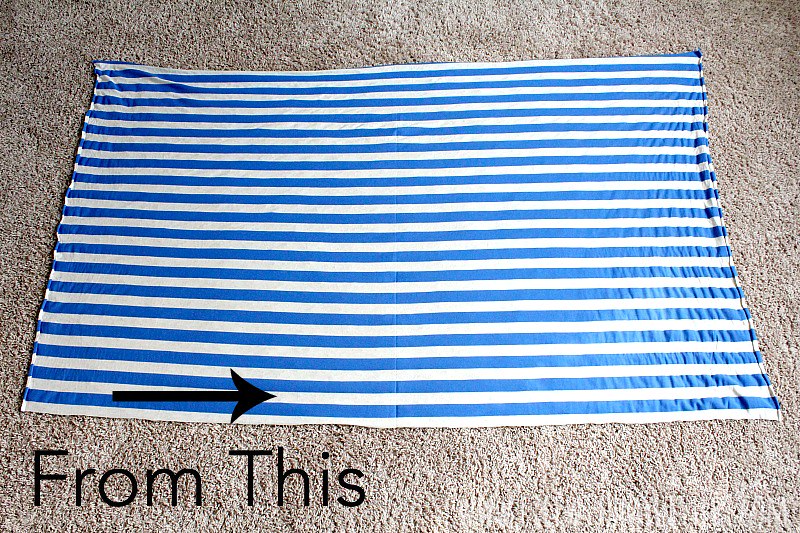
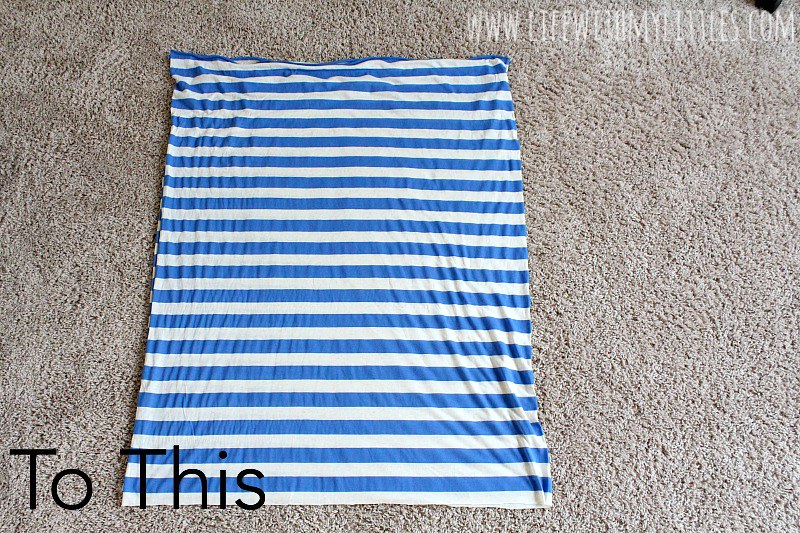
Pin the edge.
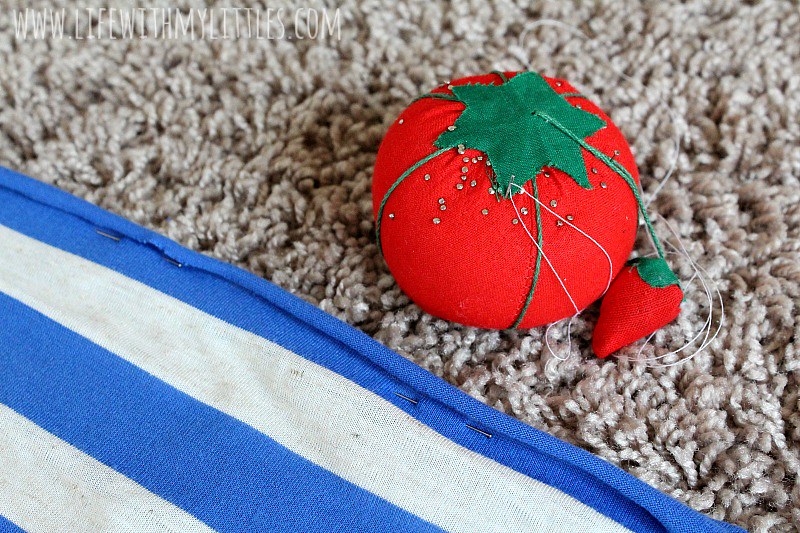
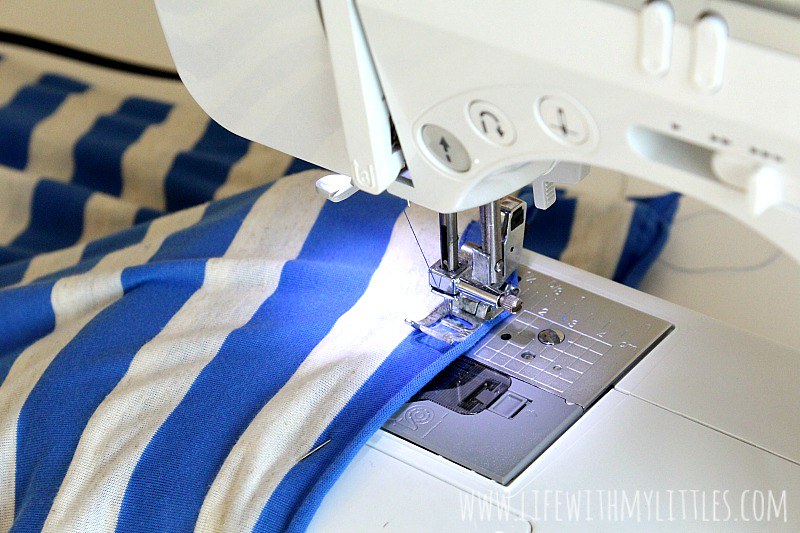
Get out your sewing machine and sew 15″ from the open side in towards the fold, with a 1/2″ seam. You basically want to sew halfway so that you have a big poncho-like thing with a hole for your head on the inside. Watch the video if that’s confusing.
Flip it right-side-out and you’re all done! SO EASY! And look at that coverage! Nobody’s getting a peek today! Not even of my back!
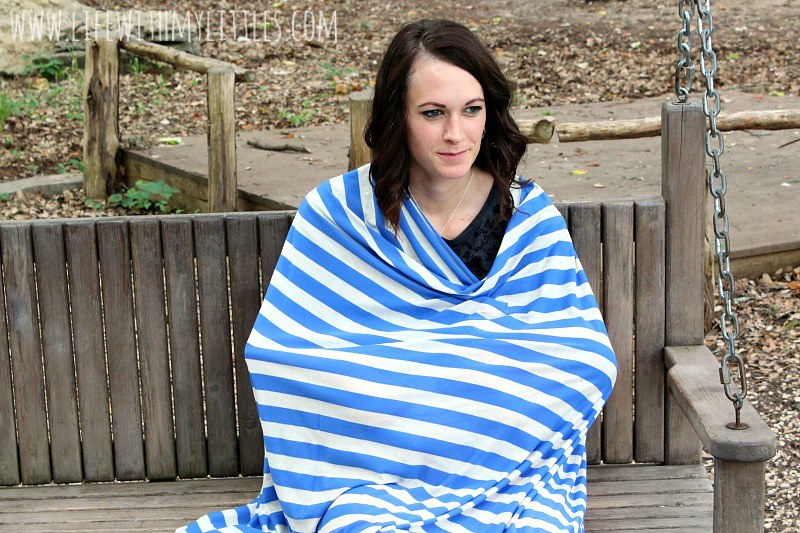
So there you have it. The best (and easiest) nursing cover you will ever sew. Sew easy (see what I did there?) and it is so much cheaper than buying an expensive $40 one online. Plus you can pick your own fabric! Hooray! Happy (covered) nursing, mamas!
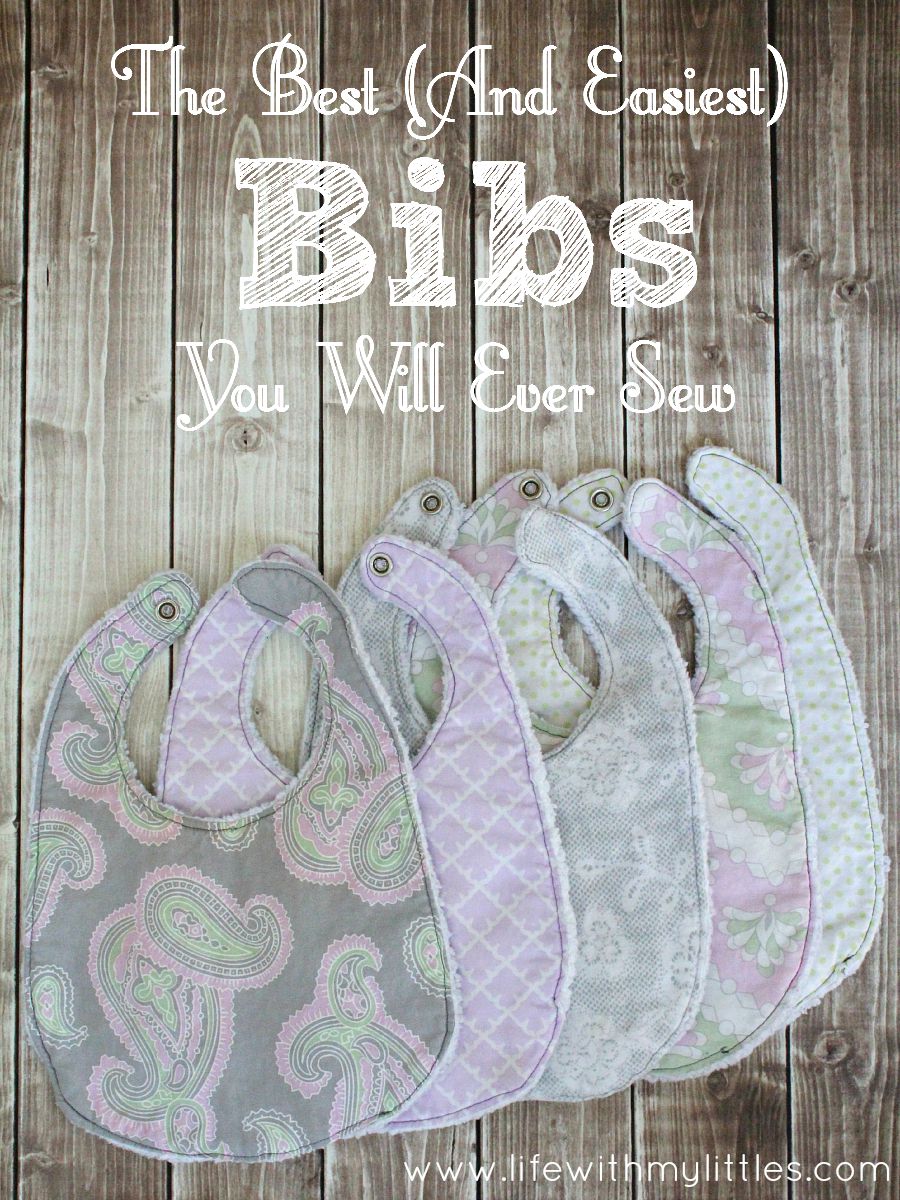
And if you need some more easy tutorials, check out my easy burp rags and easy bibs!

Jennifer says
How did I not think to do this!? I had one of those old-fashioned covers that doesn’t cover your back and I hated it so much. I used it like twice ever. Awesome video tutorial!
Chelsea Johnson says
I know! Those are THE WORST. I never wanted to nurse in public because of that dumb thing. This works so much better! Thanks!!
Megan says
Did you find the cover to be long enough on the sides? I always felt with my other cover I was showing everyone my sides.
Chelsea Johnson says
Yes! It’s perfect! I had that problem with my first cover that just covered up my front, but this one covered everything! I loved it!
Katie says
This is the exact nursing cover I made for both of my boys and for tons of baby showers. It’s awesome!
Chelsea Johnson says
Right!? Like 1,000 times better than those dumb front ones and the expensive ones online!
Shelby @ Blooming Beckers' says
Man I wish I had this last year with my daughter, I always felt like I was about to flash someone! I did use your burp cloth tutorial and they were the best and so easy to make. I’ve made them for baby gifts too and they are always a big hit
Chelsea Johnson says
Thanks! I am still using the burp cloths I made for my first baby with my third baby and they are awesome!
Kayleigh says
It’s ridiculous how expensive covers are, right? I used your tutorial to make one for myself because I just couldn’t justifying buying one from the store! Thanks for sharing this 🙂
Chelsea Johnson says
Yes! And I’m so glad I could help! I’m sure it’s fabulous!
Audrey says
So you sewed the long side ( opposite of the fold) 3/4 way leaving raw edge opening for head? Is this correct?
Chelsea Johnson says
Nope. I sewed one of the sides adjacent to the fold. So fold it in half with the fold on the right side, then sew it along the top from the left side (the opposite side of the fold) in towards where the fold is. You want the opening to be next to the fold.
Sara says
Did you also see the opposite side of the fold ( so you had a bottom and top opening? Then sewed halfway for head hole? Or just one seam (the 15 inch)
Chelsea Johnson says
Nope, just the one seam! I mean you could sew the opposite side, too, but it wouldn’t give you as much freedom to move around under the cover, which is a big part of why it works so well!
Pam says
Can quilters cotton be used instead of a knit fabric? I’m new to sewing and intimidated by sewing with a knit material.
Chelsea Johnson says
Not with this. It needs to be stretchy in order to work as a nursing cover. But I promise that it will be easy! You’re only sewing one straight line!
Kristen says
For plus-size – do I just need more fabric? Like 1.5 yards or something? I’ve haven’t sewn anything since high school but I’ve bought nursing covers that don’t fit and want to make one for myself that actually fits for my son coming in 3 weeks…