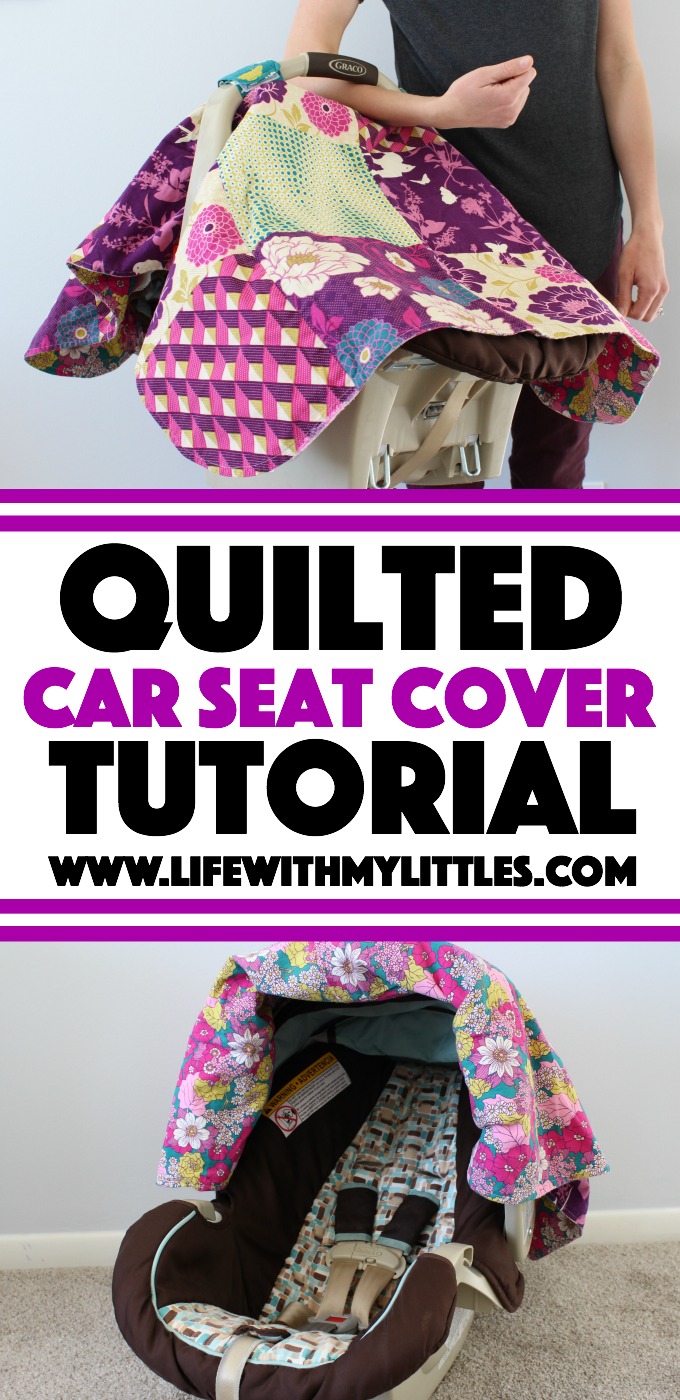
Quilted Car Seat Cover Tutorial: An easy-to-follow tutorial to sew your own car seat cover using multiple fabrics! Perfect for baby!
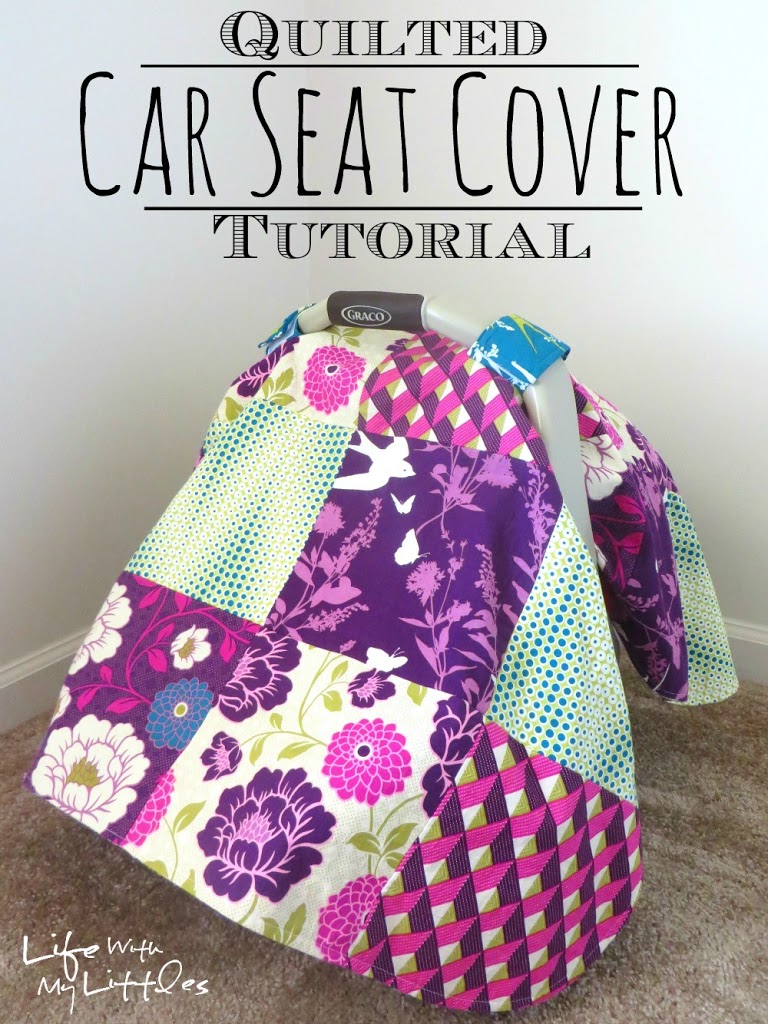
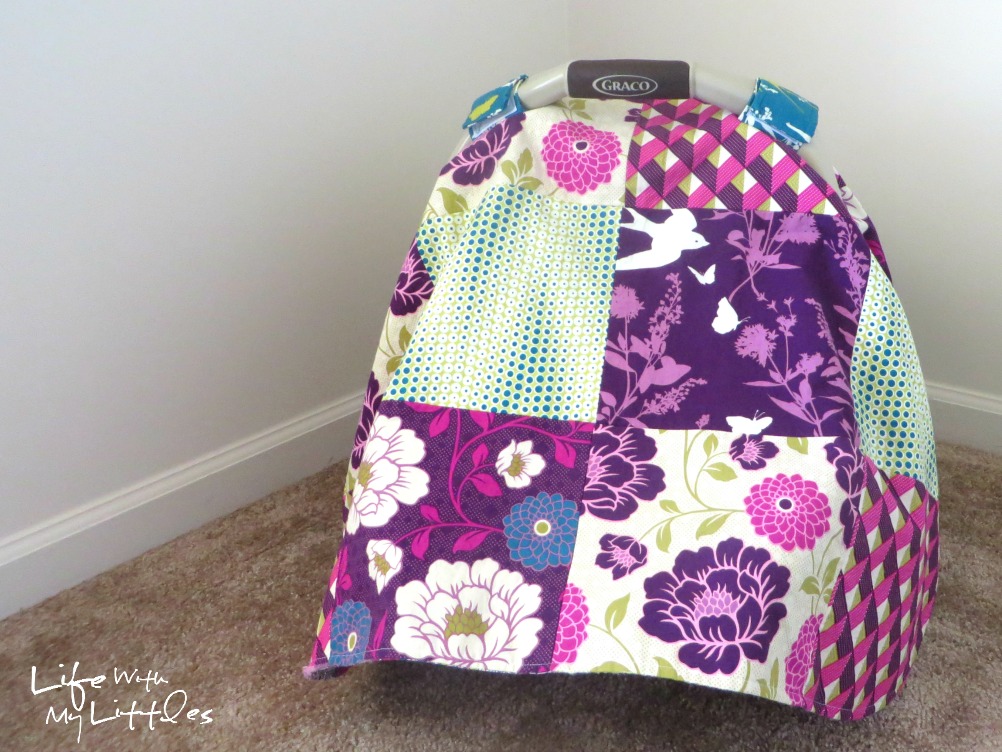
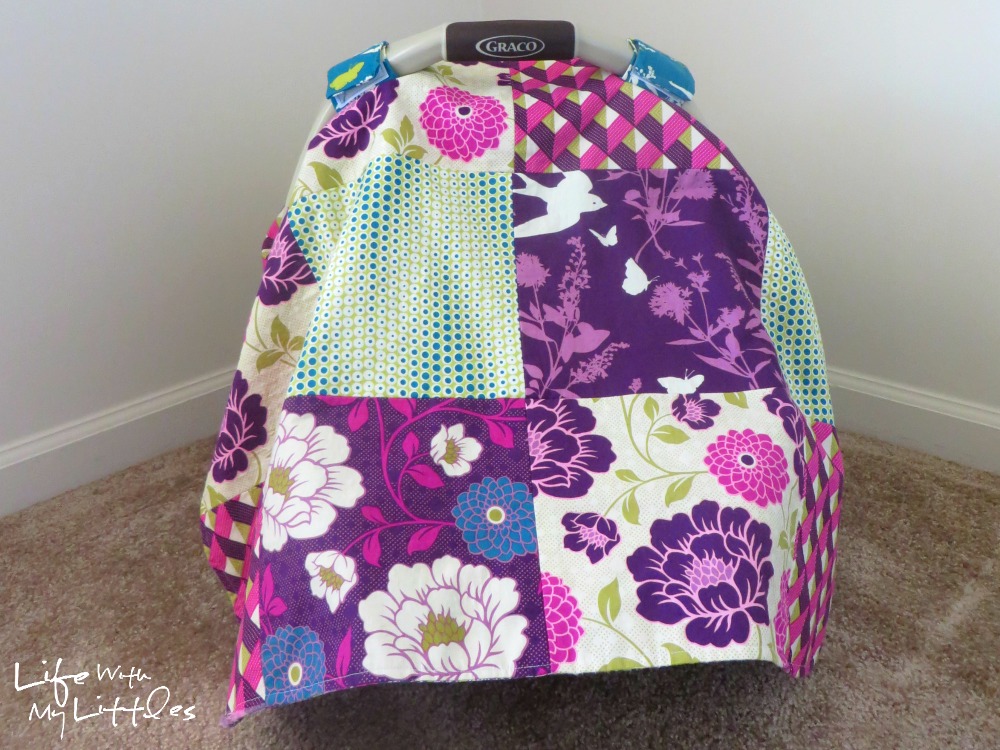
I have gotten so many compliments on this car seat cover I made for Little A!! I have been using it the last four months and I still love everything about it! So today I want to share how I made it with you!
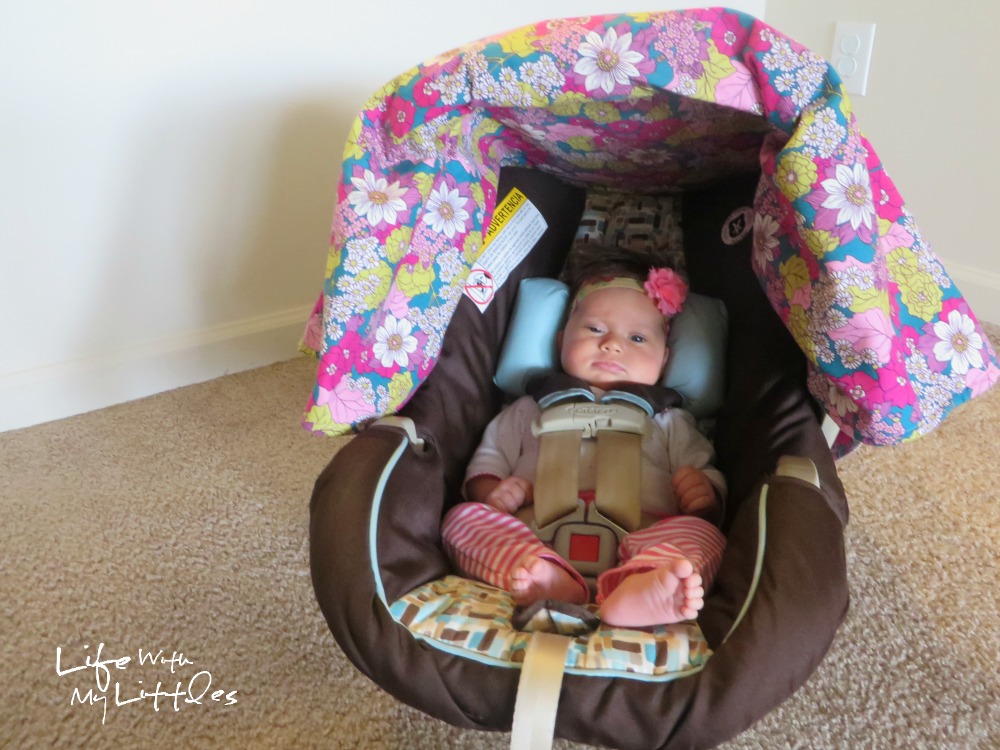
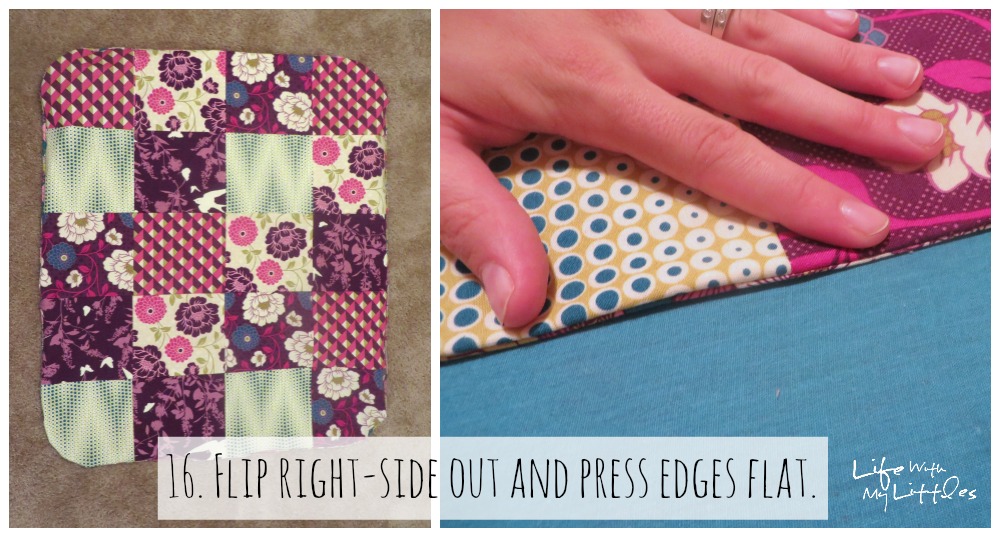
Before Little J was born, I made a tutorial and sewed him a car seat cover. It was perfect and beautiful and lasted really well the whole time he was in his little carrier car seat. So with Little A, I knew I was going to have to make her a car seat cover, too. The only problem was I couldn’t find just one fabric that I loved for the top. I kept finding collections that I was falling in love with. I decided the only solution was to sew a quilted car seat cover with six different patterns on top and another one on the bottom. And it turned out PERFECT!
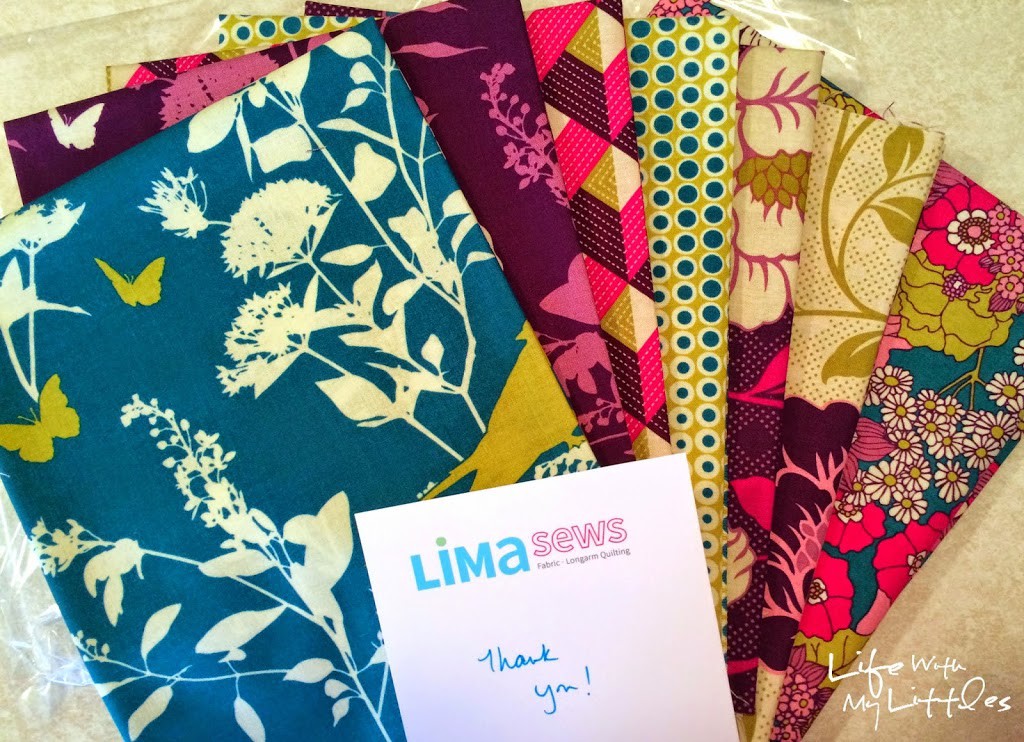
Let me first say that my favorite place to buy fabric is Etsy. There are a lot of different sellers willing to work with you and get all the designer fabrics you want. Plus, I can spend hours looking at different patterns. For this car seat cover, I used the Bramble palette in Joel Dewberry’s Bungalow collection. All 100% cotton and all 100% beautiful. I purchased my fabric from LiMa Sews (they have so many gorgeous patterns and are really great to work with) and it arrived looking fantastic.
Okay so now that you are also in love with my fabric, we can begin!
Materials:
- 6 fat quarters for top and straps
- 1 yard for bottom (you may need more if you have a directional fabric)
- 3 yards fusible interfacing (optional, but it makes the quilting so much easier)
- 6″ of 2″ wide sew-on velcro
Step One: Pre-wash your fabric and interfacing. You want to pre-wash both because if you only pre-wash your fabric, you might find that your fabric and interfacing shrink differently after you wash your completed project. Bad. So pre-wash both your fabric and interfacing. And duh, don’t put your fusible interfacing in the dryer because it is heat-activated. Let it dry over the shower curtain rod or something. And why is pre-washing necessary in the first place? Well, if you are using cotton fabrics, cotton shrinks. So you want to make sure that your final project doesn’t shrink once you wash it. That’s why you make it a certain size to begin with, right? So seriously. Just pre-wash.
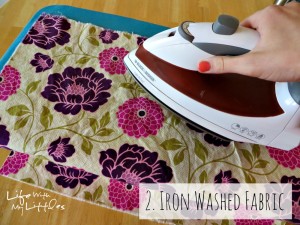
Step Two: Iron your fabrics to get out creases and wrinkles. You want to cut flat fabric so that when you line it all up, it matches.
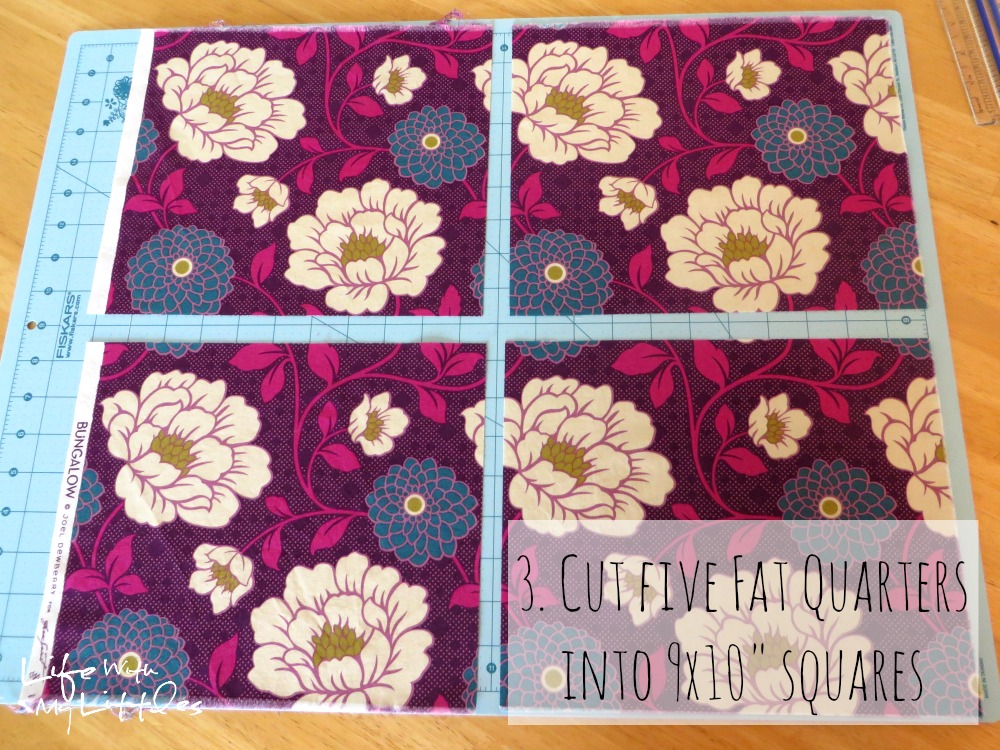
Step Three: Cut five of the fat quarters into 9×10″ squares. You will have a little left over so don’t just cut down the middle both ways. After you cut, you should have 20 squares.
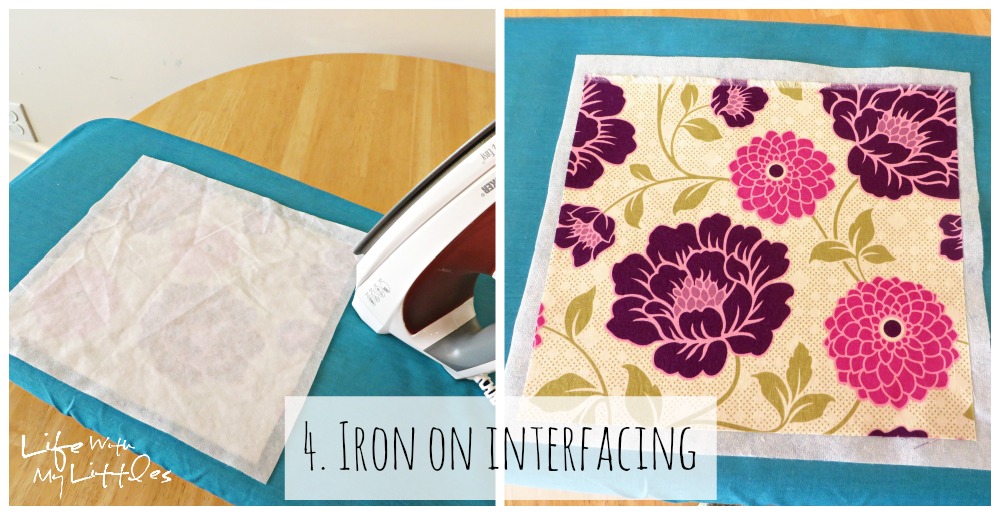
Step Four: Iron your interfacing onto the back of your 20 squares. The easiest way to do this is to spread out your interfacing and then put all your squares on it to make sure they fit. Then cut them up so that you have little interfacing and fabric squares. Then you can just iron them on and you won’t have to worry about running out of interfacing or doing the whole 3 yards at once.
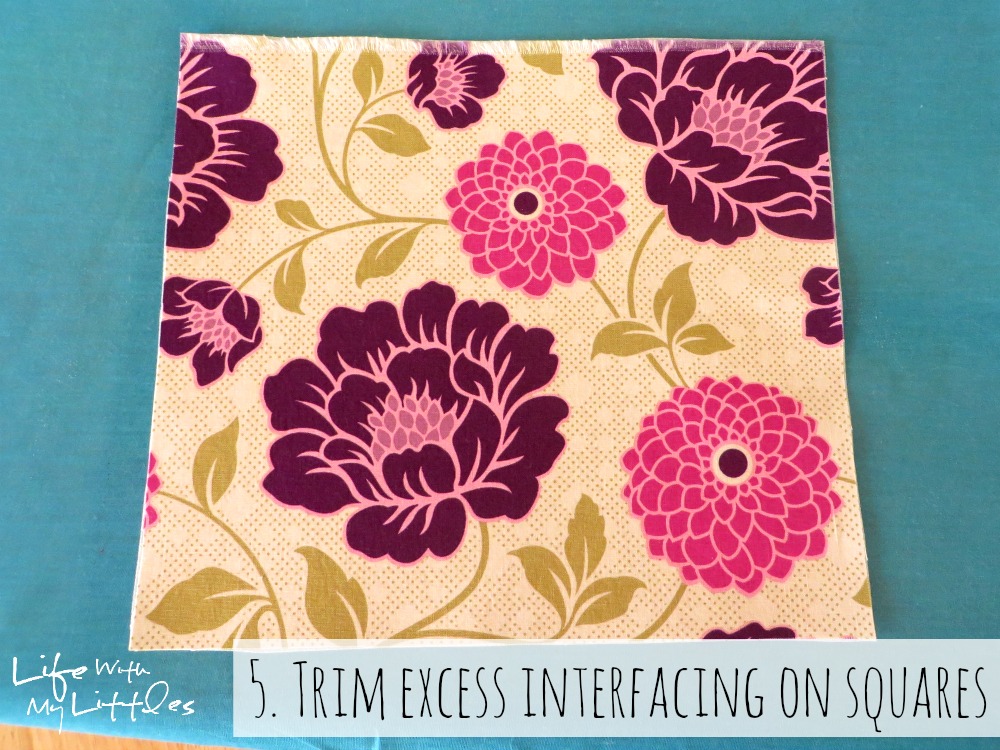
Step Five: Trim your squares so that the interfacing is the same size. I had only a little bit to trim around the edges, but you want them to match up so sewing is easier.
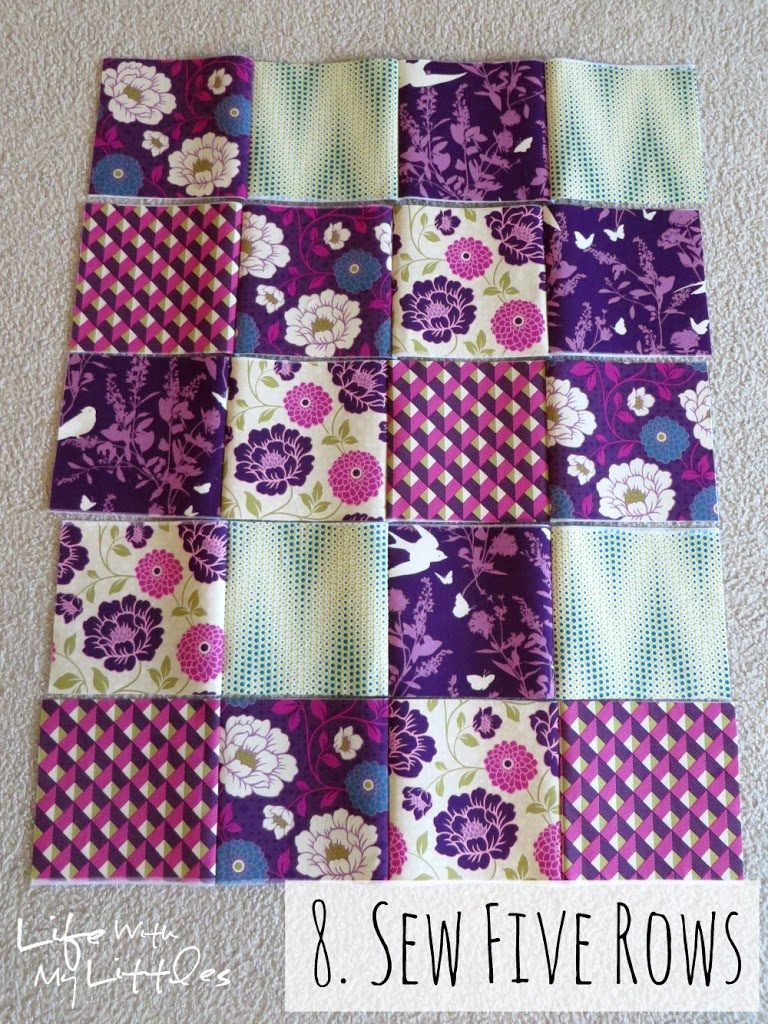
Step Six: Decide what pattern you want your squares to be in. I lined all of my squares up on the ground and then took a picture to make sure I wouldn’t forget if they got out of order a little between sewing. You will want to make sure that you have the 9″ edges along the top and bottom and the 10″ edges along the left and right. Otherwise, when you sew them together you will end up with a big square that is the wrong dimensions and it won’t match up with your bottom fabric. So be aware of that. Also, you will have 4 squares by 5 squares in order to get it the right size. 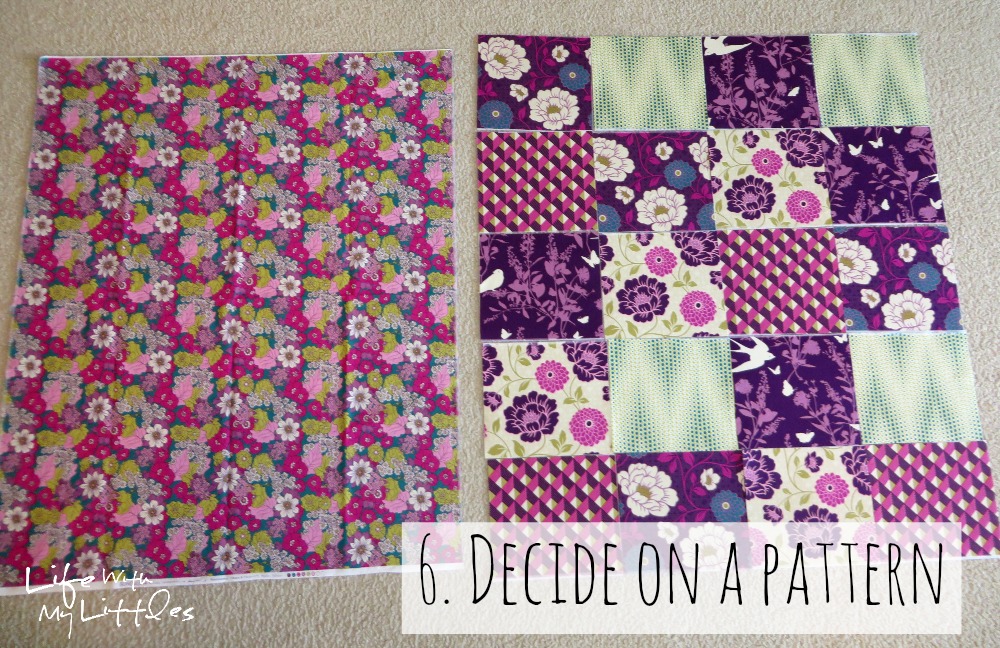
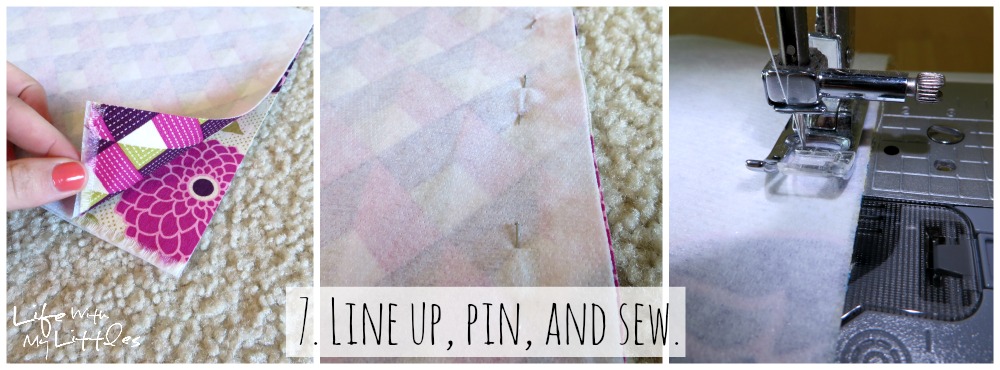
Step Seven: When you start sewing, you will want to sew your squares together in rows, and then sew those rows together. So for this step, you will want to start on either the top or bottom row, and sew two of the squares together. You want to line them up, then pin them right sides together. Then sew along that side. Make sure you have a 1/2″ seam.
Step Eight: Keep adding squares on, lining them up and pinning them each time. Sew them together until you have five rows.
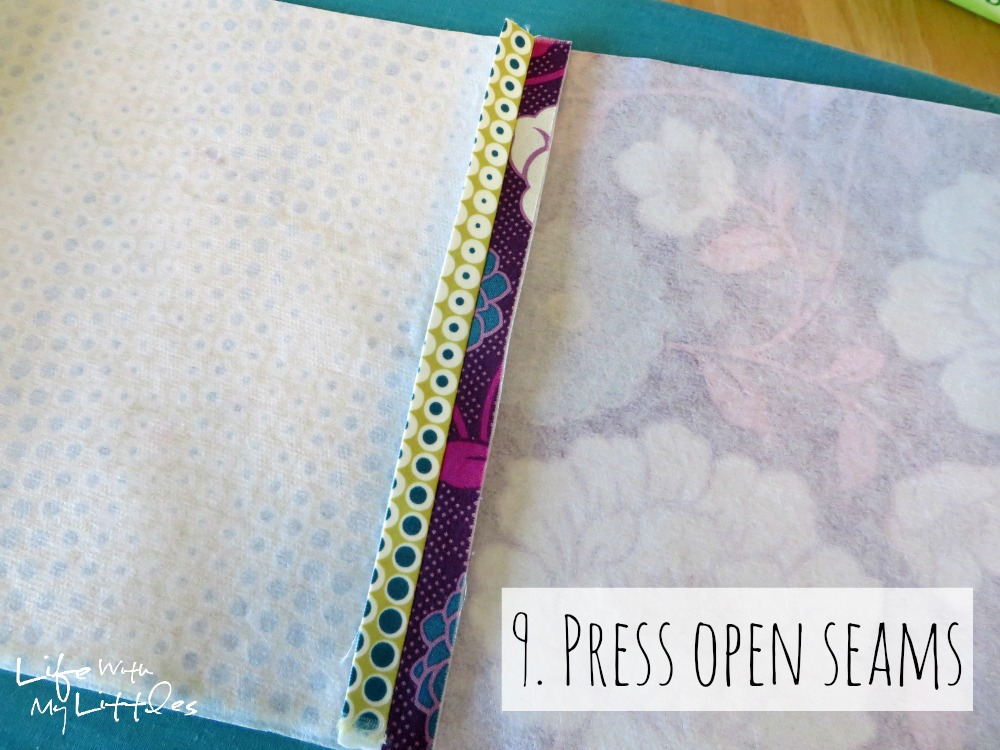
Step Nine: Press open your seams. Use an iron to flatten the seams open.
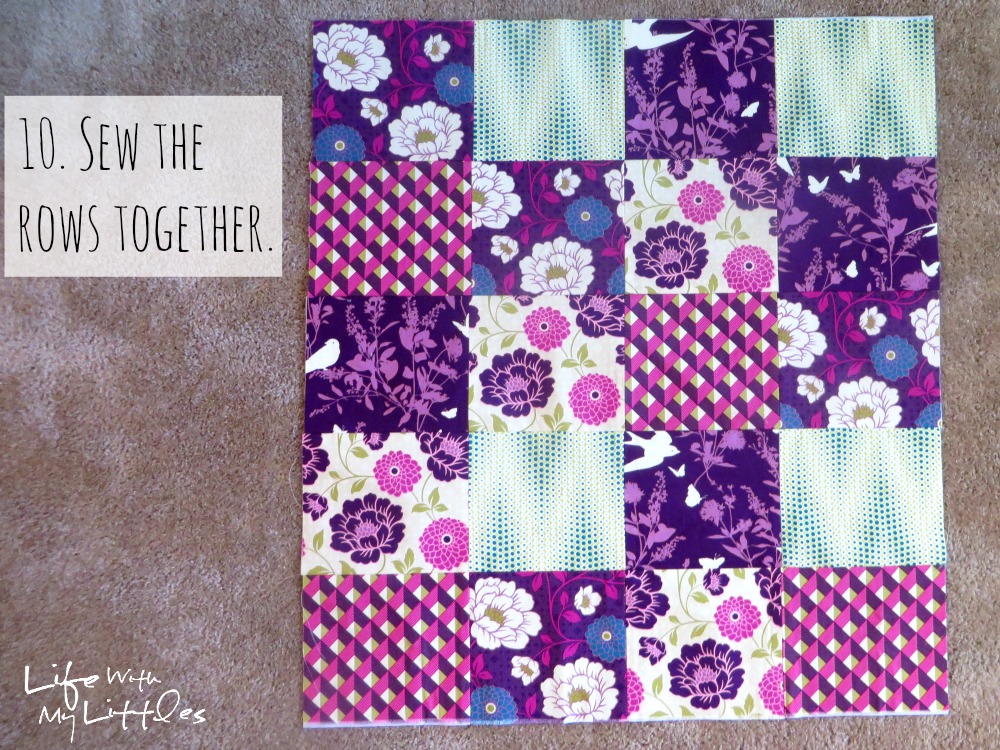
Step Ten: Start sewing the rows together. Start with the two bottom (or two top) rows. Line them up, right sides together, pin them, and sew with a 1/2″ seam.
Step Eleven (not pictured): Press open the seams again so the quilted top lies flat.
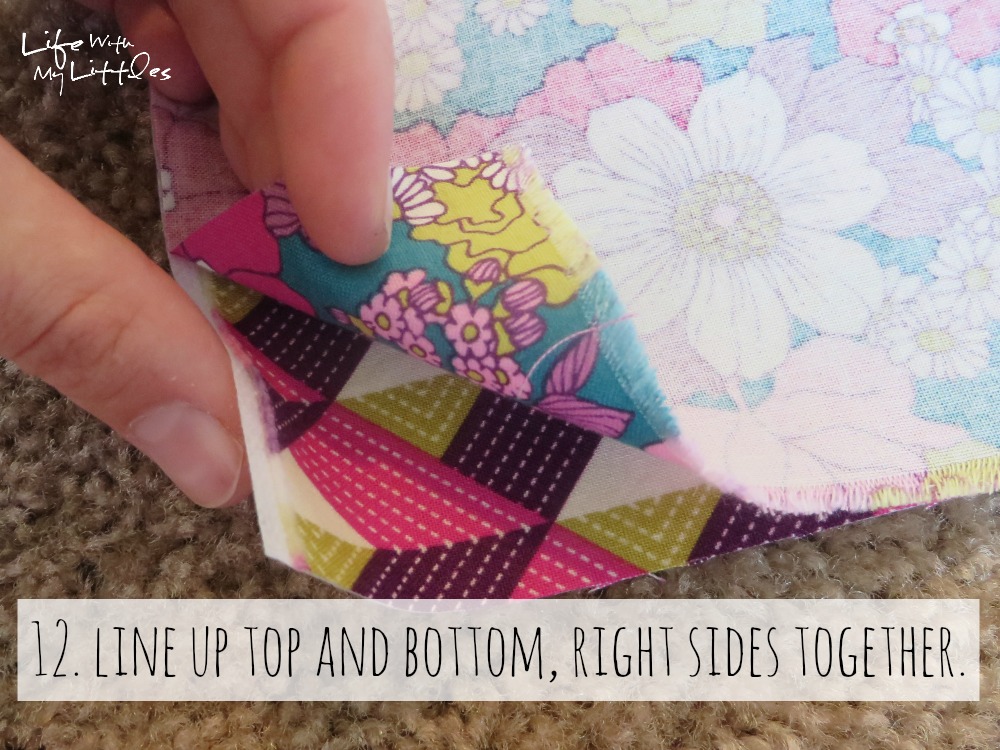
Step Twelve: Line up the quilted top and the bottom fabric, right sides together.
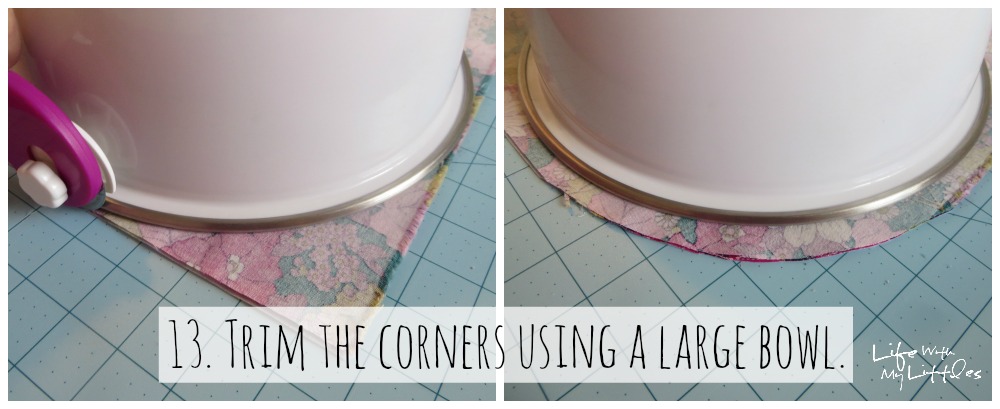
Step Thirteen: Using a large bowl as an edge, trim the corners so they are curved.
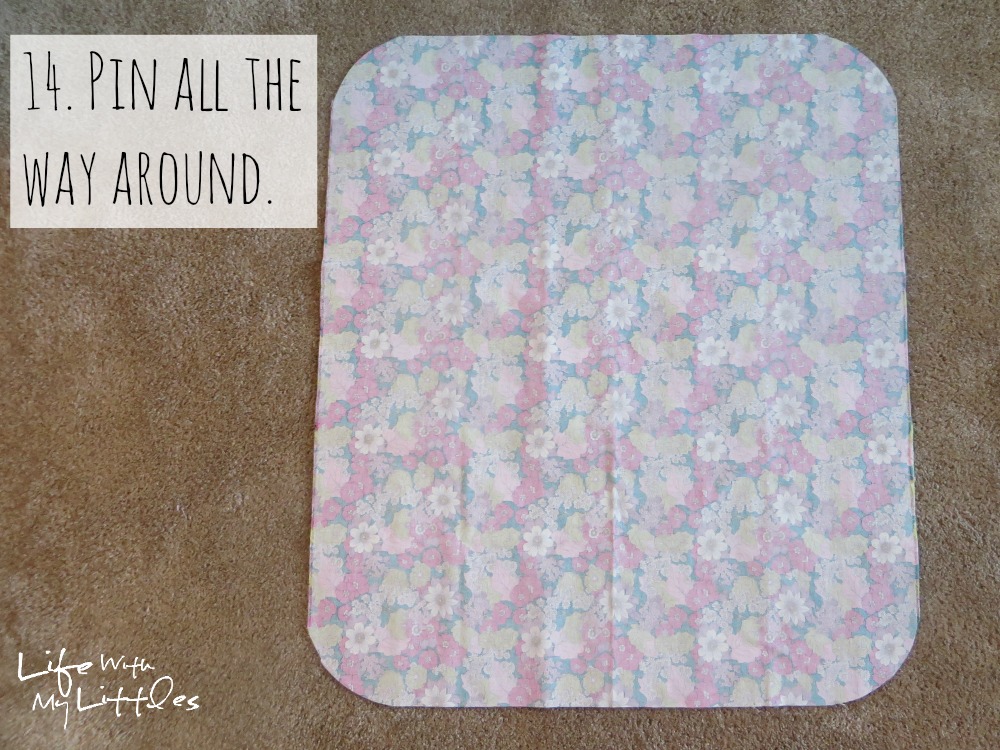
Step Fourteen: Pin the top and bottom together all the way around.
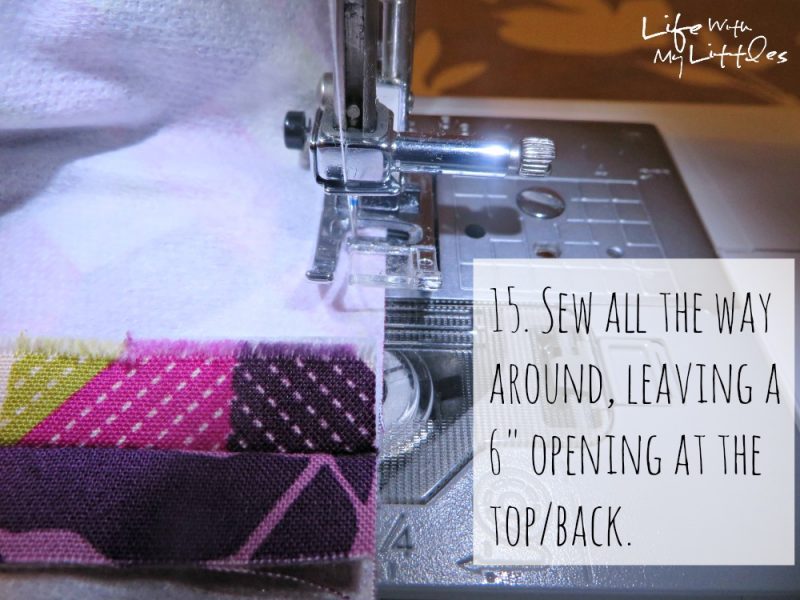
Step Fifteen: Starting at the top/back (the top of the fabric if it is directional, or whichever side will be covering the back of the carseat), sew all the way around the car seat cover, except for a small six inch opening at the top/back, using a 1/4 inch seam.
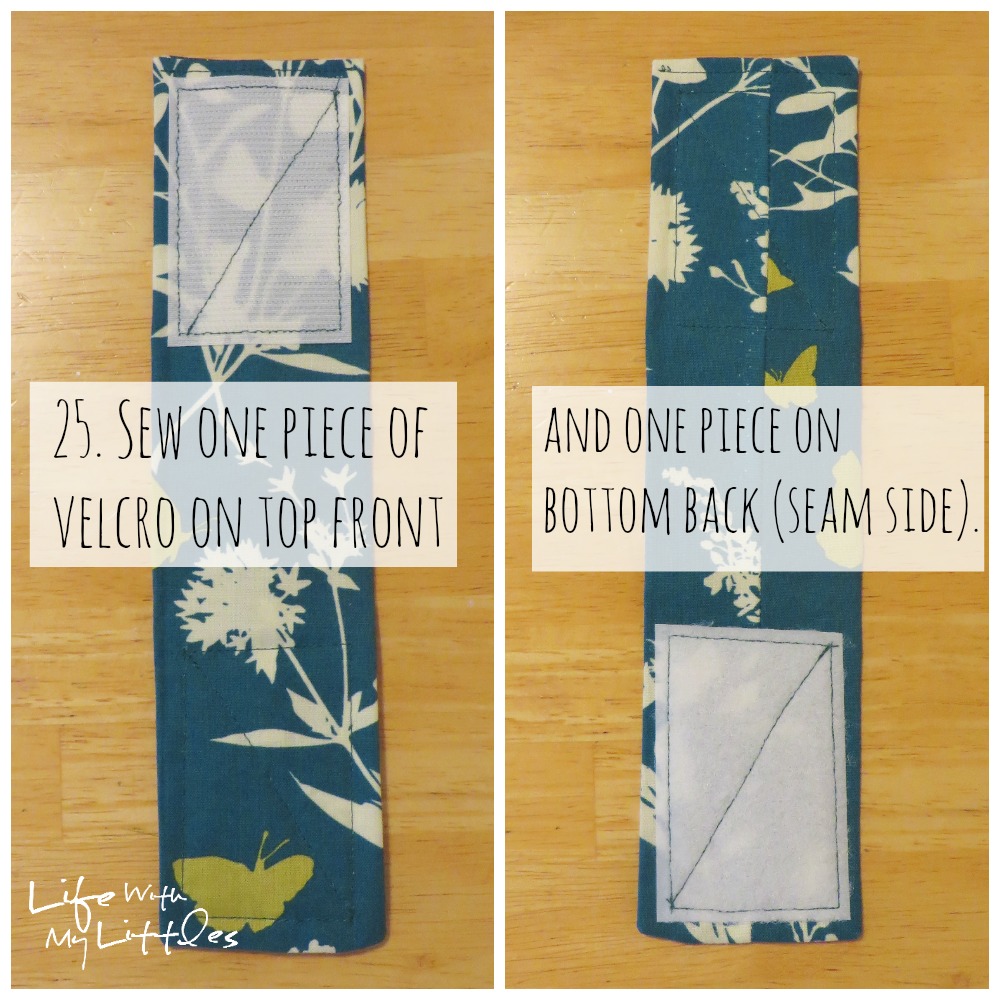
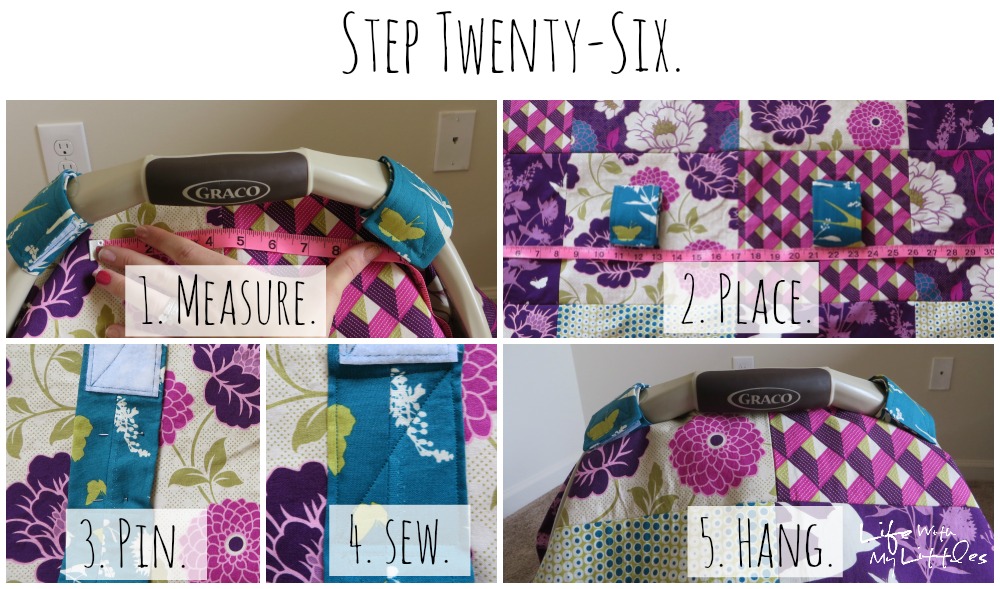
Kersten Lindhardt says
The the colors, love the fabric, the the quilty look!!!!
Chelsea says
Thank you so much! It was a lot of fun to make and I love getting to show it off when we go places!
Melanie says
This turned out so nice!! I love the colors
Chelsea says
Thanks! Me too! My husband told me I couldn't do too much pink so I had to mix it up!
Jessica says
Oh my gosh, this is sooo ADORABLE!!! I love it! I love anything quilted. And your baby girl, she is BEAUTIFUL!
Chelsea says
Thank you!! That picture was a while ago, and she looks so big in her car seat now compared to that picture!
Jennifer says
It's beautiful! I love the colors in your quilt!
Chelsea says
Thanks! The Mister told me I couldn't use too much pink, so I had to find the perfect fabric to add in other colors!
Jean says
Just stumbled across your blog… love it!
Chelsea says
Thank you so much! I'm glad you found it!
christine says
Excellent. My daughter is looking for something to keep the sun off of Ems eyes. Making this for her will be perfect. So, I, Nanny had better get started, Thank you for your insperation.
Chelsea says
Yes! This is perfect! And so much cuter than anything you could buy at the store!
Krystal McAtee says
LOVE this and your fabric! But I do have a few questions…. I followed your tutorial exactly and when I went to add my bottom fabric, the top did not line up with the bottom fabric. Did I understand your tutorial correctly… The 9″ sides of the squares should be along the tops and bottoms of the rows and the 10″ side should be on the left and right sides? Sure seems like if I would have done the opposite of this it would have matched up with my bottom fabric. I measured my bottom fabric and it is a full yard as well….. Any ideas that might help??
Thank you in advance!!
Chelsea Johnson says
I’m not sure what happened, but I measured mine and I even drew it out and I’m still pretty sure the way I have it written is right. Because otherwise it would be wider than it is tall, and then it wouldn’t fit the car seat. I’m sorry that’s not much help!
Krystal McAtee says
Thank you for your help. This was one of my first projects so there is no telling where I went wrong. But I think I am still going to be able to get it to fit okay. Thank you for sharing your tutorials, they are very well written and easy to follow. Looking forward to trying the burp cloths!! Then I am on to attempting the nursery bedding… Eeeek!!
Chelsea Johnson says
I hope it still works out for you! And I’m glad you like my tutorials! It’s so much fun to be able to tell someone you made something when they ask where you got it! And good luck with the burp cloths! Those are way easy, and if you could do this tutorial I’m sure you’ll have no problem with those! Good luck with the nursery bedding, too! If you want an easy crib sheet tutorial I have used this one with both of my kids: http://www.danamadeit.com/2008/07/tutorial-crib-and-toddler-bed-sheets.html
Jennifer says
Thank you so much for posting this fun, very thorough tutorial. While I did have the same problem as Krystal, I attributed it to my lack of sewing experience and figured I must have measured something wrong. But I solved the problem by just taking about an inch and a half off the top and bottom, and with the whole thing sewn together it’s hardly noticeable. I’m actually thrilled with how it came out!
Chelsea Johnson says
How strange! I looked at my car seat cover today and I’m not sure how the tutorial isn’t getting my results! I’m glad you figured it out, though!
Anita says
I am going to make this for my nephew, and noticed that you didn’t have anything about the exact size of the bottom piece beyond saying it requires a yard of fabric. Is is the bottom peice supposed to be cut to 35″ wide and 42″ long – same as the non-quilted car seat cover?
Chelsea Johnson says
Yeah, they need to be the same size!