This is a sponsored post written by me on behalf of Cricut. All opinions are 100% mine.
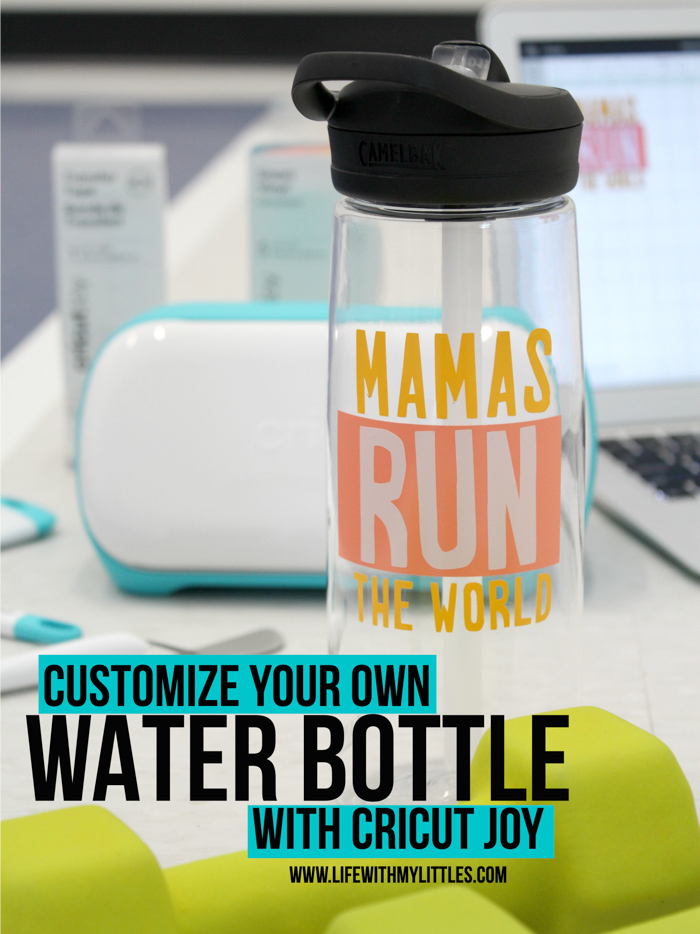
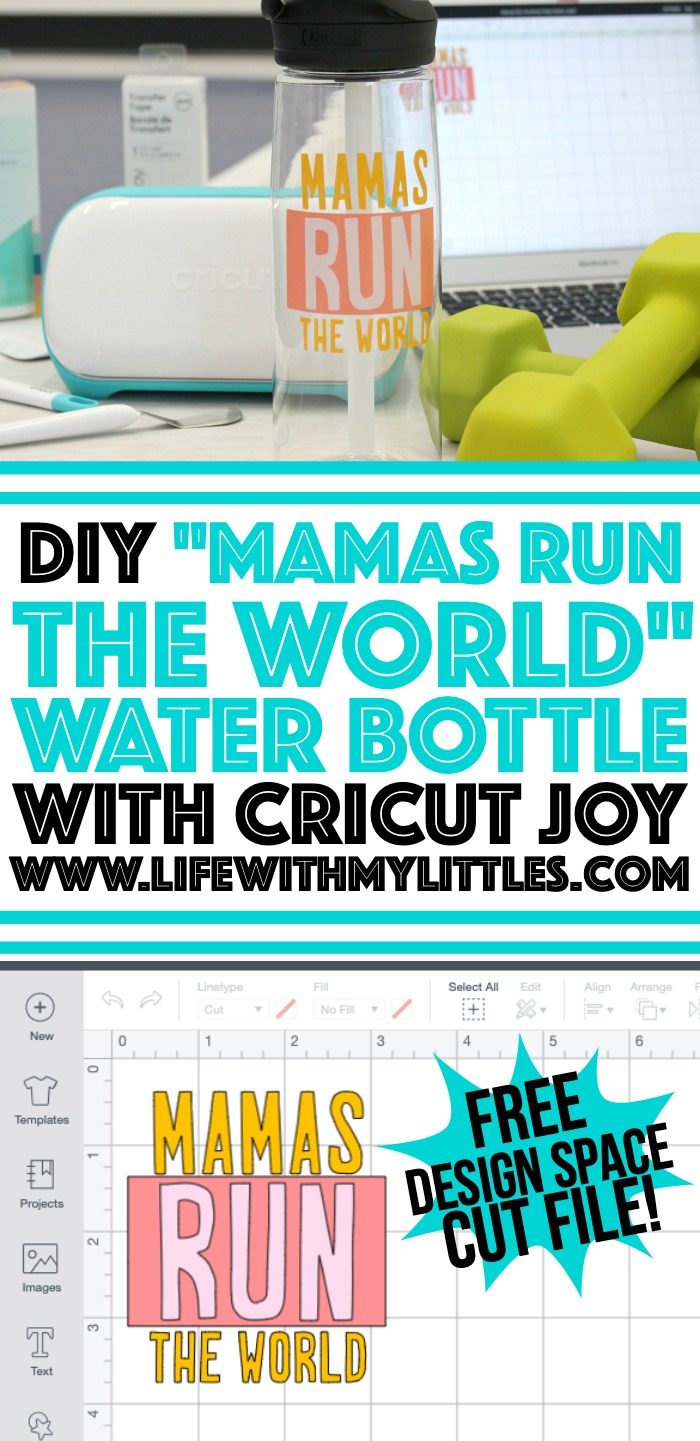
Customize your own water bottle in just a few minutes with the new Cricut Joy! This tutorial includes a free cut file for a “Mamas Run the World” decal that’s perfect for moms who love to run!
We have a problem in our house.
I’m not going to blame anyone in particular, but someone has a tendency to bring water bottles to work and lose them.
Now I work from home, and my three kids don’t work, so I’m guessing you can identify who the source of this problem is.
Okay, so I guess I am blaming someone.
Last week I came up with a solution, and so far, it’s working! I customized one of my favorite water bottles using my new Cricut Joy, and I’m pretty sure someone won’t be using it any time soon! Not unless he wants to walk around with a “Mamas Run the World” water bottle!
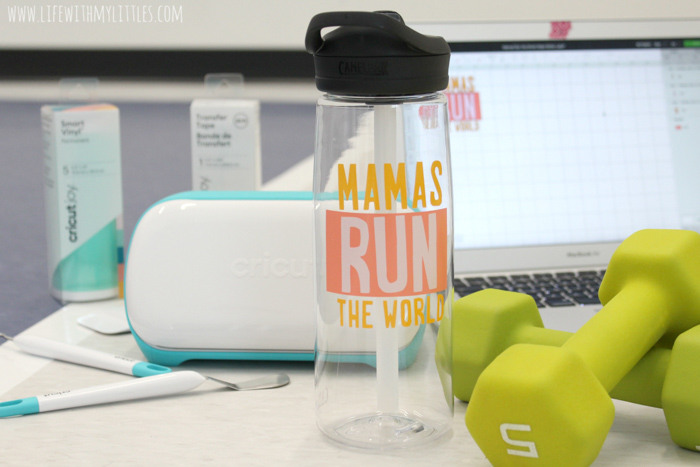
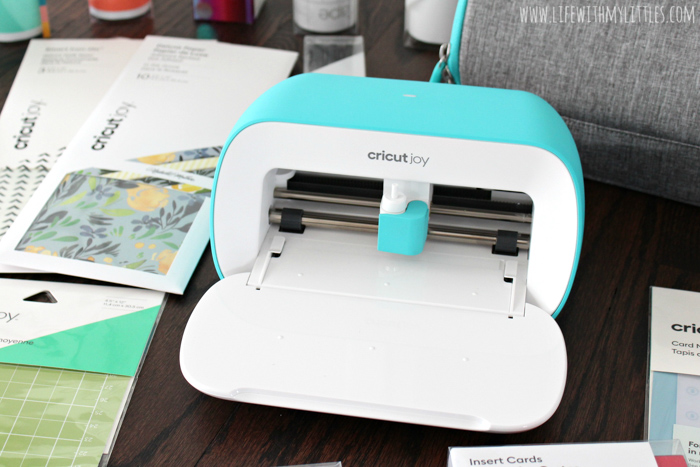
This was one of the easiest Cricut project I’ve ever made. The new Cricut Joy is so compact and sleek and fast! My favorite part of it are the “smart” materials that eliminate the need for a cutting mat!
My water bottle turned out super cute and I’m going to bring it with me when I run on the treadmill from now on! And since it turned out so well, I wanted to share it with all of you!
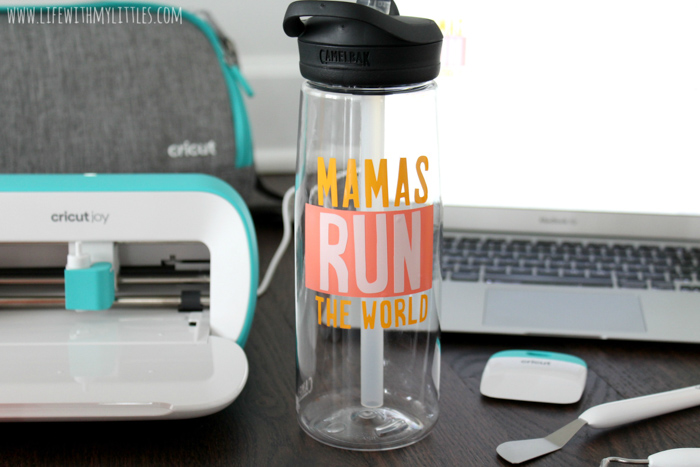
To get started, you’ll need a blank water bottle (mine is a clear Camelback eddy 25oz bottle), a Cricut Joy, permanent Smart Vinyl in tulip, coral, and tangerine, and transfer tape. You can get all of these things (even the Cricut products!) at Target!
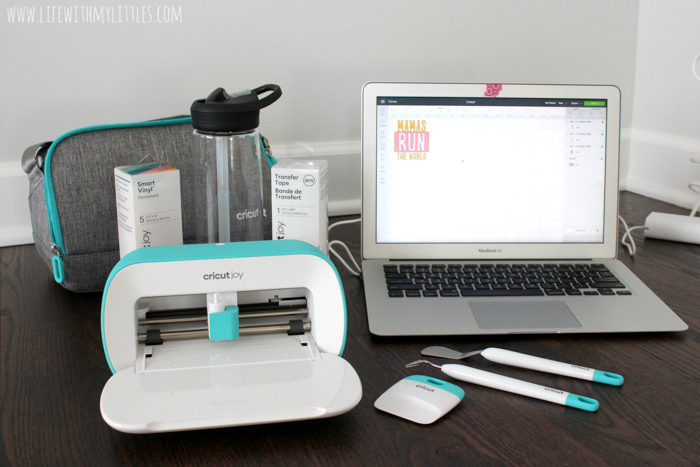
Open up Cricut Design Space and pull up the Mamas Run the World Water Bottle Label project. It will open up the cut file for you.
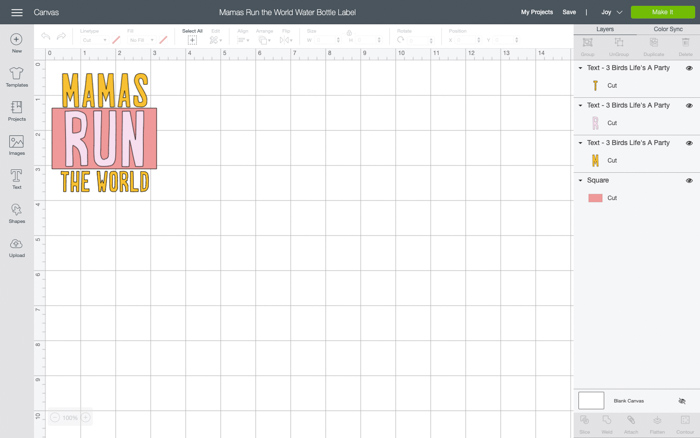
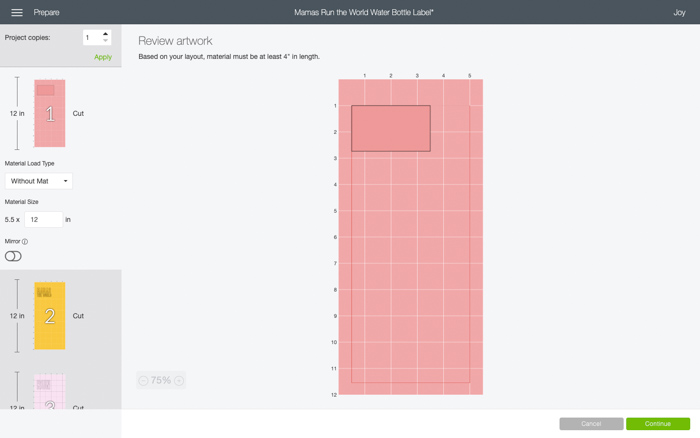
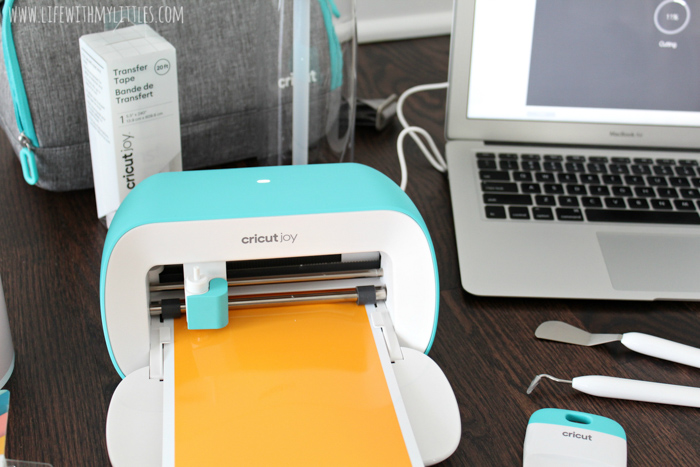
Cut each design out on your different colors of vinyl using your Cricut Joy. This should be easier than ever since you don’t have to put the vinyl on a mat and flip the image! You can just load it, cut it, and be done!
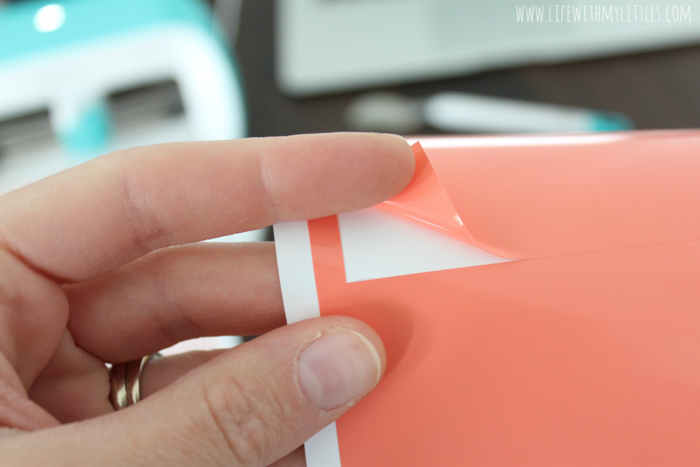
Gently peel your cut rectangle off and stick it onto the center of your water bottle. This is the only piece you don’t really need to use the transfer tape for. Make sure you smooth out any air bubbles. I used the scraper from my Starter Tool Set to push them out on my water bottle.
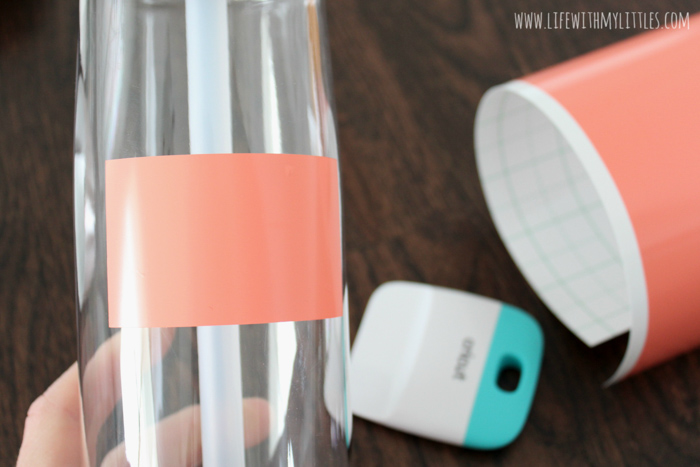
Now cut around your other cut outs so you have each one cut out separately. Now peel off the vinyl around your letters (making sure you get any fillers inside your a’s, o, r, and d). Use your transfer tape to pull off the letters and transfer them to your water bottle.

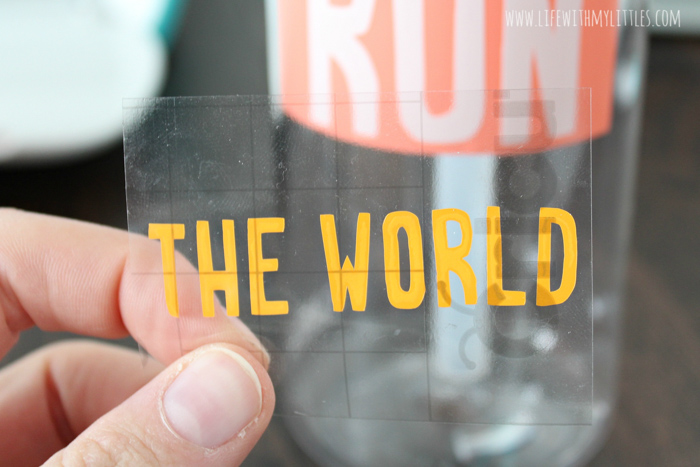
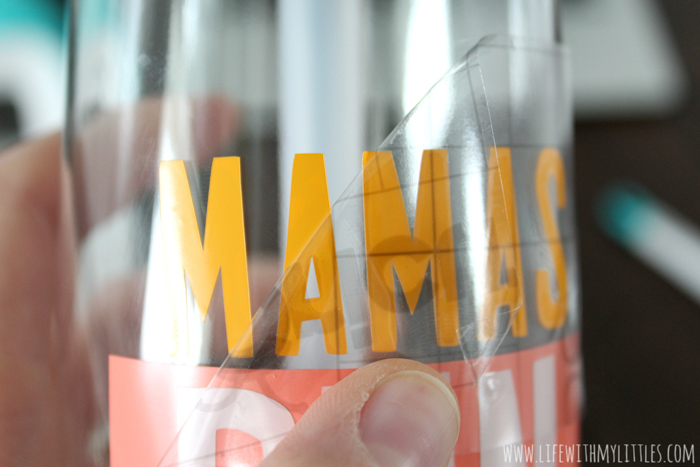
After you transfer them, make sure you smooth them out and get all the tiny little corners. Press your letters down really well so they stay in place!
And voila! You’re done! My water bottle took me about ten minutes to make, so depending on how good you are at transfer tape, you might finish in a few minutes or up to twenty. But it shouldn’t take you very long!

I LOVE my new water bottle I made using my Cricut Joy, and I have so many more ideas for projects I want to create. The Cricut Joy Smart materials include iron-on, infusible ink, and labels, and you can also easily make cards with inserts. Plus, you can use any regular paper, cardstock, or vinyl on one of the cutting mats, too. So you really aren’t limited!

One feature that I’m extra excited about is using the Cricut Joy to as my own personal scribe! There are lots of different pens and markers for the Cricut Joy, both in regular ink and infusible ink! I’ve always wanted to learn how to hand letter, but now I don’t have to!
Another big difference between the Cricut Joy and other Cricut machines is that with the Cricut Joy, you can cut one image up to 4.5 inches wide and 4 feet long or do repeated cuts up to 20 feet long. That Smart material is no joke!
The Cricut Joy is my third Cricut machine I’ve owned, and it’s amazing to see how far Cricut has come in, both in terms of what their machines can create and the materials you can use with a Cricut. And thankfully, Cricut products are now at Target, so you can pick up everything you need to create on your next Target run!
I’m pretty confident that nobody will be using my new custom water bottle but me. I think my problem has been solved!
Leave a Reply