Kid-colored tote bags are an easy, personal DIY holiday gift! Make custom tote bags for your kids or friends, or gift them to grandparents or teachers!
This post is sponsored by Cricut and contains affiliate links.
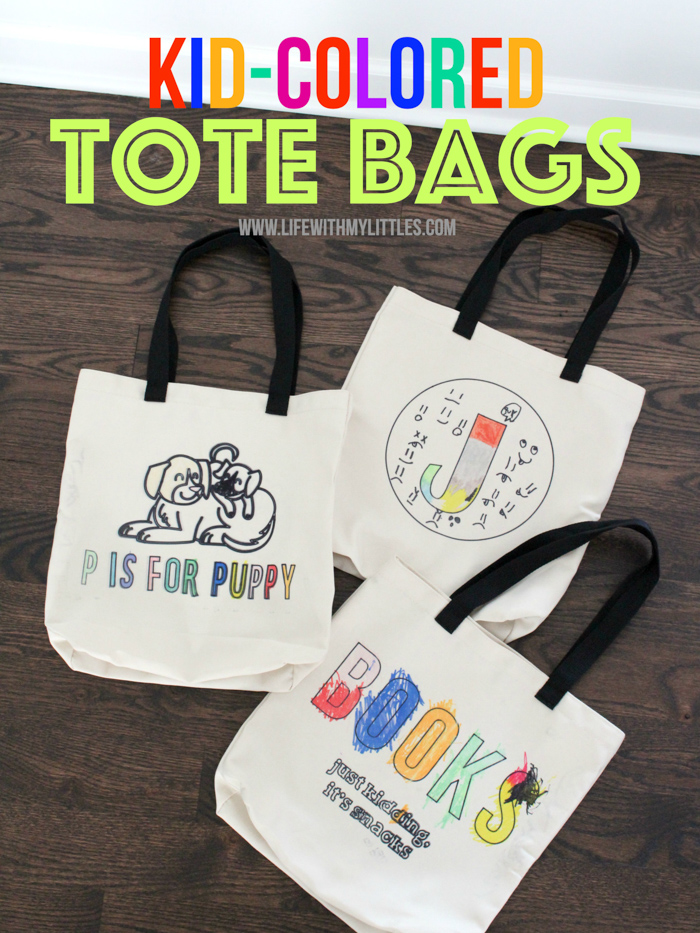
My kids are always asking me to print out coloring pages for them. They love coloring their favorite characters, cute holiday scenes, and even geometric patterns.
So when they asked me to make them their own bags for Christmas, I knew exactly how we could personalize them!
Last year Cricut came out with Infusible Ink, an ink transfer product. You cut designs out using Infusible Ink Transfer Sheets, or draw pictures with Infusible Ink Pens & Markers on laser copy paper, then using high heat, you press your design into the Cricut Blank base material.

Unlike vinyl, which sits on top of your base material, Infusible Ink gets pressed INTO the base material. No flaking, no peeling, and no cracking. It’s an awesome, long-lasting, high-quality way to transfer bright colors and your own designs onto shirts, pillows, coasters, and yes, even tote bags.
Are you intrigued? I was, too. It’s amazing.
I already use my Cricut Explore Air 2 to make all kinds of things around the house. Why not use it to design and create tote bags for my kids!?
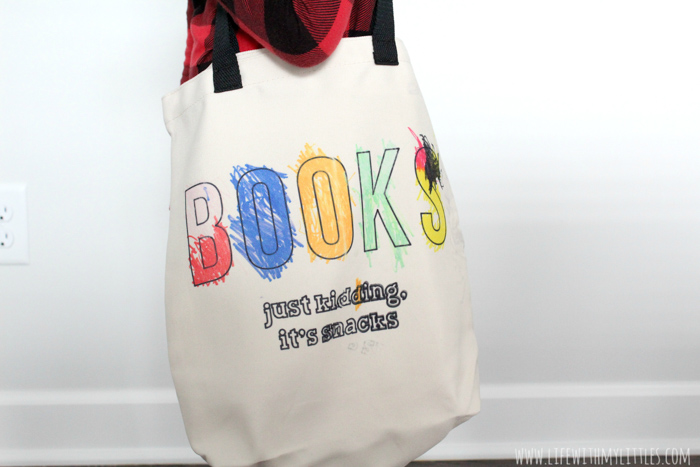
All three kid-colored tote bags turned out perfect. Honestly, they turned out even better than I had imagined in my head, and the kids love them, too!
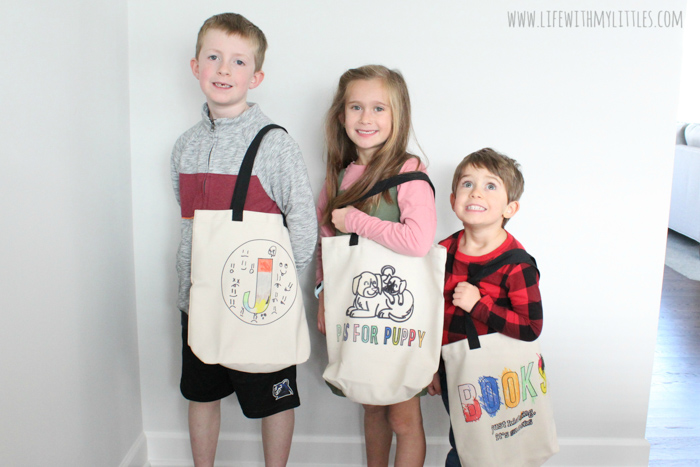
They were so easy to make, and the kids had a blast designing and coloring them. They’d be a great gift to give to kids to make for themselves, or a great gift to make for friends, grandparents, or teachers!
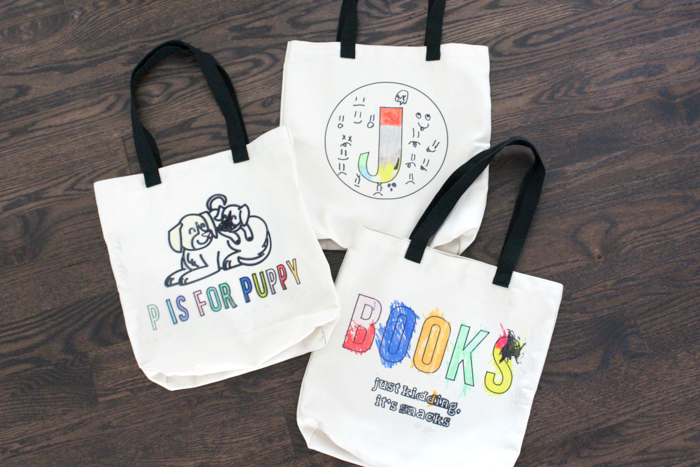
Kid-Colored Tote Bags
Kid-colored tote bags are an easy, personal DIY holiday gift! Make custom tote bags for your kids or friends, or gift them to grandparents or teachers!
Materials
- Cricut Explore Air 2
- Cricut Infusible Ink Markers
- Blank laser copy paper
- Cricut Infusible Ink Tote Bag Blank
- Cricut EasyPress
- EasyPress Mat
- Blank butcher paper
Instructions
- First, you want to open Cricut Design Space. The Infusible Ink Markers I used (and link to) only work with Cricut Explore machines, so next set your machine to Explore.
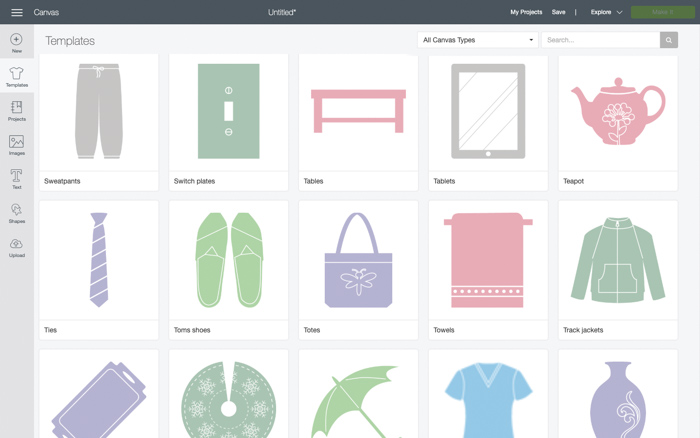
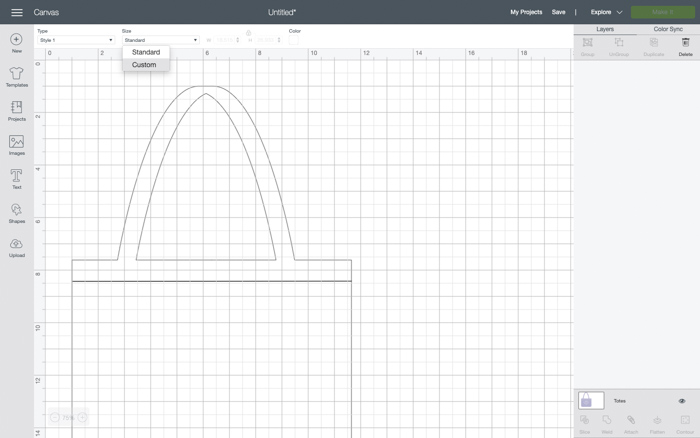
- Next add a template of a tote bag onto Design Space. This will help you design something that will fit nicely on the bag. Go to templates on the left-hand side, and then select "totes." This will put the outline of a tote bag on Design Space. Depending on if you have a large or medium-sized tote bag (ours are medium), you need to change the size. At the top of the screen, select "size" and switch it to "custom." The medium bag is 14x14" so I made the tote part of the bag about 14x14" big.
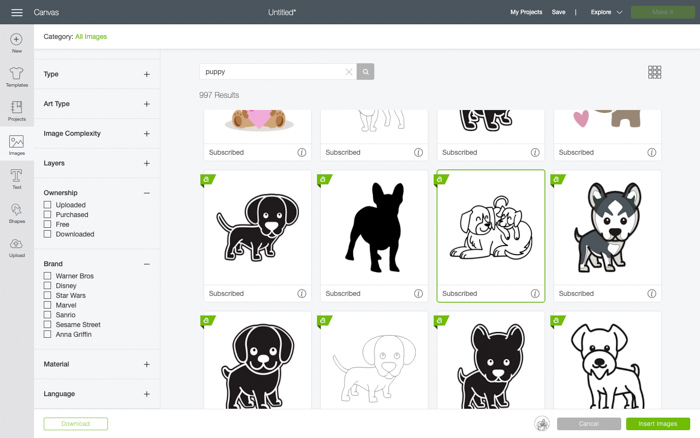
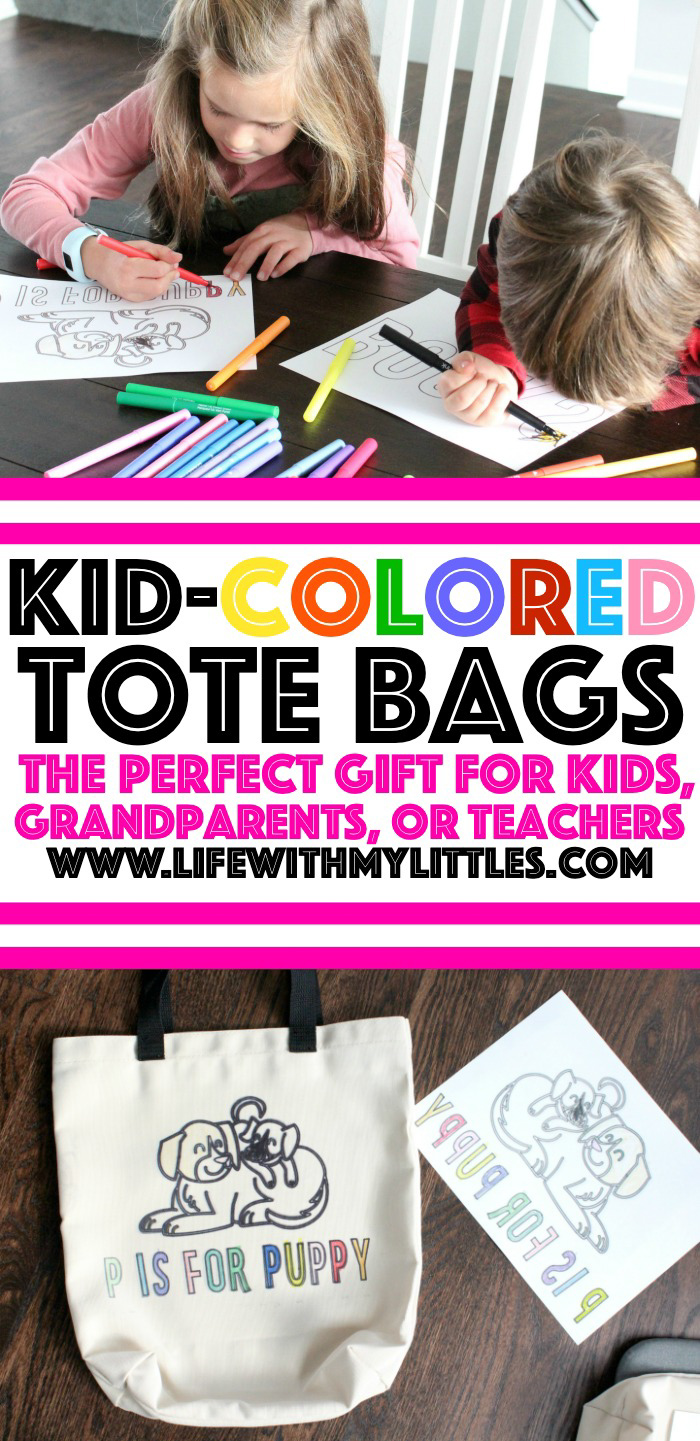
- Now you're ready to design! This is where you get to be creative. You can do your child's name, a monogrammed letter, a favorite character or animal, inspiring phrase or quote, just a word (toys or books or snacks), or anything else you might think they'd like to color, from simple to complex. For my daughter, I had a picture of a dog and her puppy with the text "P is for Puppy." My oldest son just had a big J to color, and my youngest son colored in the words "BOOKS." Make sure you're using the "draw" linetype and not "cut."
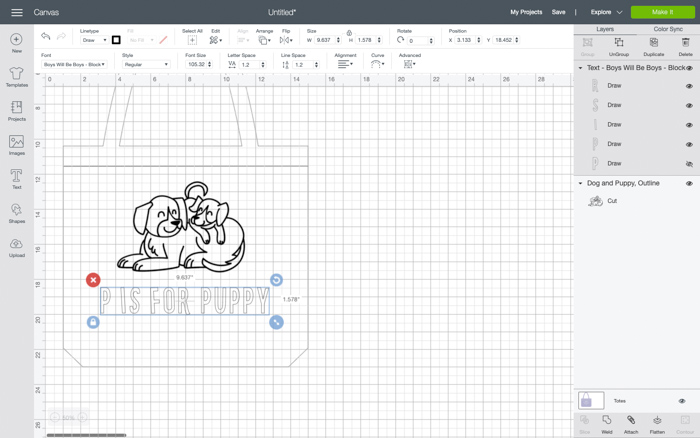
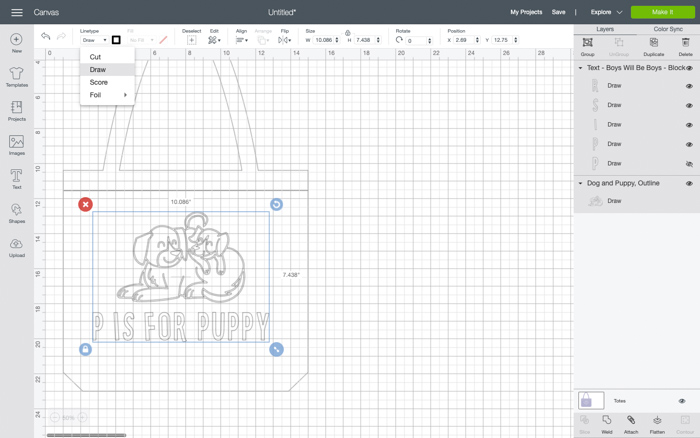
NOTES: Once you have your design, make sure it's aligned the way you want it. You may need to center your images if you have more than one piece to your design. Do this by going to "align" and then "center horizontally." You also want to weld your design into one piece if you used more than one piece in it.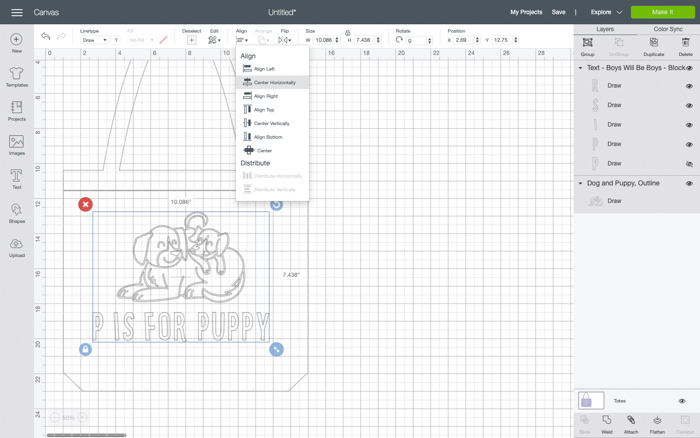
- Next, you get to draw the design onto paper so your child can color it! Click "Make," change the layout to 8 1/2 x 11", make sure mirror is ON, and then with a piece of laser copy paper on your mat, draw your design!


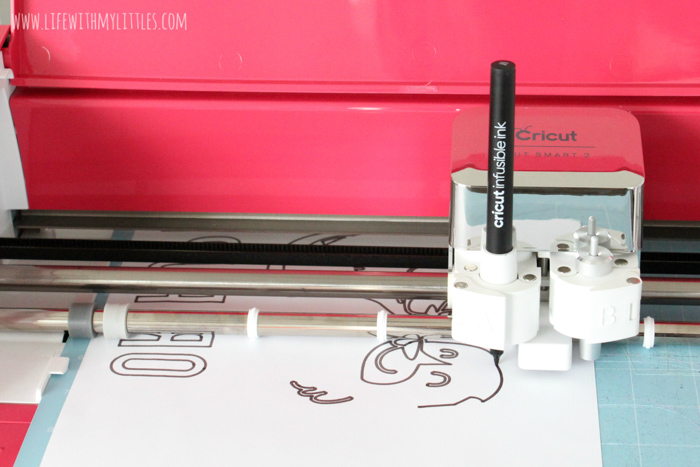
- After your design gets drawn onto the copy paper, it's time to grab your kids! Hand over the Infusible Ink Markers and let them color. They can color as much or as little as they want.
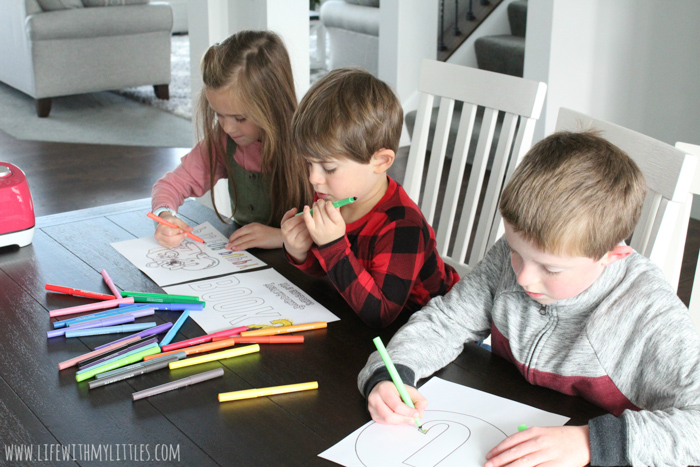
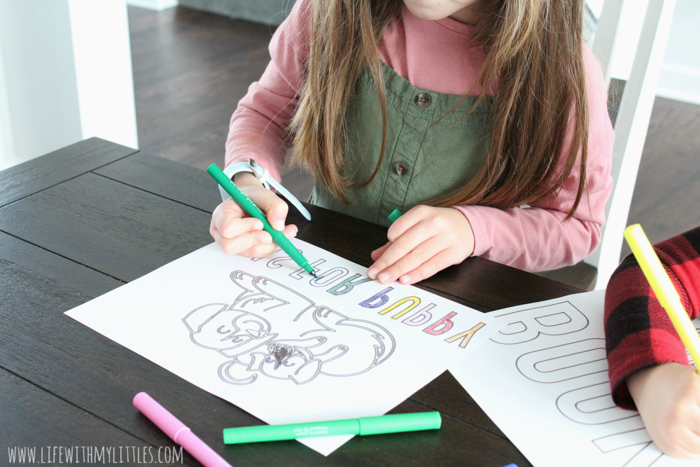
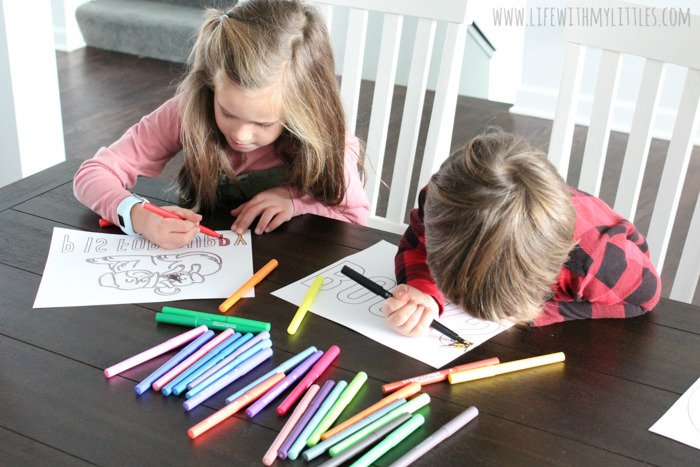
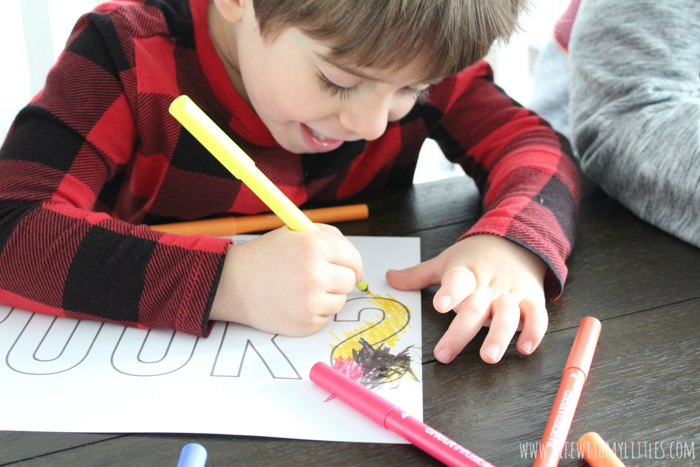
- When they're all done coloring, plug in your EasyPress and turn it to 385 degrees. Each Infusible Ink Blank has a different temperature and time for pressing, and the tote bags are 385 for 40 seconds. Once it's ready, lay your tote bag onto the mat, then your design onto the tote bag where you want it. Then place a piece of butcher paper in between your design and the EasyPress. Apply gentle pressure to the EasyPress for 40 seconds, and then take it off your tote bag. Once the bag is cool, remove the butcher paper and your laser paper, and you're done!
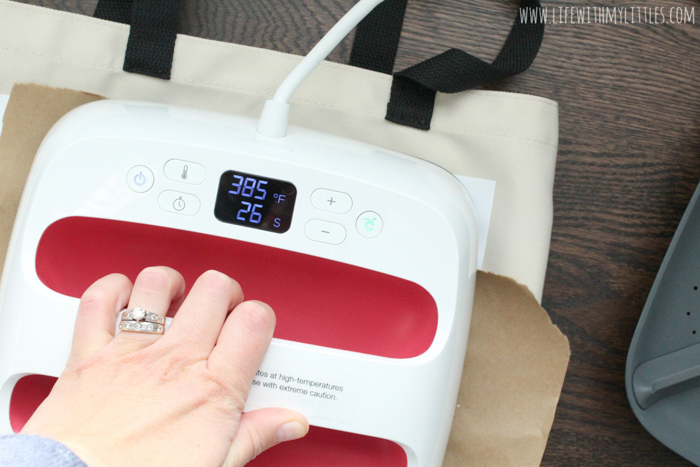
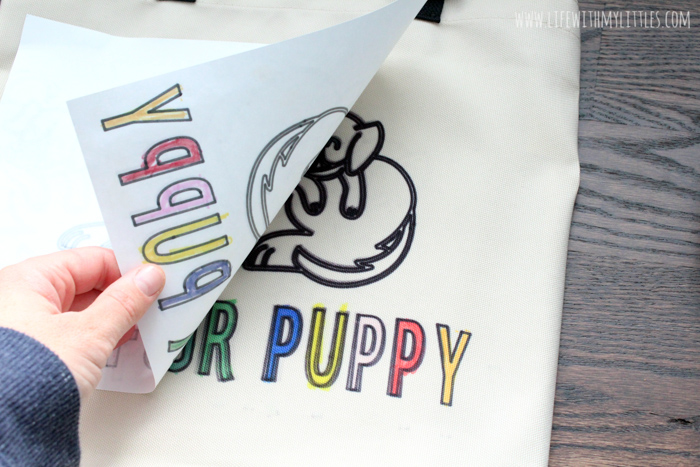
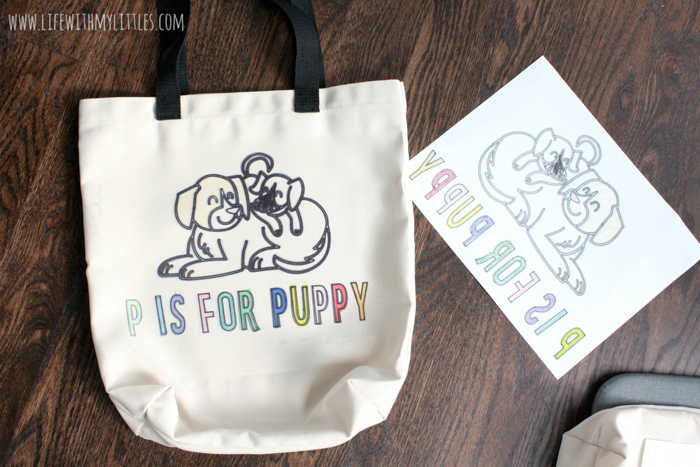
NOTES: Make sure you use a new piece of butcher paper for each design, or if your design is too big for your EasyPress and you have to press one half at a time. Otherwise, you'll end up with residue from the ink on the paper that transfers to the bag.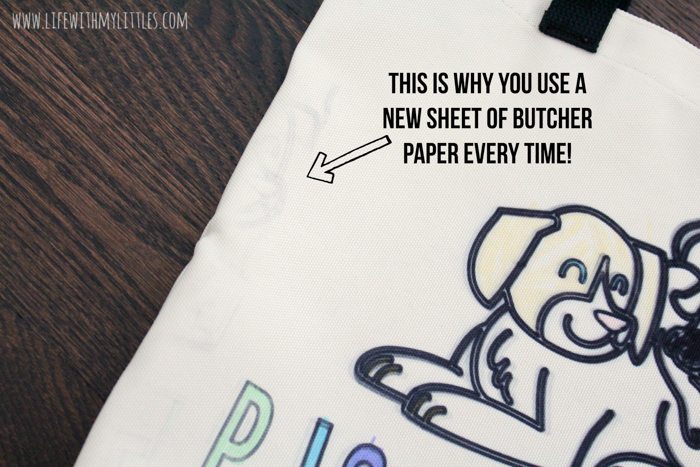
As soon as we finished these kid-colored tote bags, they immediately filled them with a bunch of things and carried them around all day.
I love that each bag is so unique, and shows off each kid’s personality. And making them was so easy, I want to make them as gifts for everyone! Can you imagine how cute these would be for grandparents or teachers!?
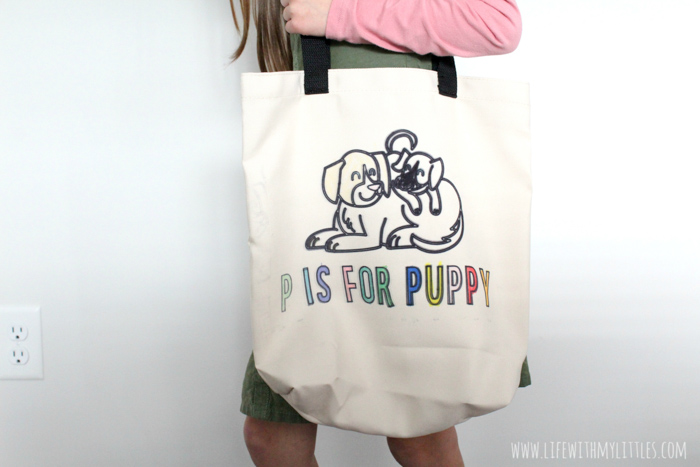
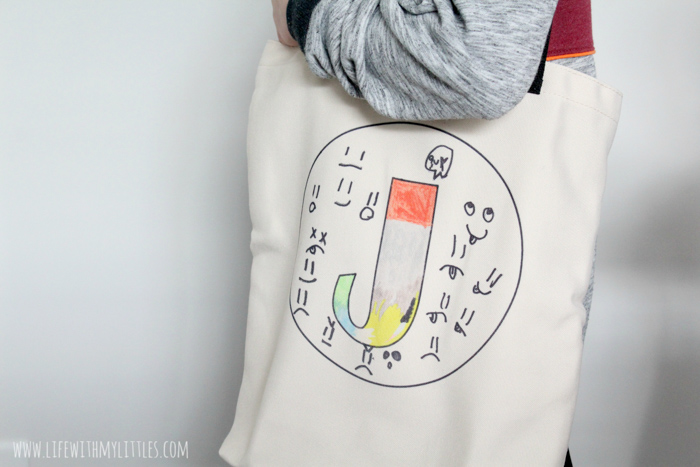
Seriously, I would recommend Cricut Infusible Ink markers and totes to anyone looking to make a personalized, meaningful gift. And yes, that does include gifts for yourself, too! I was super impressed with how these turned out, and I know the kids are going to use them for years to come!
Leave a Reply