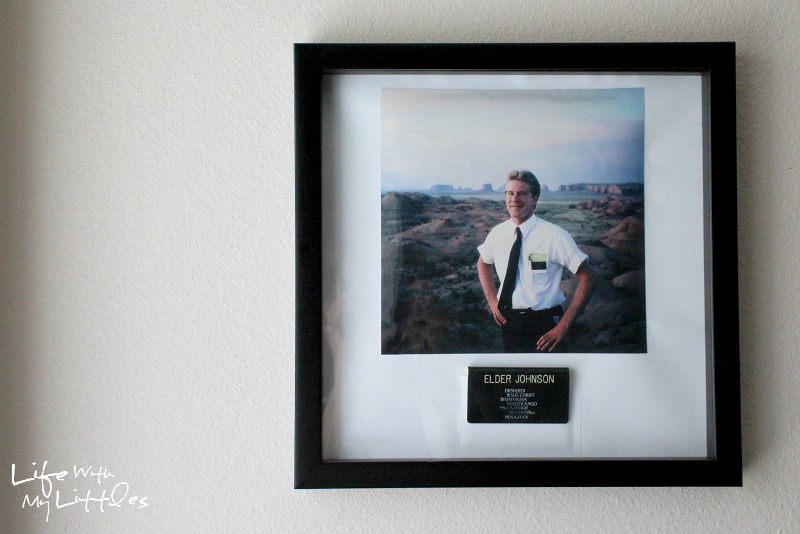
DIY Missionary Tag Display: An easy way to display your missionary’s tag along with a picture to help them remember their mission! The perfect Father’s Day gift!
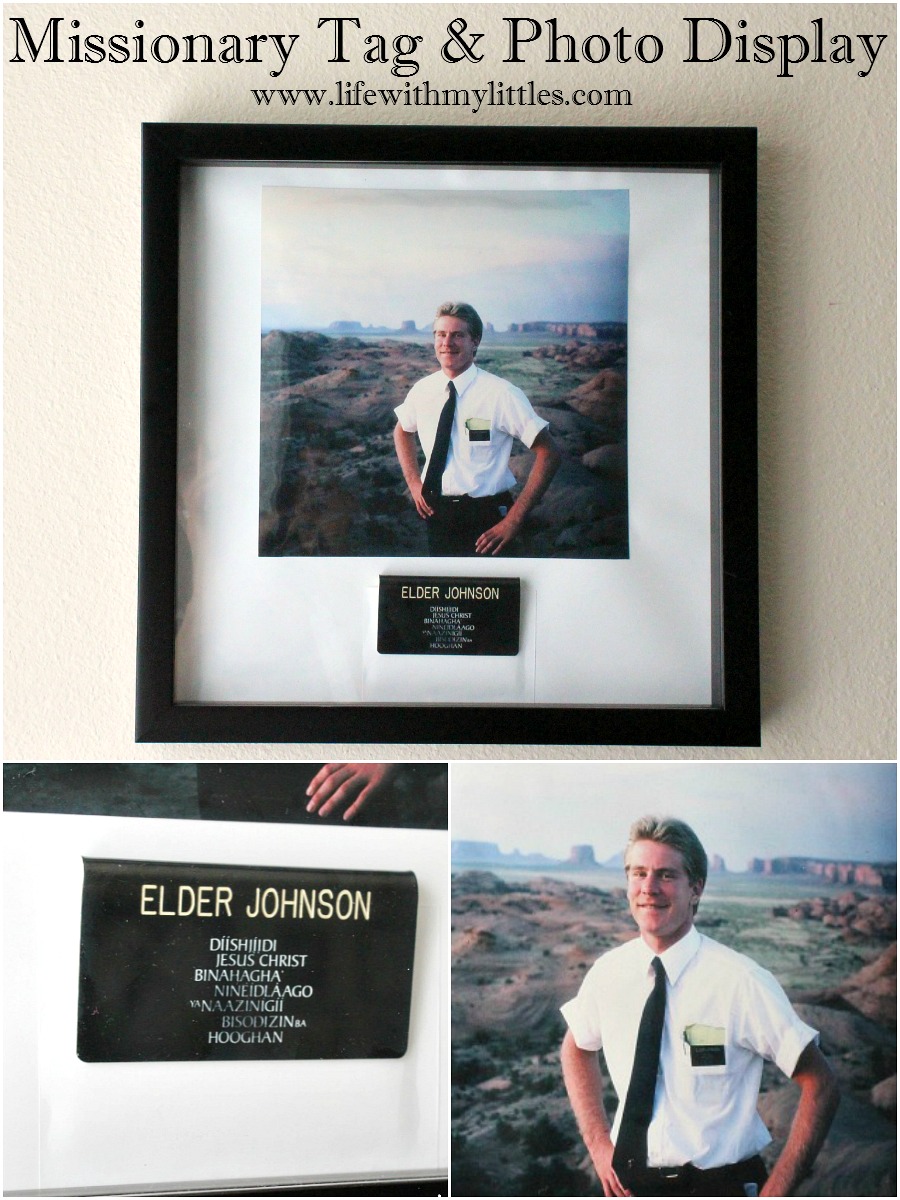
For Father’s Day this year, I wanted to make the Mister something special. In January, my father-in-law passed away unexpectedly, so we have been dealing with the grief and healing that came with his death for the past few months. Something my husband inherited from him were his old scriptures and missionary tag from his mission for The Church of Jesus Christ of Latter-day Saints. He loved to talk about his mission among the Navajo people, and he especially loved the red rocks of the American Southwest. To make this Father’s Day special and as a tribute to the Mister’s father, I decided to make him a way to display his father’s missionary tag.
This was a really easy project that has a lot of special meaning for our family, as it would for any father who has served a mission, I’m sure. I love that by displaying the tag with the picture of my father-in-law, we will have something in our home that our children can ask about both their grandpa and his mission.
It wasn’t an expensive project either, which made it even better! Here is what you need:
- a 12×12″ shadow box
- an 8×10″ picture from their mission
- a missionary tag
- a 12×12″ white piece of cardstock
- a small piece of white cardstock
- glue
I got my shadow box from Jo-Ann (on sale for $12.49), and then I printed my picture at Costco for $1.52. The two pieces of cardstock were 69 cents each, so total, this project cost me just barely over $15.
First, you will want to trim down your 8×10″ picture to an 8×8″ picture. I used my friend’s paper cutter because I didn’t trust myself to trim the picture in a straight line.
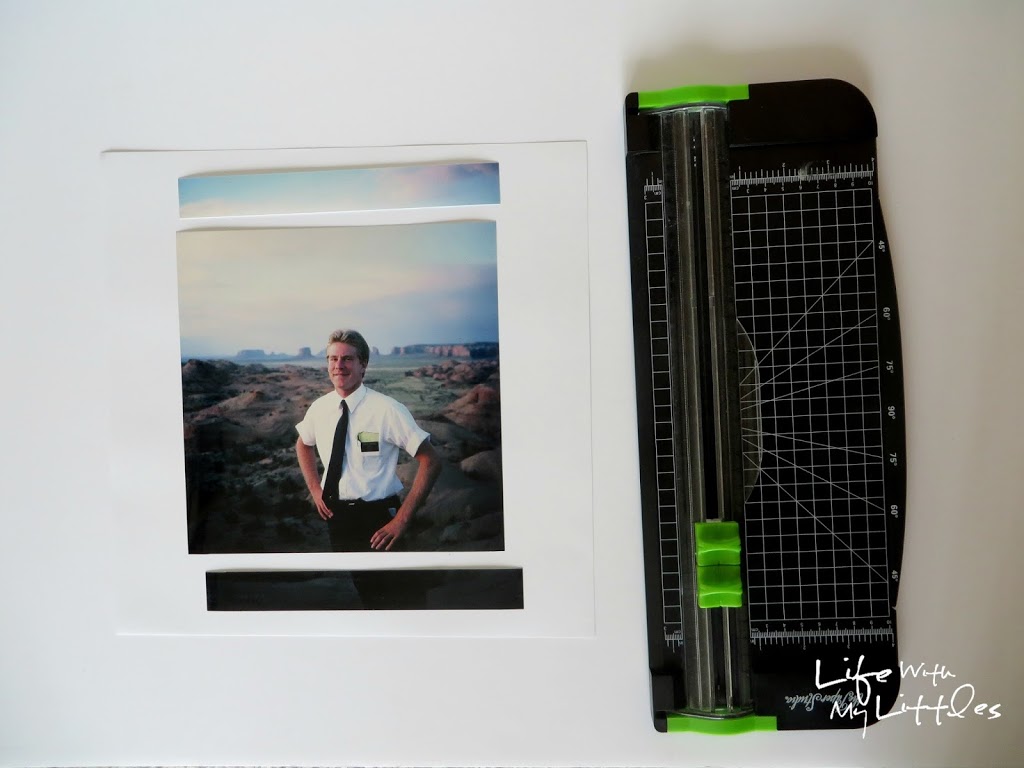
I just cut an inch off the top and bottom so that the main part of the picture was still there.
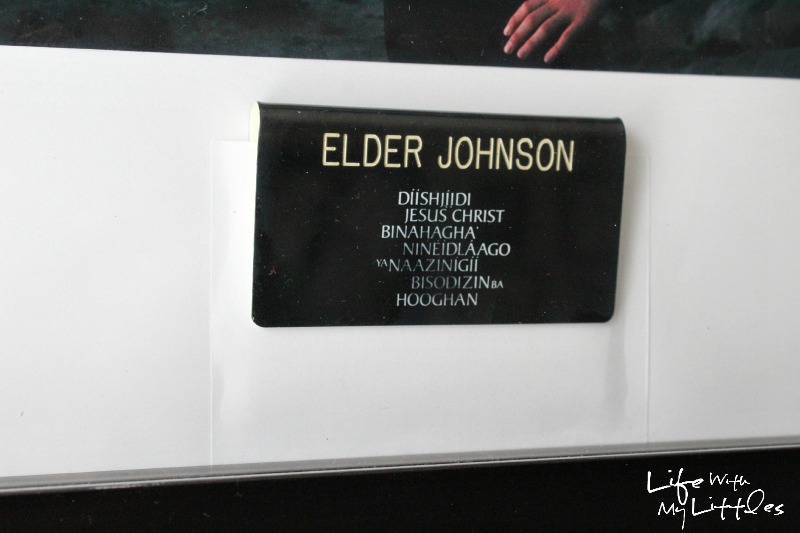
Next, you will want to cut a little piece of white cardstock to cover the back of your missionary tag. If you have a tag with a pin, you can just pin it through the paper exactly where you want it, but my father-in-law’s tag was one for a pocket. I cut my paper so it would fit over the back and then give me a little room to glue the edges down. I think it was about 3 1/3″ x 2 1/2″, but you will want to measure yours before you cut it.
Then, with your picture centered (but not glued) on your 12×12″ paper, you will want to figure out where you want your missionary tag. Then put a tiny amount of glue down on the bottom and side edges of the small white paper and glue it down where you want your tag.
Press firmly, and before the glue is completely dry (but not immediately), slide the missionary tag into the pocket. You want a snug fit so it won’t move around.
Next, glue down your picture so that it is centered on the page. I discovered that it was very helpful to put a heavy book down over the picture while it was drying so it didn’t bubble up and all the edges got glued down flat.
Once your picture is dry, put it in your shadow box and admire!
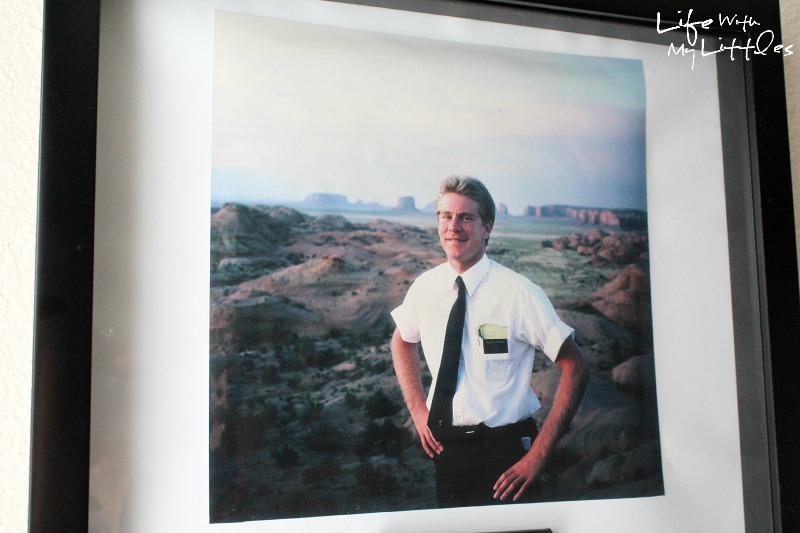
Good job! Now you have a lovely way to display a mission photo along with your missionary tag, and a great symbol of your husband/father/brother’s mission that will be a great talking point to help teach your children!
If you want to learn more about an LDS mission and why our young men, young women, and senior couples leave their families to teach about what we believe, click here.
Christine says
What a fantastic idea! I'm not sure if I can find my hubby's tag, but I'm going to look!
Chelsea says
Good luck! It turned out amazing and I can't wait to give it to my husband!
Lexie says
Great idea! I'm going to do this for Landon!
Chelsea says
Do it! He will love it! And Ames will love looking at it one day, too!
Britni says
What a neat project Chels, I may have to do this for my sister when she gets back in August.
Chelsea says
Do it! She will love it!