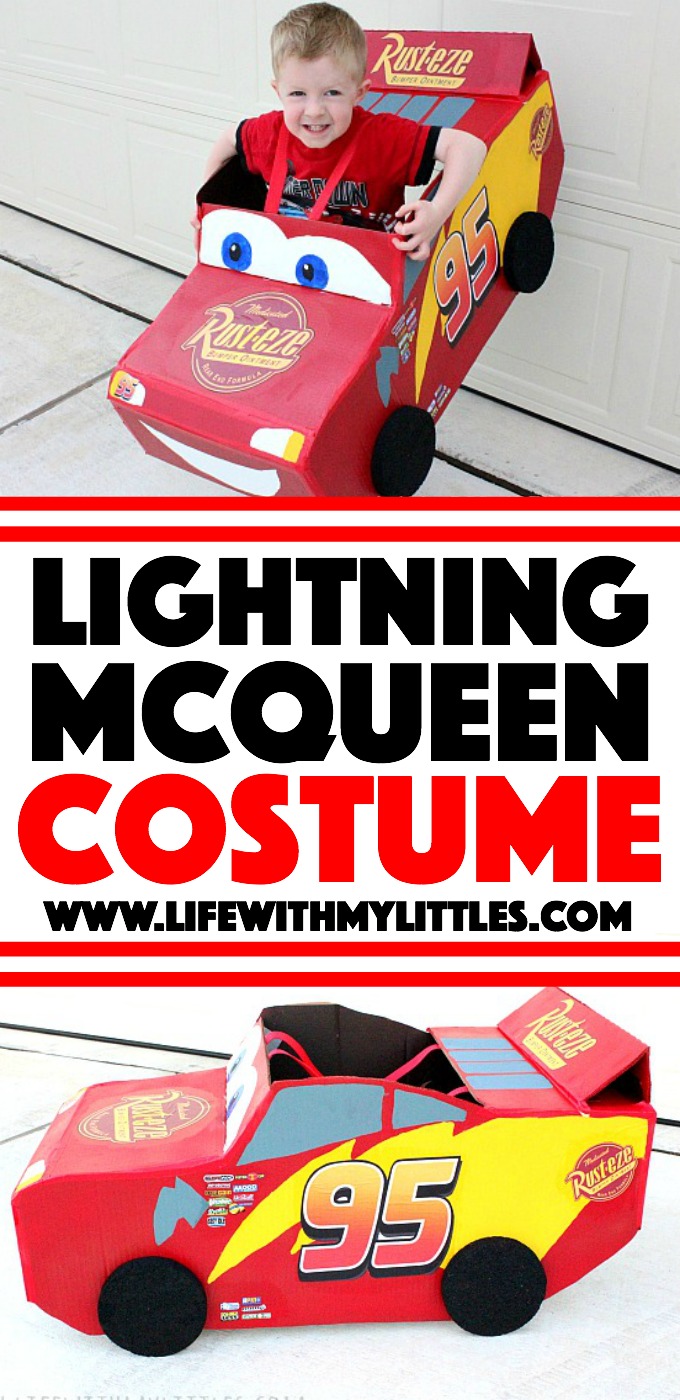
This DIY Lightning McQueen costume is amazing! Great step-by-step tutorial for anyone wondering how to build a Lightning McQueen Halloween costume!
This post contains affiliate links.
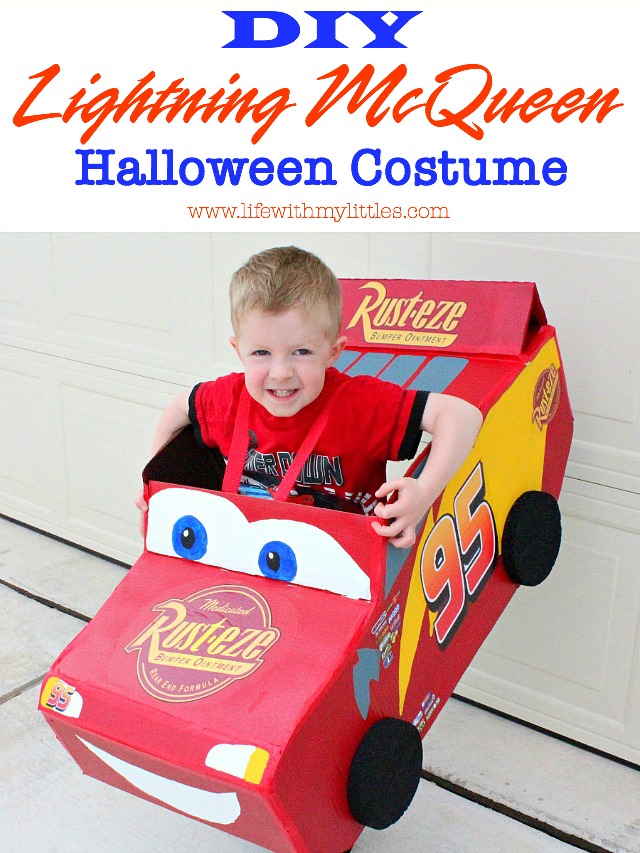
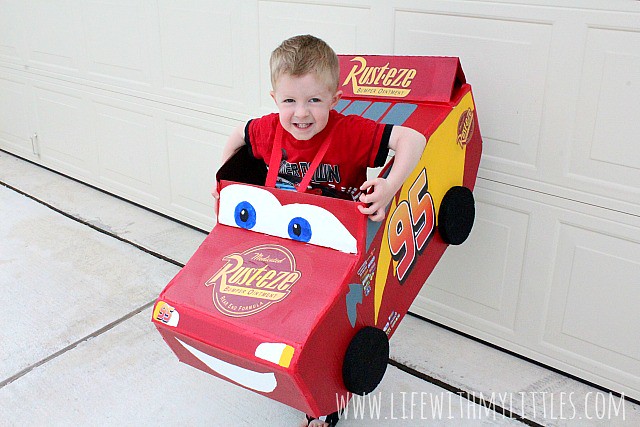
In December 2015 my son watched Cars for the first time. He was hooked (and still is). About a week after he watched it, he started telling me he wanted to be Lightning McQueen for Halloween. For the next ten months he was insistent that he be Lightning McQueen. So last year for Halloween, I made him a DIY Lightning McQueen costume. Guys, it was AMAZING. I was super proud of that thing. Even more importantly, he was super proud of that thing. Seeing how excited he was to wear his Lightning costume was my favorite part of Halloween last year. He ran around shouting “Kachow!” and wore the costume all trick-or-treating and the whole time we were at our church Halloween party.
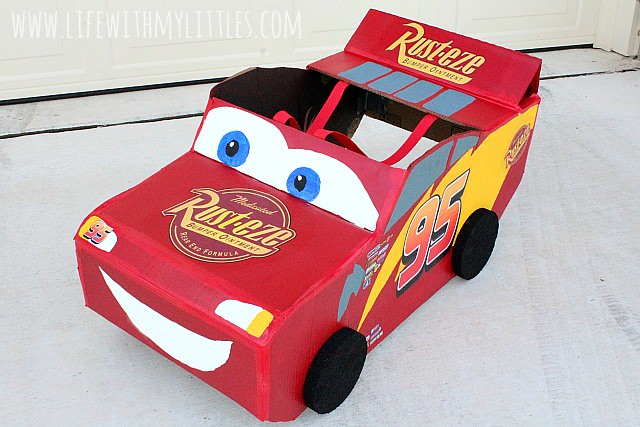
I couldn’t find a good tutorial online for how to make a costume, so I sort of just did it myself looking at my son’s Lightning McQueen diecast car. I made sure to take tons of pictures, and today, I’m going to share how I did it! If there are any mamas out there trying to figure out how the heck they’re going to build their child a Lightning McQueen costume for Halloween this year (especially with the release of the AMAZING Cars 3!), this one’s for you!
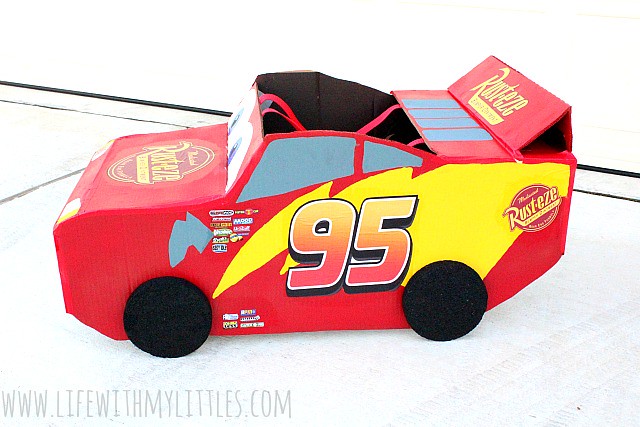
First, let’s talk about the body. The first step is to cut out the body of the car from sturdy cardboard. I used the box that my husband’s lawnmower came in. Unfortunately I don’t have pictures of that process, but I looked at pictures of Lightning and used a pencil to draw the sides first, and then once I cut those out, I was able to cut out pieces that fit in between the sides. You’ll need a front (for the mouth), a thin front (for the headlights), a front top (for the circular Rusteze logo), a front windshield, a piece for the very back, a piece for the back hood behind the opening, and then two thin pieces for the spoiler.
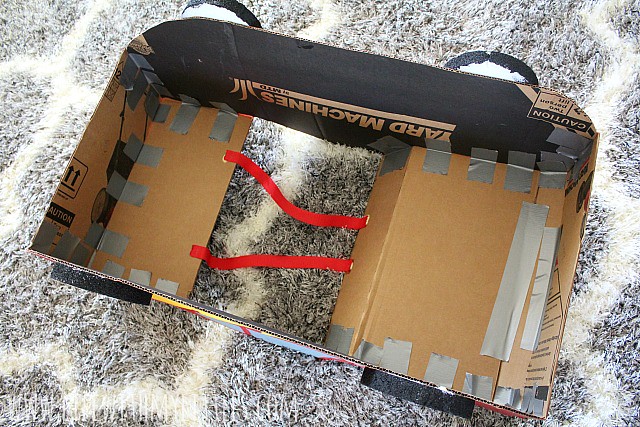
Next, I taped them all together using thick masking tape and duct tape. I did a nice job on the outside taping them, being careful to make the joints flat, and then on the inside I reinforced it with lots of smaller pieces.
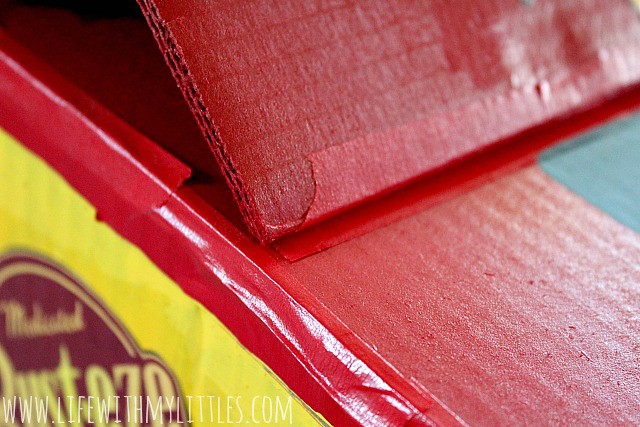
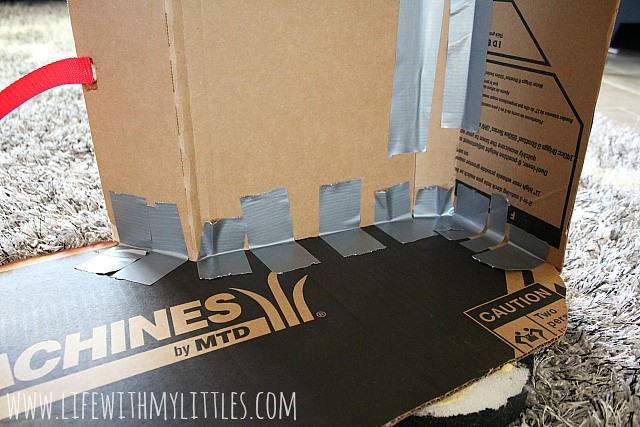
After the body is all taped up, it’s time for red spray paint!! I had to do a few coats to get the red I wanted, but it turned out great. (Also, this is the only in-process picture I have!)

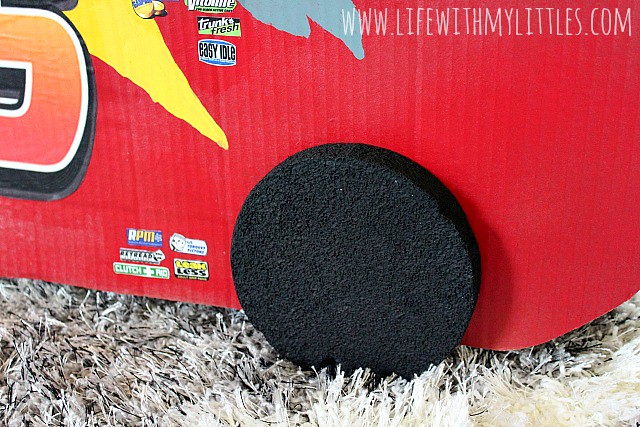
Now it’s time to add the tires I used styrofoam circles and spray-painted them black. I wish I would have used a little bigger circles because if you look at Lightning, his tires take up a little more of the body, but it was still okay. I used gorilla glue to glue them on because it’s durable!
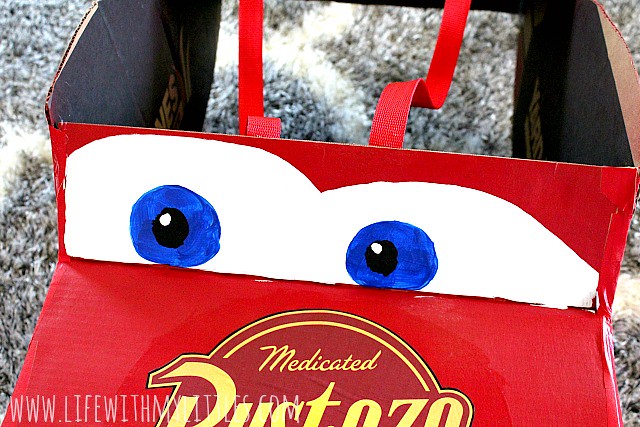
The next thing I did was to paint on the windows, back windshield, mouth, headlights and taillights, the lines on the back of the spoiler, lightning bolts on the sides (the small silver and large yellow ones), and his eyes. I drew what I wanted in pencil first and then painted. Look at a picture of Lightning when you’re doing it so you can get the right shapes.
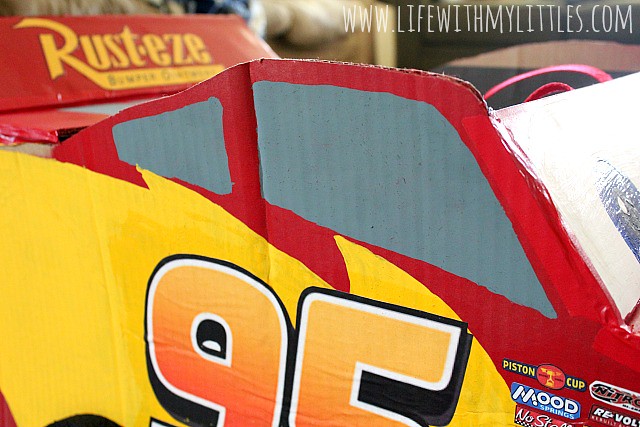


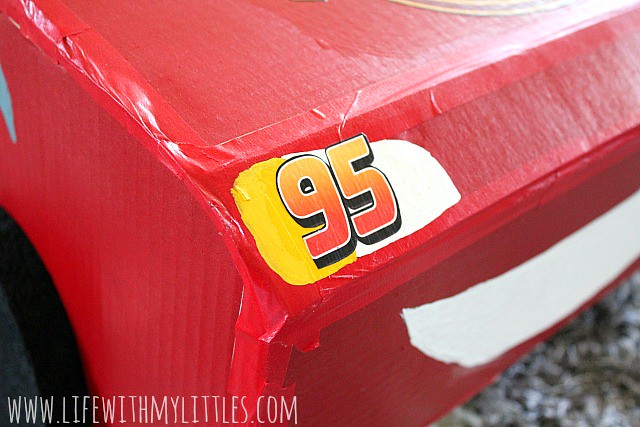
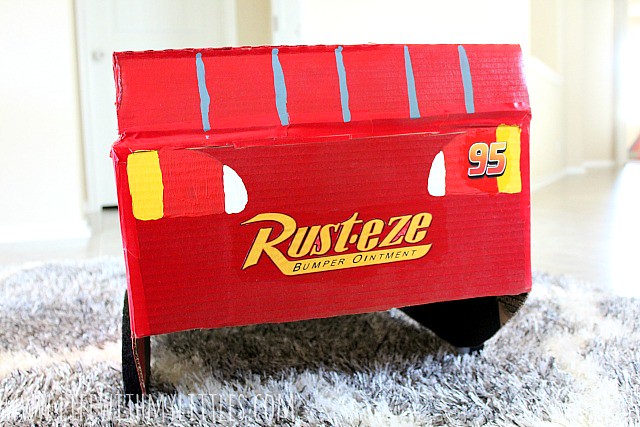
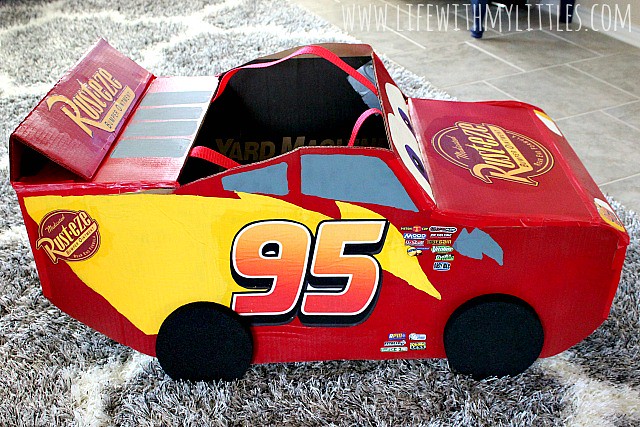
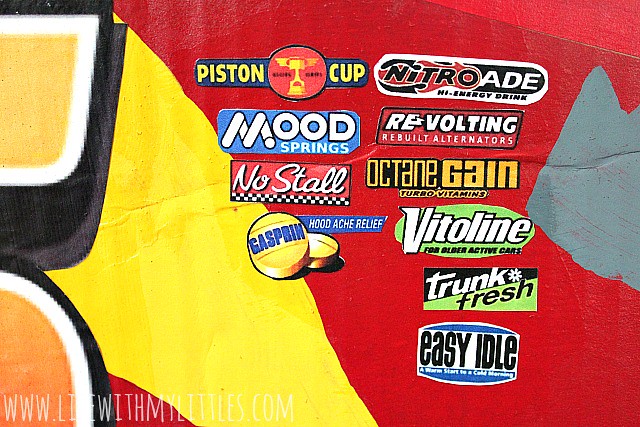
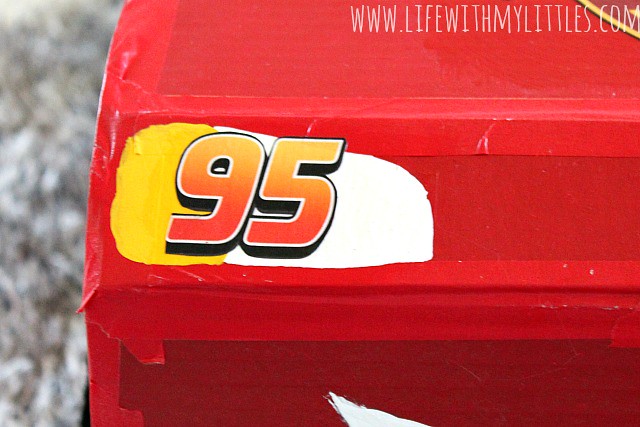
Next comes the logos! I found all my logos and stuff online, and I conveniently saved them all so I can share them with you! You can download them all here. Print them out, cut them out, and use mod podge with a matte finish to glue them on. That way you can do a layer under the pictures to adhere them and a layer on top to seal them on. I used my son’s diecast Lightning McQueen to figure out where all the pictures went. There are logos on the sides, the top, the spoiler, the back, and the headlights and taillights.
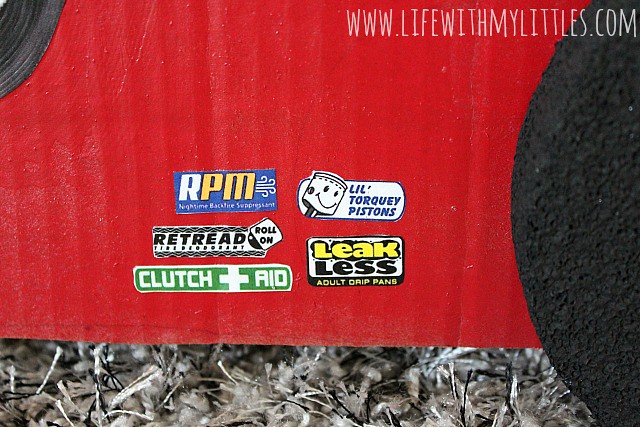
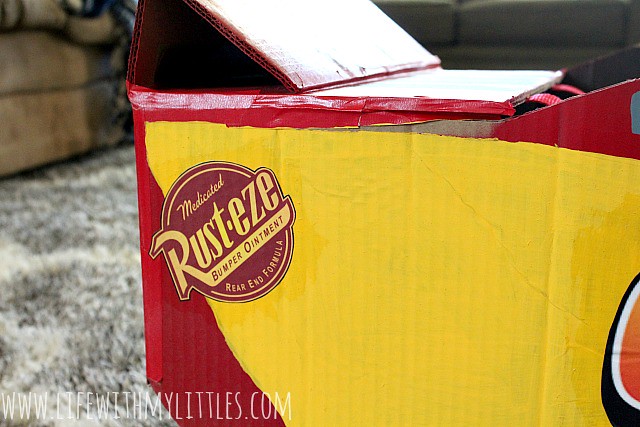
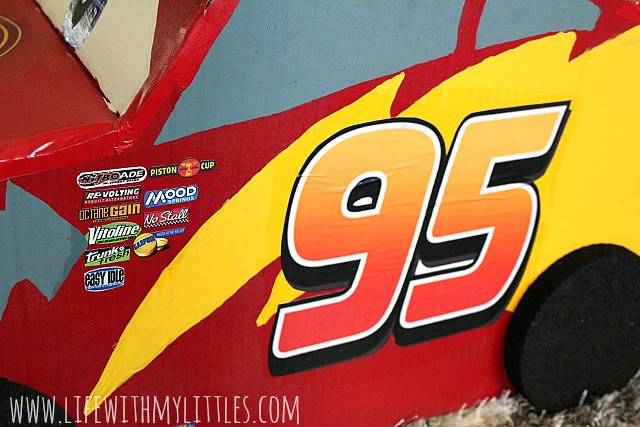

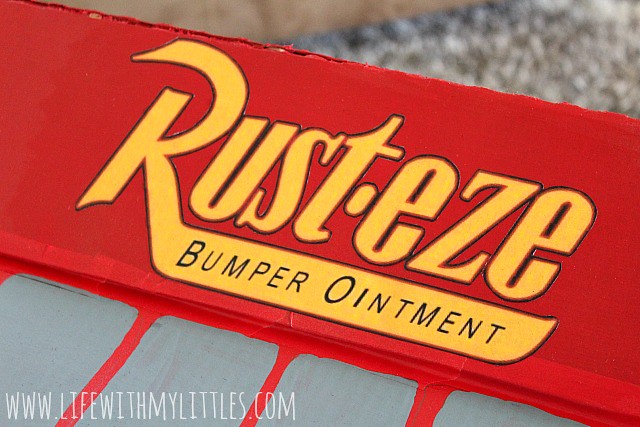

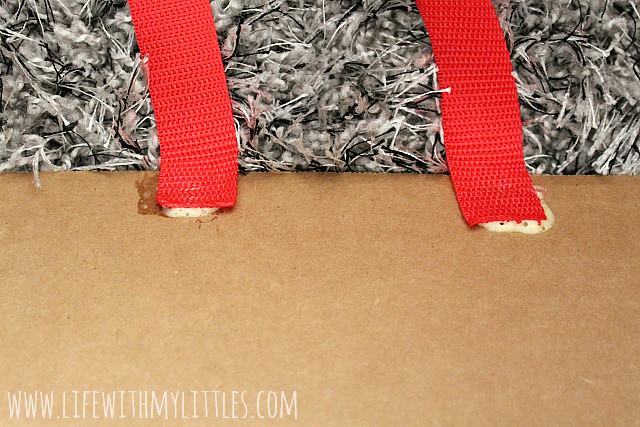
The last part is to put on straps so your child can wear his costume! I used thick red straps that were in the ribbon section of the fabric store, but they were more like flat, rope (just look at the pictures). To attach them, I first glued them onto the underside of the front opening (using gorilla glue again). Once they were completely dry, I had my son get in the car and then I tried to see how long I wanted them to be. Once I figured that out, I cut them to length and glued them to the underside of the back. And a quick tip, the straps kept falling off my son’s shoulders because I didn’t glue them close enough together in the back. So lesson learned (and passed on to you!).
That’s the last step! Now take a step back and admire your work! If your son is anything like mine, he’ll be thanking you for days. It was seriously the best Halloween costume I’ve ever made, and I’m sure I’ll be proud of it for years to come! Good luck making yours, mamas!
Ellie says
this is awesome! we are definitely using this as a guide for our costume this year. Thank you for posting the links to the decals. Would you recommend printing the logos on contact paper? Or do you think regular paper with modge podge is the way to go?
Chelsea Johnson says
I haven’t ever tried doing it on contact paper. I liked the way the modge podge looked with the regular paper, and it was just what I had on hand! Good luck!!
Ellie says
So just FYI, tried contact paper and it was too see thru, it didn’t hold the images integrity, so ended up doing contact paper on regular paper- cutting it out and modge podge over it. Definitely loved the modge podge idea.
Thanks again for this. I’d love to post my creation to you but unable to upload photo in comments. Wanted to mention I Loved your costumes this year though!
Chelsea Johnson says
I’m glad it turned out! And thanks for sharing about the contact paper! Thank you so much, Ellie!
Sheryl Damato says
Chelsea, this is awesome!! Thank you for the share. I’ve looked EVERYWHERE for a Lightning McQueen costume… Cheapest I could find was 99.00-insane it a toddler! We lost our printer, computer, etc in the hurricane. So, I am just going to paint it all on-good thing I am good with a paintbrush, lol!! I tried talking him into his original choice -Buddy from Dinosaur Train, but no go. U save my life and sanity… Thanks again so much! I have a week, better get my but moving! Happy Halloween!
Chelsea Johnson says
Thank you! And you’re welcome! Good luck! I hope it turns out exactly how you’re imagining! You’ve got a lucky little boy!
Sheryl damato says
If I can figure out how to post pics for u, ,I will!! Thx again…BTW, r u on Instagram?? 🙂
Chelsea Johnson says
Yay! And yes! My handle is @lifewmylittles. You can tag me there in any pictures you post! I really would love to see how it turns out!
Kristie says
Thank you for sharing! The link to the print-outs saved me! We had one more night to finish our costume but now with impending storms on Halloween they moved it up to tomorrow night so I’m frantically trying to finish up and the logos/branding is what I saved for last and what I was dreading! So…THANK YOU! We covered our car with felt but I think these will look fine printed out.
Chelsea Johnson says
I bet it will be so good when you finish! And you’re welcome! Good luck!
Andrea Ege says
Thank you so much for this tutorial. I had the hardest time finding one. The only other one I found was with some guy doing everything by hand.. Um yeah I’m not that artistic. What kind of paint did you use for the eyes, bolt etc? I’m finding that my little cheap bottles from Walmart are not covering the red.
Chelsea Johnson says
It’s just acrylic paint! And you’re welcome!
Rose says
Thank you so much for this! I followed your instructions, but I didn’t even put on wheels. My son loved it! And all of the adults and other kids were pointing it out and complimenting us. The kids were yelling out “it’s lightning McQueen!” :-). It was especially helpful to have links to the patterns that we can just print off. Thank you!!!
Chelsea Johnson says
Oh good! I’m so glad it turned out! Thank you for sharing! And you’re welcome!
Jenny says
Hi! My son absolutely loves Lightning McQueen as well and I am so glad I found your DIY instructions! I was just wondering, what were the dimensions for the cardboard model? Thanks so much for putting this up!
Chelsea Johnson says
I’m so sorry, but I don’t know! I made this almost three years ago so I don’t have it anymore. But if you look at my son, he was 4 at the time!
Laura Tancinco says
Made this costume for Halloween this year based on yours! Thanks for the tips and ideas. Had fun making it and LO was so happy 🙂
Chelsea Johnson says
Yay! I’m so glad my post was helpful! Nothing better than happy child on Halloween!
Amanda G says
I used your blog to help me transform my youngest son’s stroller into a Lightning McQueen car so that he and his brother could both be Lightning McQueen. Thank you so much for sharing, especially the sponsor stickers! You made my job so much easier!
Chelsea Johnson says
That sounds so cute! I’m so glad I was able to help!
Heather says
Chelsea,
Thank you so so much for posting this! My kiddo is so jazzed about his Lightning McQueen costume this year, and it was such a wonderful project for us to do together. Your tutorial was game-changing!