This is a sponsored post written by me on behalf of Cricut. All opinions are 100% mine. This post contains affiliate links.
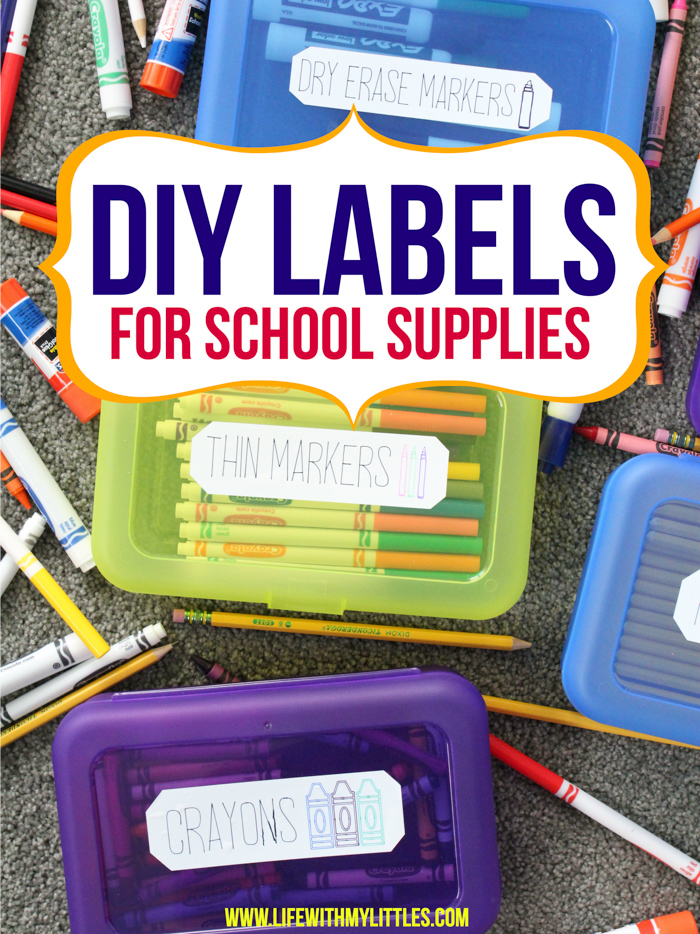
These DIY labels for school supplies are so simple to make and apply! You can easily personalize them for your child and they only take a few minutes to make. Such a great way to label supplies for school!
A few weeks ago, we made the big decision to homeschool our kids this year.
It was a very difficult, personal decision that we came to after our school district announced they were starting school with a combination of distance and in-person learning and were likely to switch to just distance learning or just in-person learning throughout the year.
There were a lot of factors that went into our decision to homeschool, but now that we’ve officially decided, I’ve started preparing for the school year. And if I’m being honest, I’m really excited for the upcoming year! My daughter is starting kindergarten and my oldest son is starting second grade, so I think it is going to be really fun!
One thing that we always love doing is buying school supplies, and it’s been even more fun buying supplies for homeschooling because I get to decide what to add to our list!
We’ve gotten new crayons, markers, colored pencils, glue sticks, pencils, paper, folders, and binders. But once I bought all of our homeschool goodies, I had to figure out how to organize them.
Thankfully, my Cricut Explore Air 2 was up to the challenge! It’s so easy to use, no matter what you’re making, and these labels were no exception!
I have two beautiful pen sets from Cricut, the Extra Fine Point Pen Set and the Ultimate Fine Point Pen Set. I love the colors in both, and they’re both compatible with my Explore Air 2.
The only issue I had is that the pens won’t write on regular vinyl.
Luckily, Cricut also makes writable vinyl that’s permanent, but unluckily, right now it’s only available for Cricut Joy. Yes, there are a few Cricut Joy pens that will work on the writable vinyl, but I wanted to use my wide array of colors I already had!
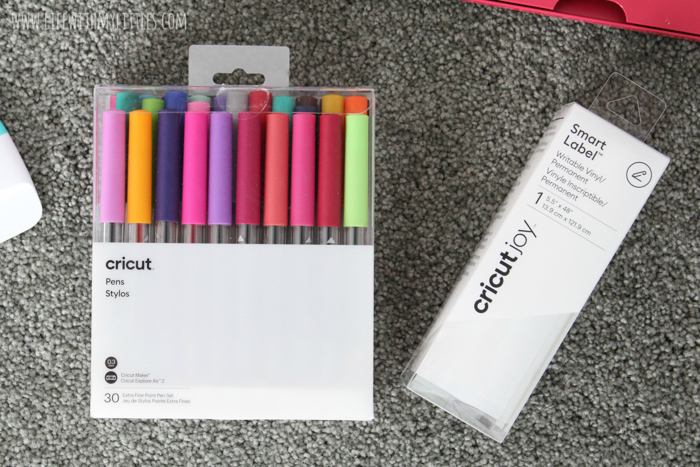
With a simple tweak, I was able to use the writable vinyl that’s made for Cricut Joy with my Cricut Explore Air 2. It was simple and even the most beginner Cricut users can easily replicate what I did.
These adorable labels are perfect for any child’s school supplies, whether they’re going to school or homeschooling. You can even customize them so they have your child’s name on them! And today, I’m sharing the whole process, and the Cricut Design Space file, with you!

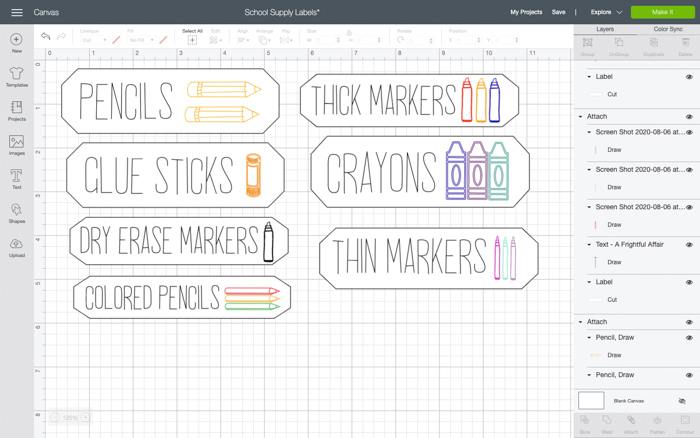
First, you need to decide which of the DIY labels for school supplies you want to use, and how big you want them. My supply boxes are 8.8″ long, so I made my labels each 5″ long.
The Design Space file include labels for crayons, thin and thick markers, glue sticks, pencils, colored pencils, and dry erase markers. If you want to create or change your own labels, detach the pieces of a label in the file, change the text, and if you want, change or delete the picture. You can also change the pen colors. Easy peasy.
So let’s get started! Cut a piece of your writable vinyl so it’s 8.3″ long (one of the choices for material size is 5.8×8.3″ long, and since the writable vinyl is 5.5″ wide, it works).
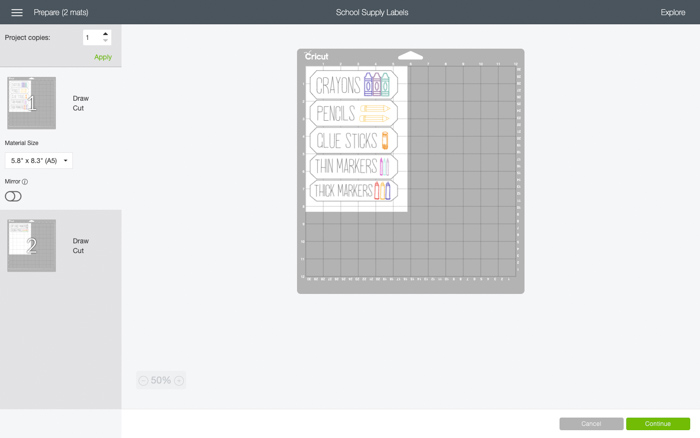
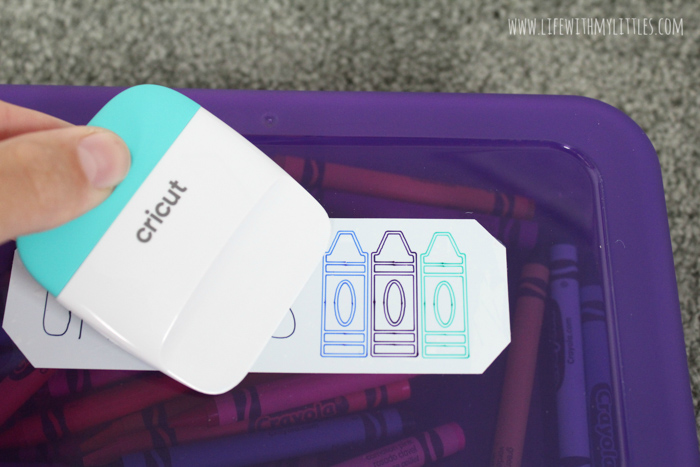
Next, put it on your cutting mat. I like to use my scraper from my Cricut Joy tool set to make sure it’s stuck on there good and flat.
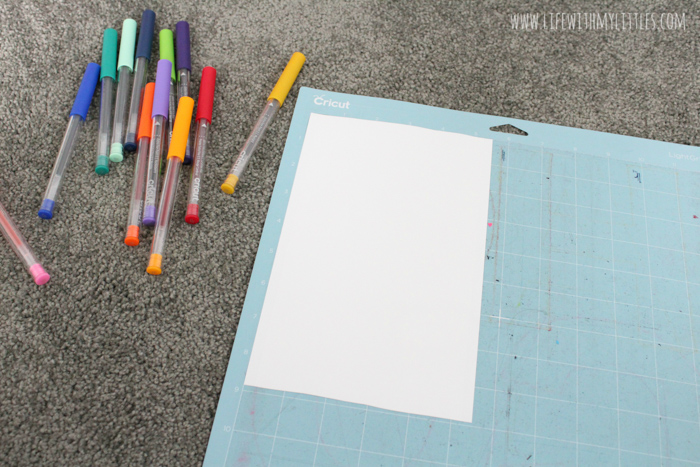
Make sure your Cricut Explore is set to “Vinyl” and the right pen is loaded into your machine. Load your mat and press go! The machine does all the work for you. Every time it finishes with a color, it will pause and wait for you to insert a new pen. When it’s done writing, then it uses the blade and cuts out your labels!
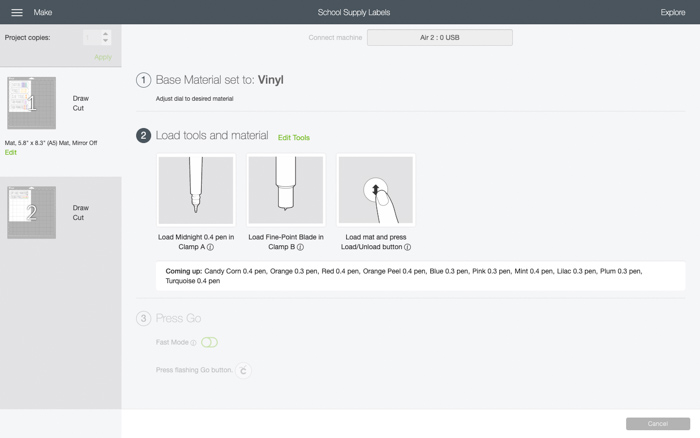
I loved watching my designs come to life on my writable vinyl. The machine worked perfectly and the designs came out flawless!

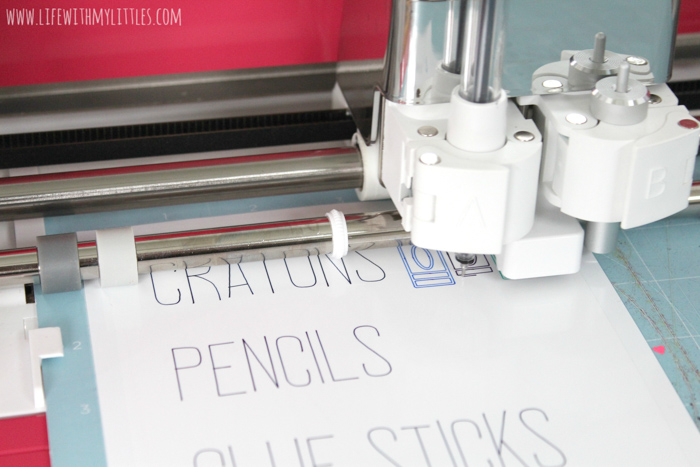

Once my Explore finished its job, I unloaded the vinyl, peeled the stickers off, and placed them onto my supply boxes. I got my supply boxes on Amazon, but you can really get them anywhere as long as they are flat on top.
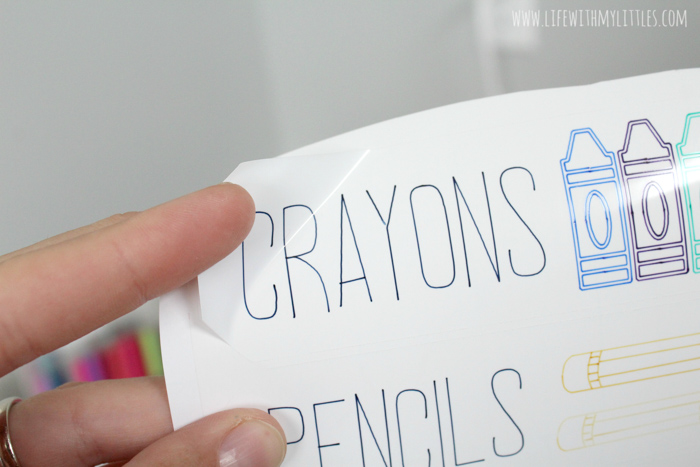
Make sure you carefully apply the labels so they don’t bubble up or wrinkle. The scraper tool is an easy way to make sure you get the labels on without any bubbles.
Once all your labels are on, fill up your supply boxes with school supplies and you’re done! Yay!
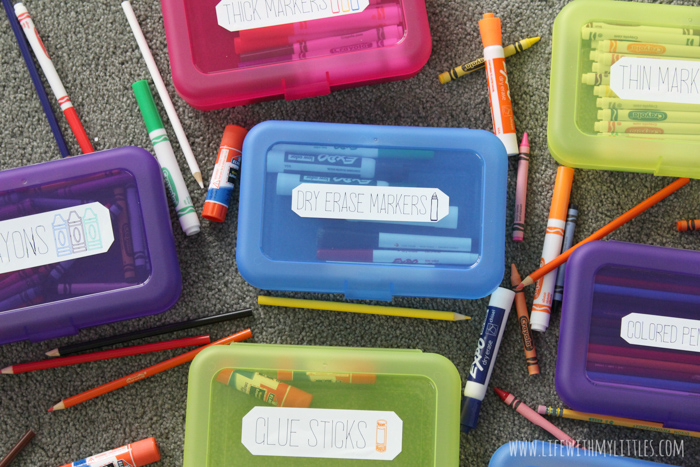
Regardless of if you’re homeschooling, sending your child to school, or distance learning this year, labels for school supplies are a must! You can even go a step further and label your child’s lunch box, notebooks, or backpack. These DIY labels or school supplies are so easy to make, and you can personalize them pretty much however you want.
Now that our school supplies are all ready to go, I can hardly wait to get started with the school year. I hope that wherever you are, whatever your children’s school year looks like, you’re excited, too! Good luck!

Christine says
Love these labels and I love shopping for school supplies too. I hope your kids have a great school year and that homeschooling goes well for you.
Chelsea Johnson says
Me too! It’s one of my favorite parts of the back-to-school season! Thanks, Christine!
Katie Clark says
I love making labels with my Cricut! They are so nice for a professional finish. I love all of yours!
Chelsea Johnson says
Thanks, Katie! I love it, too!!
Heather says
Thanks for sharing and taking time for us during this chaos! When I open the DS file, there is not option to customize/make it? Can you help? Thank you! -Heather
Chelsea Johnson says
Hmmm… I’m not sure why! You might want to ask Cricut Support about that one!