DIY Home Alone screen print shirt based on Uncle Frank’s line “Look what you did, you little jerk!” One of the best lines from the original movie on a tee! Includes the free cut file on Cricut Design Space, and a full tutorial!
I received free product in exchange for this post. This post also contains affiliate links.
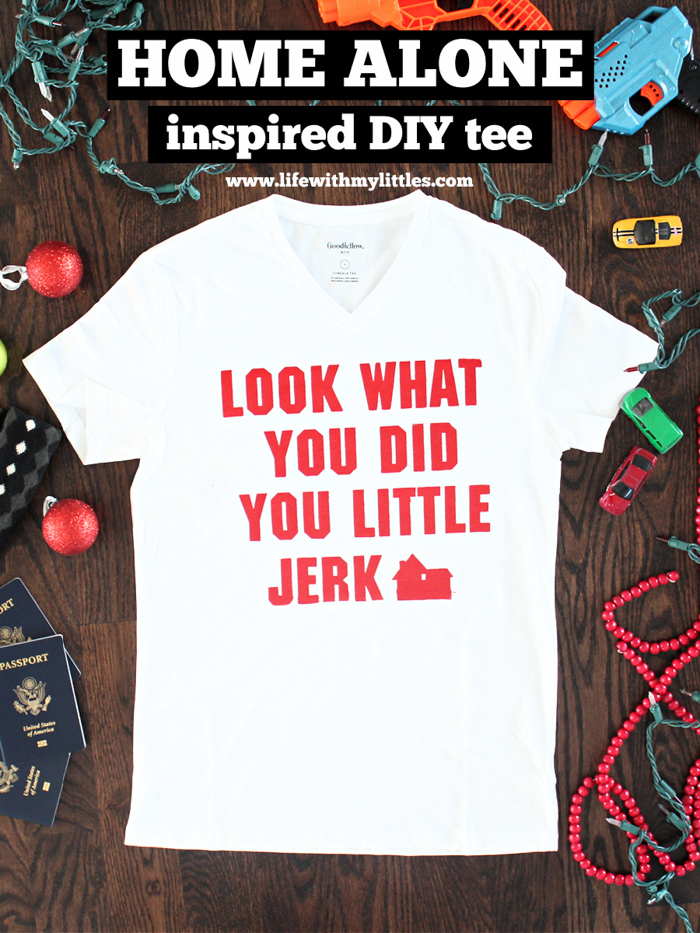
Last year we watched the classic Christmas movie Home Alone with our kids, and they thought it was one of the funniest movies they’d ever seen. They watched it over and over, even after Christmas was over. And I have to say, I can’t really blame them!
One of my favorite parts of the movie is when Kevin and Buzz are arguing about the last slice of cheese pizza and the milk spills on the plane tickets and passports and everyone freaks out trying to save them. Then things calm down and Kevin’s uncle looks at him and goes, “Look what you did, you little jerk!”
Oh my goodness, can you even imagine! Everyone is quiet and glaring at little Kevin and blaming him for everything that went wrong. I laugh so hard every single time.
I have recently been experimenting with screen printing, and I thought it would be a fun idea to make a DIY Home Alone screen print shirt with that hilarious quote from Uncle Frank!
Screen printing isn’t too complicated, and as long as you have the right tools, you can create one-of-a-kind items that will last a long time! I haven’t ever shared a screen printing post on here, so I wanted to make sure I give you guys a full tutorial so you can follow alone and make your own Home Alone shirt, too!
I opened up Cricut Design Space and got to work. I even asked my Instagram followers their advice when I designed it, and had so much great feedback! I used the Cricut font “ITC Machine Medium,” and added the little house from Home Alone to the end of the quote. You can access the cut file on Design Space here.
Figure out how big you want your design to be on your shirt. I usually grab a ruler and hold it on my material to see how big I want it to be. Then size down your design. I did 12″ for my design. Just make sure your design will fit on your screen, too!
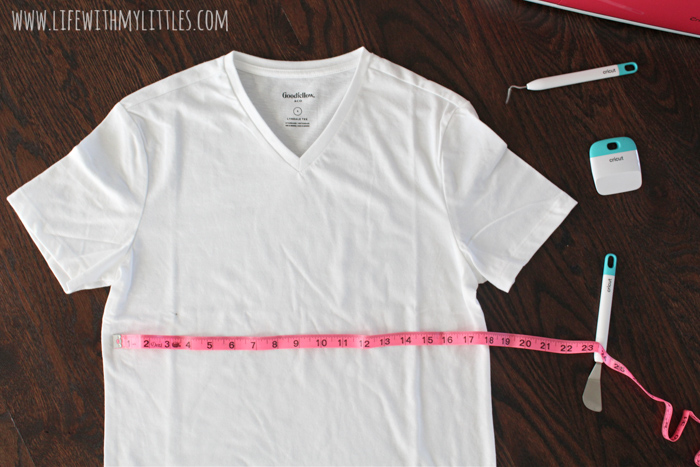
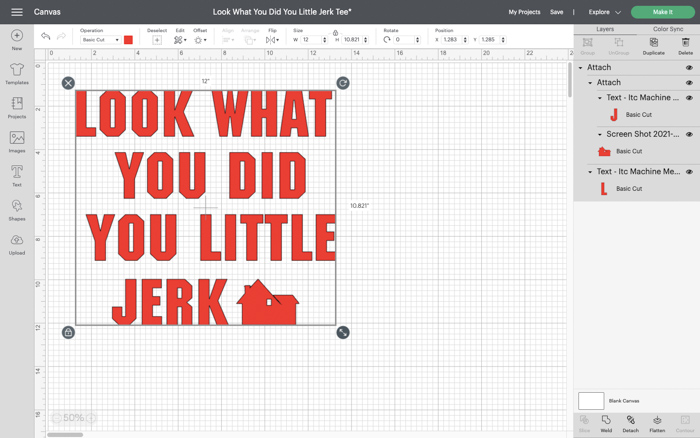
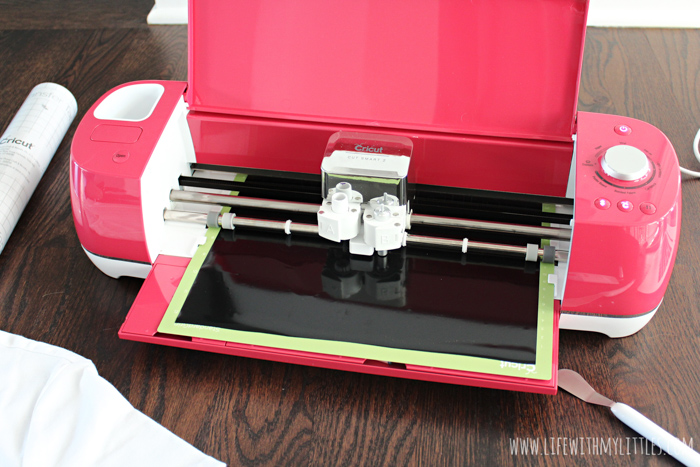
Cut it out on vinyl! I used my Cricut Explore Air 2 and Permanent Black Vinyl. You can use whatever color on hand, but you need to cut your vinyl all at once, so make sure you have a big enough piece of vinyl. Once you get to the “prepare” screen, center your design on the mat so you have a good amount of edge on each side. This will come in handy when you are screen printing.
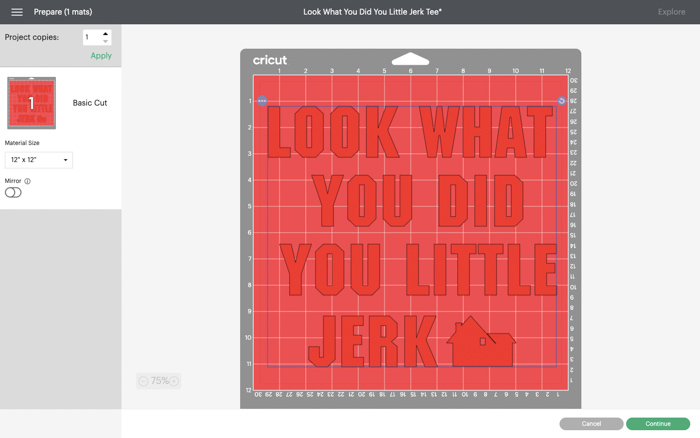
Then press continue on Design Space, make sure your machine is set to “vinyl”, load your mat, and start cutting!
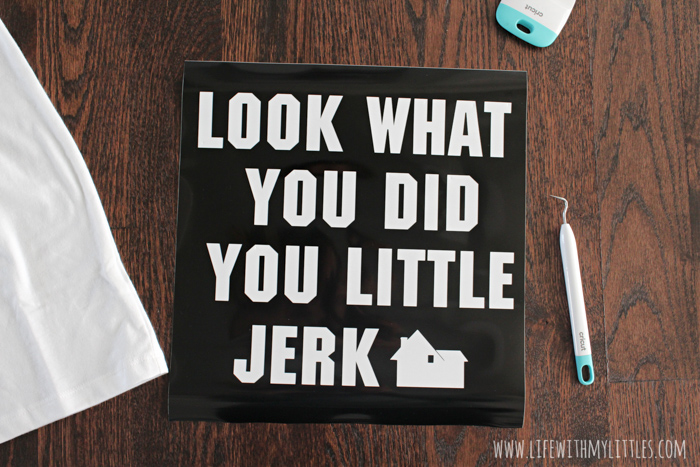
Weed your vinyl. Unlike a regular vinyl project, you’re going to be leaving the outlines of what you want to screen print. I always have my Cricut Starter Tools on hand, because the weeder and spatula come in handy when peeling things off the mat.
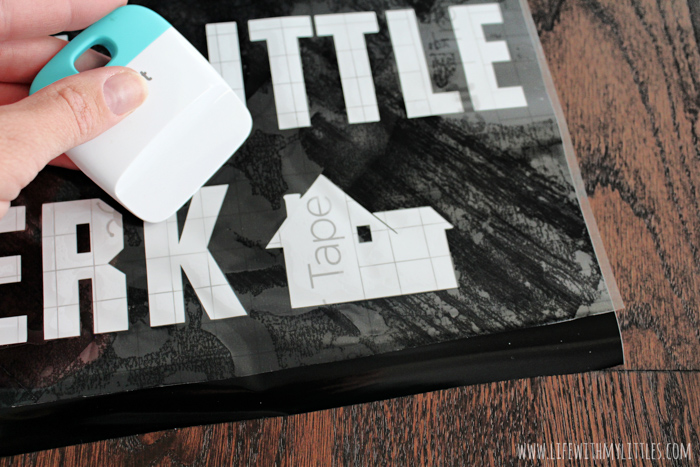
Grab a big piece of Transfer Tape so you can transfer your design to your screen. Use your scraper for the tool set to smooth out all bubbles, and make sure every little edge is stuck to that tape!
Pull up that Transfer Tape with your design attached and stick it to your screen. My screen is a Speedball 10×14″ Screen. Again, the scraper will help you eliminate any bubbles.
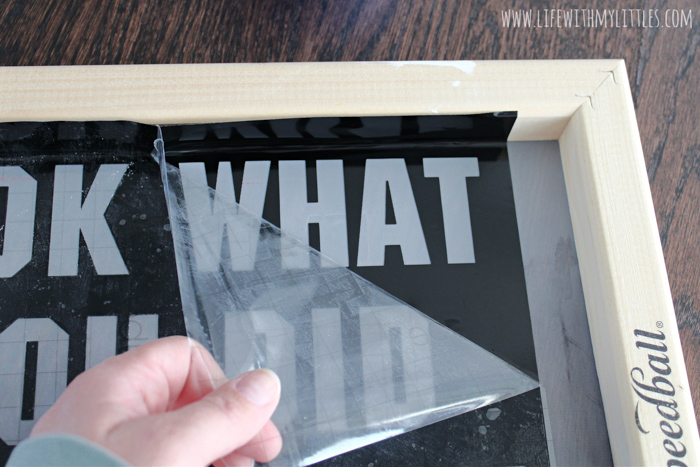
Pull off your transfer tape and then cover up any open spaces along the edges with painter’s tape. You don’t want any paint on you shirt where you don’t want it!
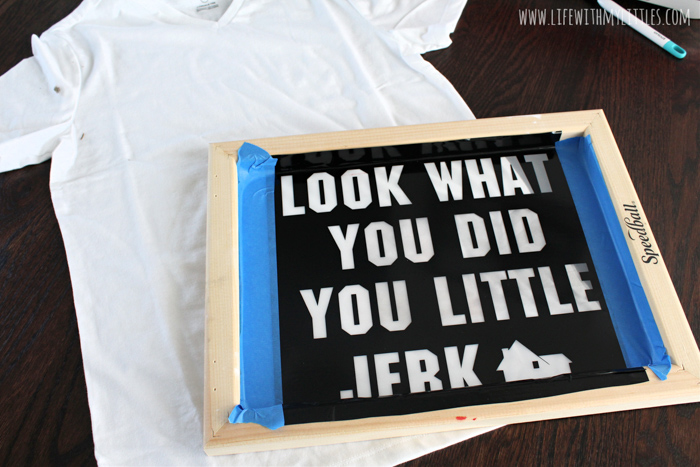
It’s time to paint! I’ve screen printed several times, but I’m certainly not a pro, so if you haven’t ever tried it before, it’s best to read up on how to do it because I can only give you the basics. Pigskins and Pigtails has some great screen printing for beginners posts.
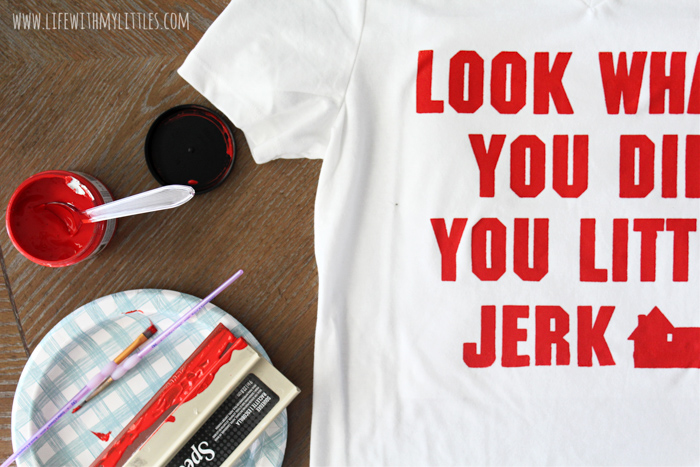
The basics of what you need are your vinyl stencil on your screen, a paint squeegee, and paint. I also like to have something like a paper plate on hand to set my squeegee down when I’m done. And I use a plastic spoon to spoon the paint out onto my stencil before I squeegee it.
Okay, so once you have everything on hand, center your screen and design onto your tee. Now imagine how good your DIY Home Alone screen print shirt is going to look! You’re almost there!
Also, I didn’t get any pictures of this but make sure you have some type of paper or cardboard between the layers of your shirt, especially if you’re doing your design on a white shirt, too. The paint will bleed on a white tee a little bit, and if you don’t have something in between the front and back layers, you’ll print the reverse shadow on the back of your shirt.
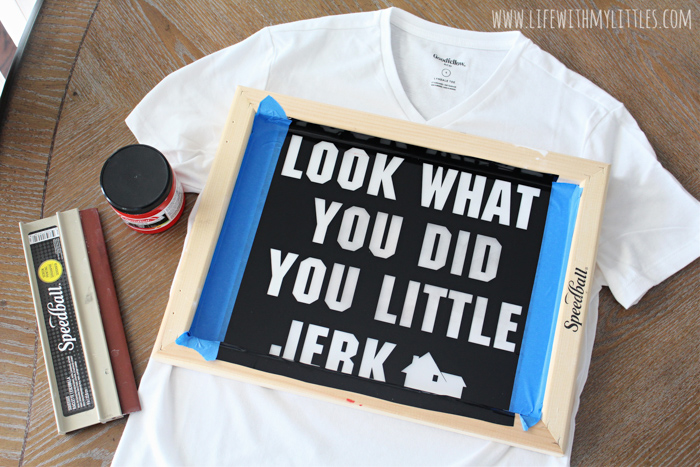
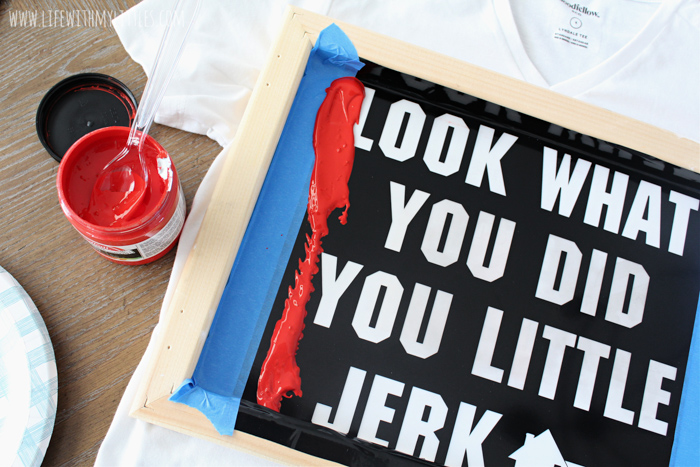
Now spoon a little bit of red screen paint along the edge of your design.
Very careful and not too quickly, pull the paint across your design with your squeegee. It’s a big design, so the paint may not get the whole thing at once, and you may have to add a little more paint on the other side. Go back and forth with the squeegee until there aren’t any more white spots left and the paint isn’t pooling anywhere.
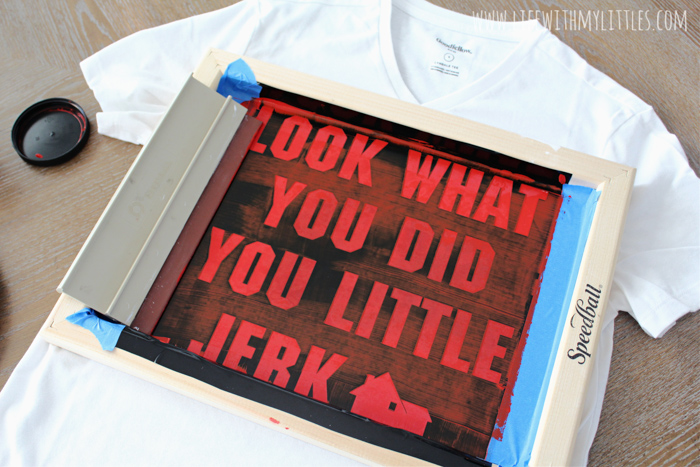
Slowly and again, very carefully, lift the screen off your tee. I start at the bottom and peel it away little-by-little. It will look AWESOME but you need to be patient and let it dry at least 24 hours before the next step. So set it somewhere away from little hands.
After your shirt has dried for a full 24 hours, you need to heat set the ink before you wear it, otherwise when you wash it, some of the ink will fade.
You can use an iron if you want, but the easiest way to heat set your design is to use a Cricut Easy Press. Set the temperature to 320 degrees and the time to 40 seconds. When it heats up, heat set your design by holding the Easy Press on your design. Repeat the process anywhere you miss (if your design is bigger than your Easy Press).
I also like to use the Easy Press Mat behind my materials when I heat set so I don’t damage the table or floor (or wherever I am) underneath. An ironing board works, too.
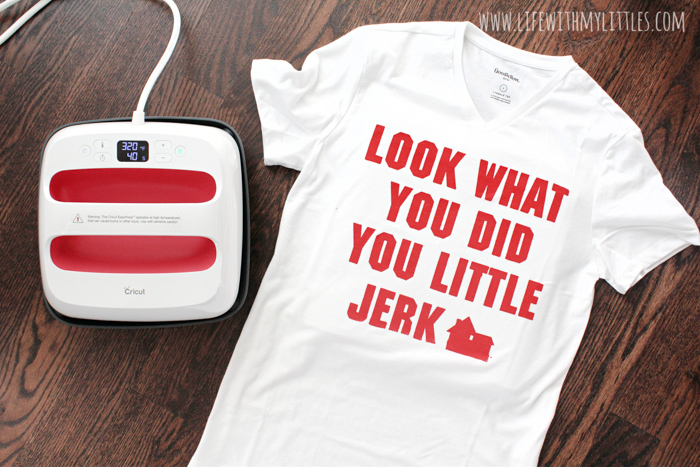
Now you’re ready to wear your shirt! Pull it on, grab some popcorn, and turn on Home Alone! Or, if you’re feeling brave, watch the new movie Home, Sweet Home Alone on Disney+. It comes out November 12th and I’m not sure how I feel about it! Although, if I’m being honest, I’ll probably still watch it.
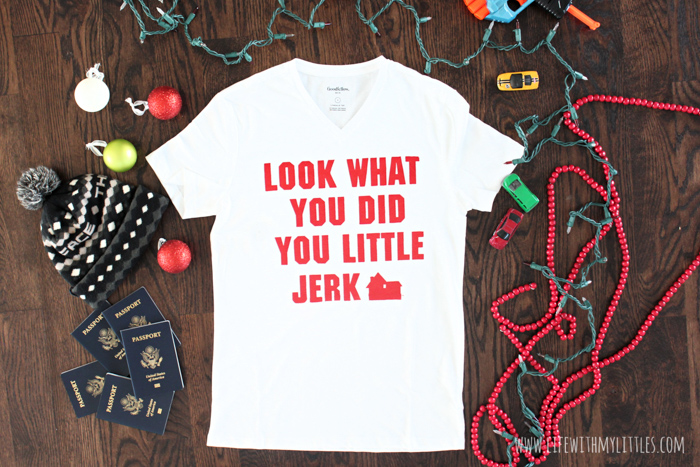
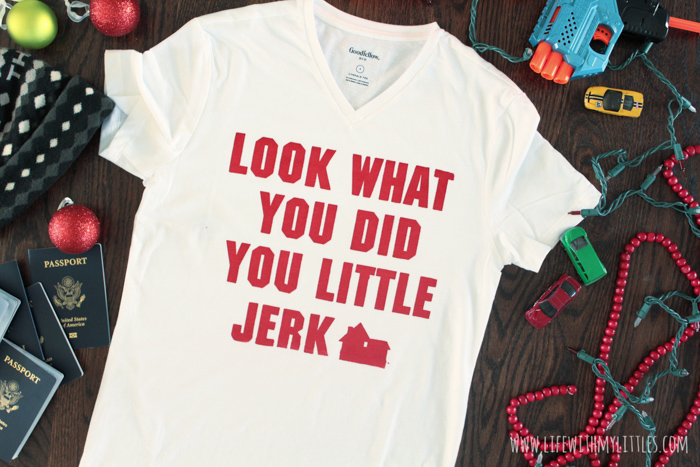
DIY Home Alone Screen Print Tee
DIY "Home Alone" screen print shirt based on Uncle Frank's line "Look what you did, you little jerk!" One of the best lines from the original movie on a tee! Includes the free cut file on Cricut Design Space, and a full tutorial!
Materials
- White tee
- Transfer tape
- Vinyl
- Red screen paint
Tools
- Cricut Explore Air 2
- Weeding tool
- Scraper tool
- Screen
- Painter's tape
- Squeegee
- Easy Press
- Easy Press mat
Instructions
- Open Cricut Design Space and pull up the cut file here.
- Decide how big you want your design to be and size down the design.
- Cut out your vinyl on your Cricut Machine. Make sure it is centered on the cut screen before pressing "Go"
- Weed out the words and the house (the opposite of what you would do if you were using the letters you cut).
- Using transfer tape, transfer your design to your screen.
- Remove the transfer tape and cover up any open spaces on your screen with painter's tape.
- Center your screen on your shirt.
- Spoon out paint on side of screen and use a squeegee to pull the paint across your design.
- Carefully lift your screen off the tee.
- After at least 24 hours, heat set your ink. Use an Easy Press set at 320 degrees for 40 seconds.
Notes
Before you paint your tee, put something in between the layers so the paint doesn't bleed through. Don't remove it until after your ink has completely dried.

Christine says
Best Christmas movie ever! This shirt is amazing! You did such a great job!
Chelsea Johnson says
Thanks! It’s definitely one of my favorite shirts now!