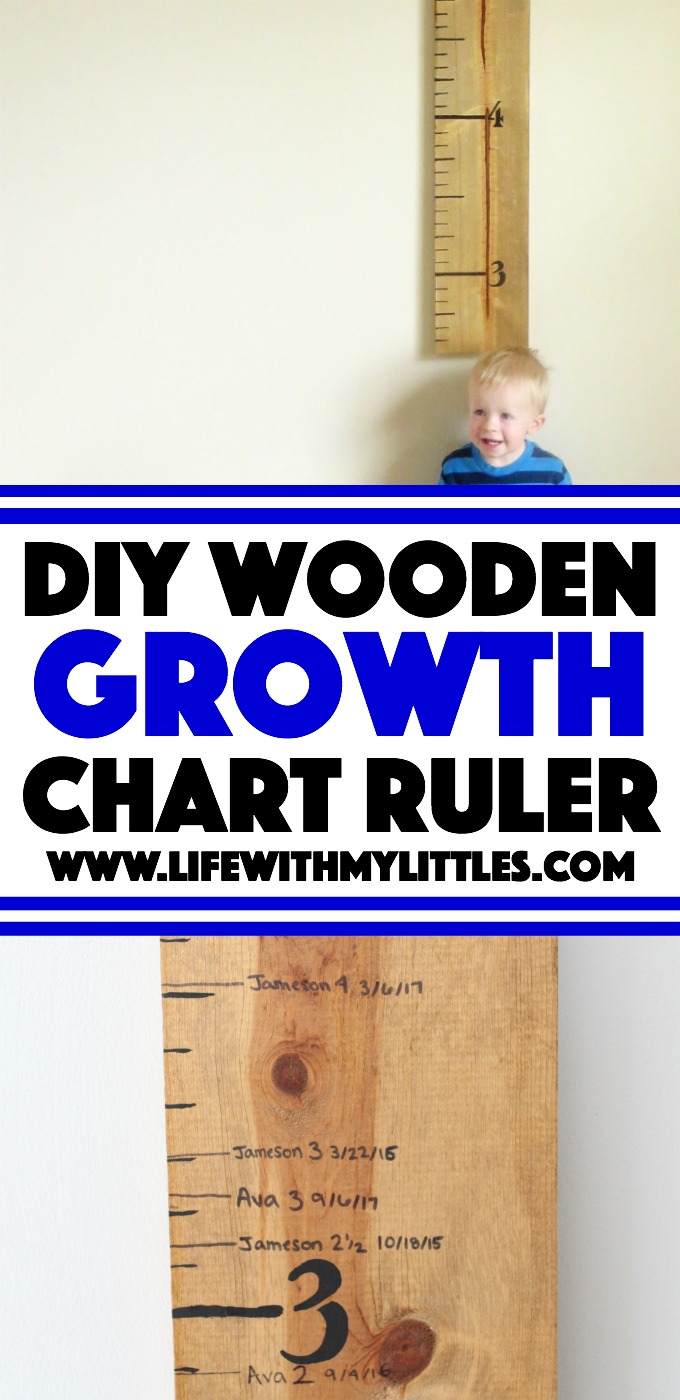
Easy DIY Growth Ruler: A cheap handmade growth chart that is simple and looks great in any room. The perfect way to chart your kids’ growth!
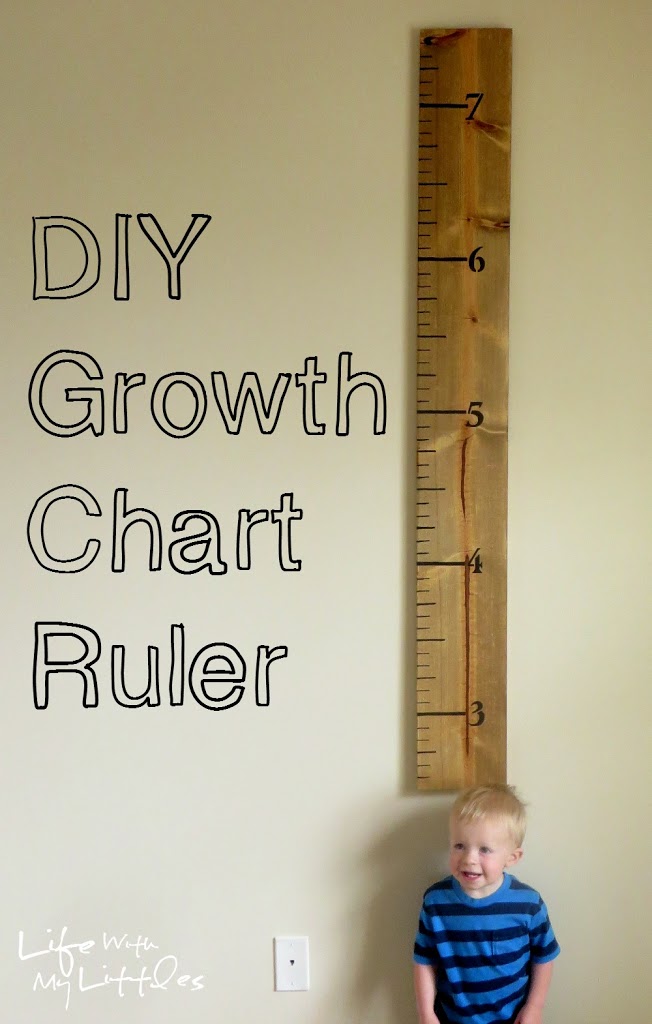
Something that I never had in my home growing up was a place where we measured the growth of my sister and me. We lived in the same house from the time I was 5-18, so you would think that we would have been smart enough to mark it every now and then. But alas, we were not. So when our son was born I knew that I wanted to document his growth. The only problem is that since the Mister is in medical school, we will be moving around for the next few years. So after searching Pinterest for an answer, I knew exactly what I wanted to do!
I love love love the idea of making your own growth chart, especially one that looks like a giant ruler! I think it’s super cute and is a great way to mark how tall your kids are when you know you won’t be in the same house for their whole childhood. Plus, it is way cheaper to make your own and it really is not that hard. You only need a few things to make it and it’s also way cooler to tell someone you made the awesome growth ruler hanging in your home than that you bought it.
First, you need to get all of your materials together. You will need:
- Board
- Wood stain
- Paintbrush
- Ruler
- Pencil
- Stencil
- Black paint
- Sawtooth hangers
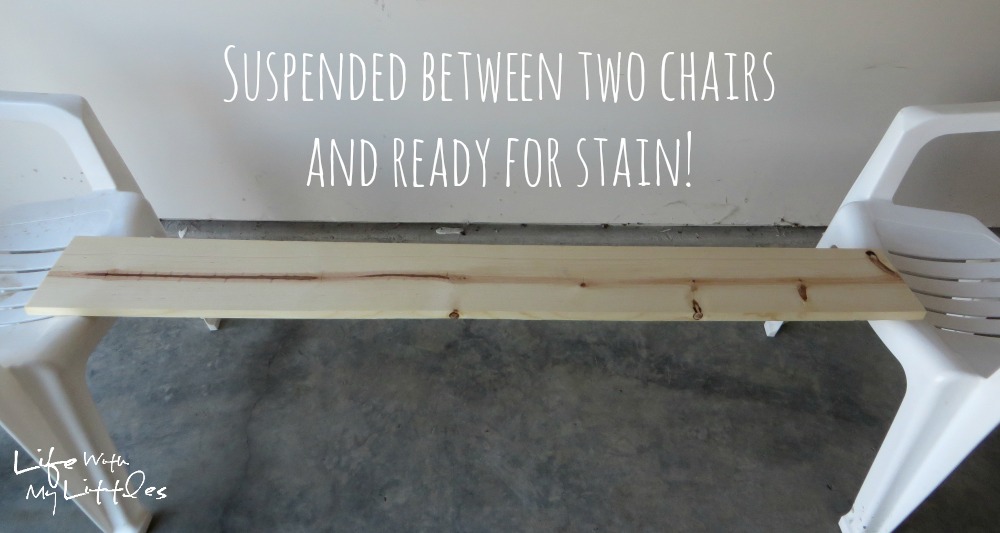
After you have everything you need, you will need to stain your board. The easiest way to do this is to place both ends on two chairs in an open and well-ventilated area. For me, this was in our garage with the door wide open (because pregnancy and staining boards do not mix well). It was nice to have it elevated because then I could get the edges while I did the top and I didn’t have to worry about it getting all over the floor.
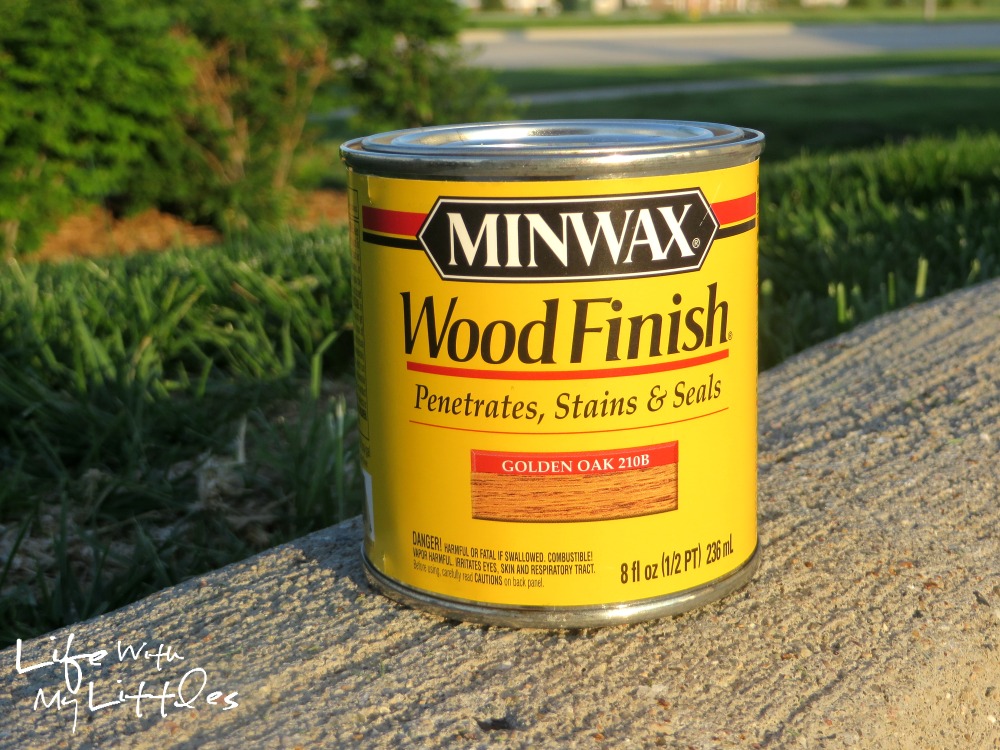
The stain I used was a small little 8 oz. Minwax stain in the Golden Oak color. It was only like $3 and it gave my board the perfect look with just one coat.
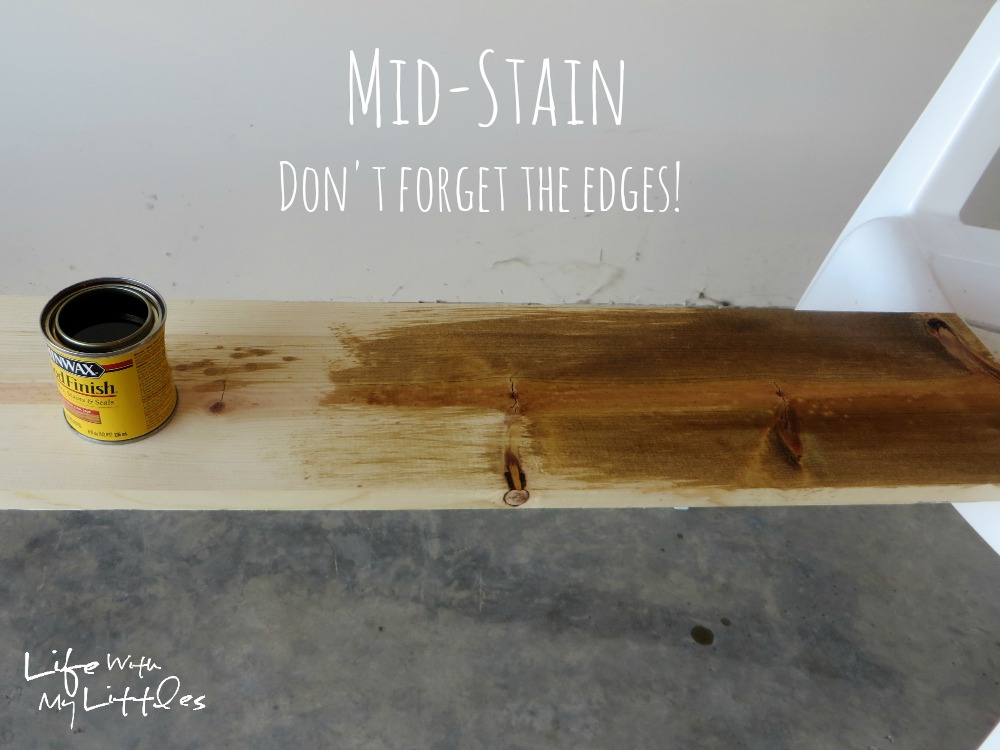
I stained one side and one edge at a time, and let the board dry completely in between. Depending on where you do your staining, it may take a while. In Iowa, it is humid so I let my board dry 24 hours before I flipped it over for the next side.
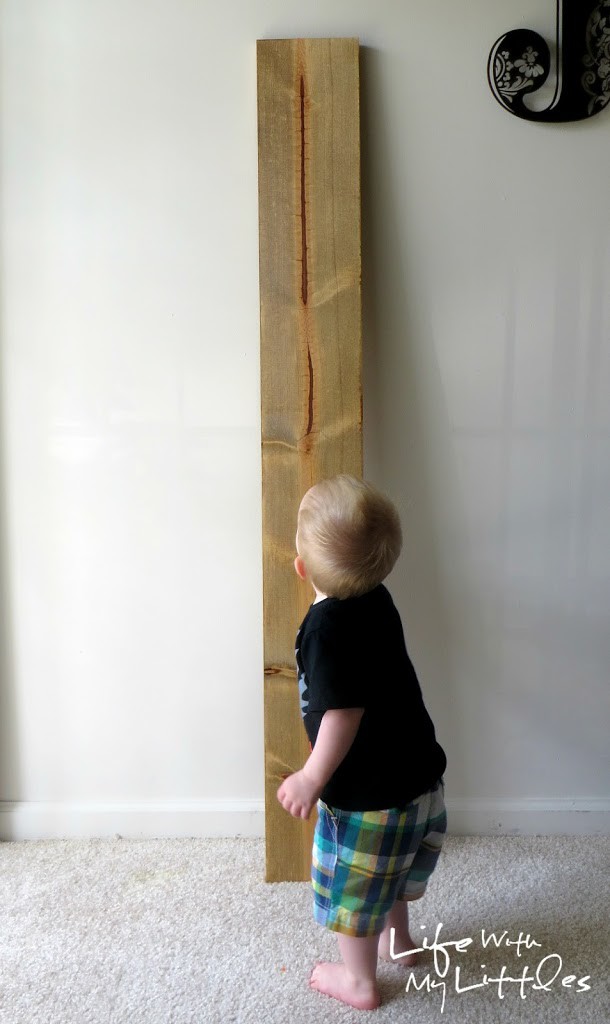
Once it was dry, I brought it inside to get ready to paint the lines and numbers. And Little J couldn’t resist getting involved in the pictures!
The first step is to mark your board where you want each line. It would probably be easiest to do this all at once, but of course I didn’t do that. I started by marking the 1′ lines, then lines every 6″, then lines every inch. And a tip for this: depending on how tall you want your board to be, you may want to have your board hanging at a different position than mine. My board ended up being hung between 2.5′ and 7.5′. Chances are our kids won’t be that tall, but I wanted the board to be high enough so it wouldn’t be messed with by littles, and I also wanted it to be taller than 6.5′ because the Mister and I are both tall. Basically, if you want your board to be from 2-7′ or from 1-6′, your first foot mark needs to be a foot in from the end. If you want your board to be from 1.5-6.5′ or from 2.5-7.5′ like mine, then your first food mark needs to be six inches in from the end. And if you are still confused, draw it out on a piece of paper and it will make more sense. So again, for my board, I did the first foot mark 6 inches in. Each line is 2.5″ long as well.
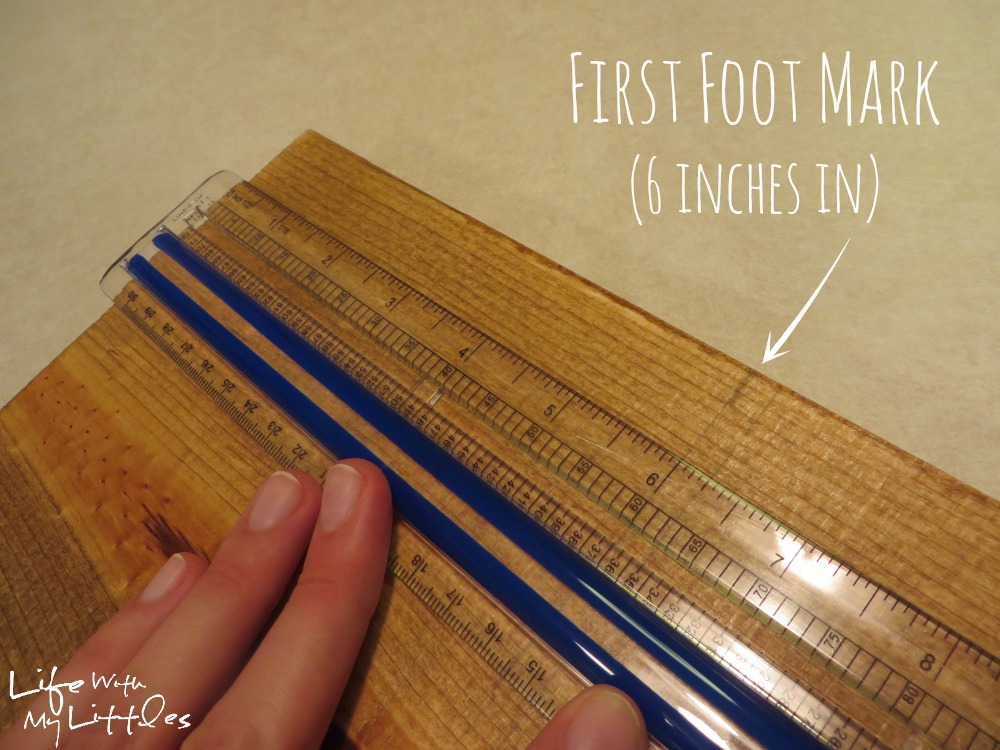
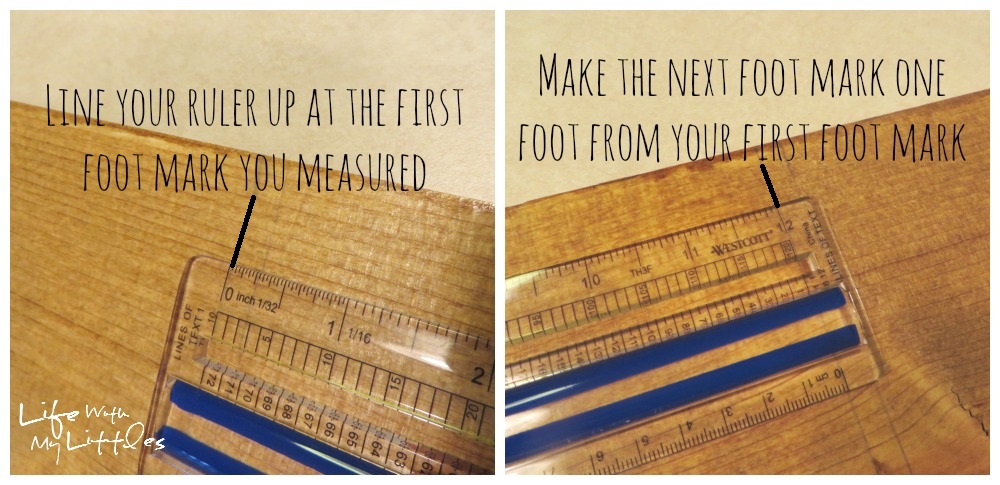
If you will notice in the above picture, I made another mark 1/4″ away from my first foot mark. This is because you want the lines once they are painted to be thicker than the rest. I quickly realized that you don’t want to center the lines over the foot mark because if you do that, the foot marks will actually be a little less than the height they are supposed to be when hung up. So as you make your lines, you will want to paint your lines a little bit above the measured marks instead of below. THIS IS VERY IMPORTANT!
As you measure the rest of your foot marks, use your ruler and measure them 1 foot away from the first line you marked. If you do it from the second line, your ruler will not be accurate and there will be more than 1′ between your lines. Again, THIS IS VERY IMPORTANT! See below. And I made the lines darker so you can see where they are. The lines on the right of those dark lines are the ones you will need when painting that are 1/4″ in from the first.
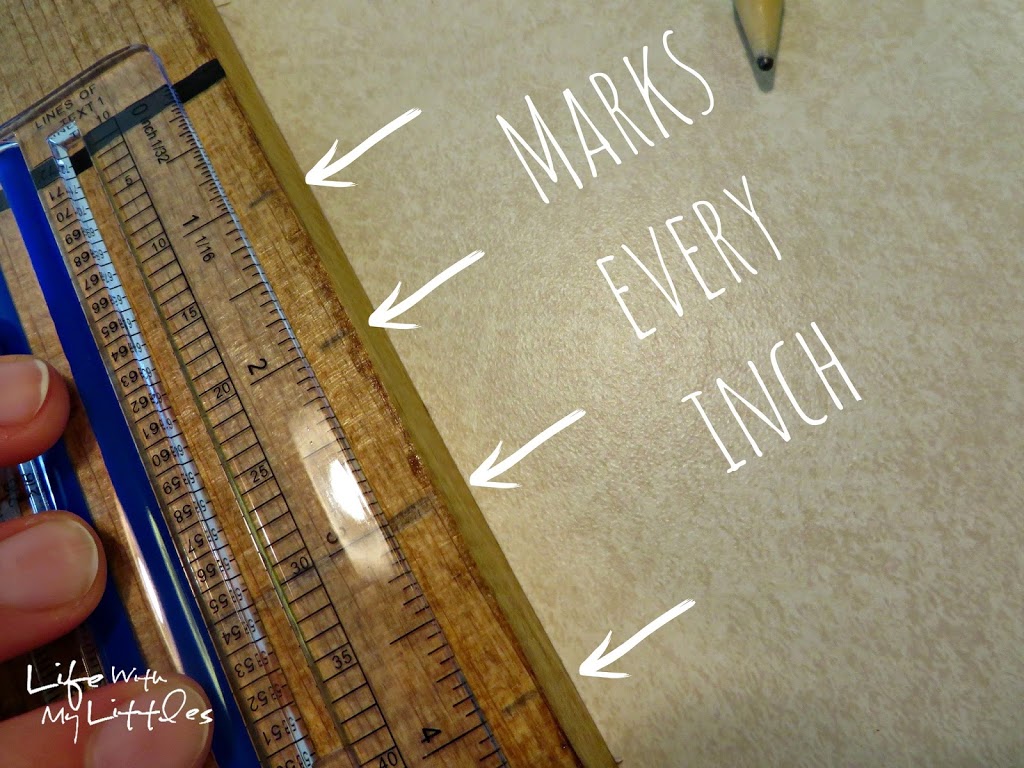
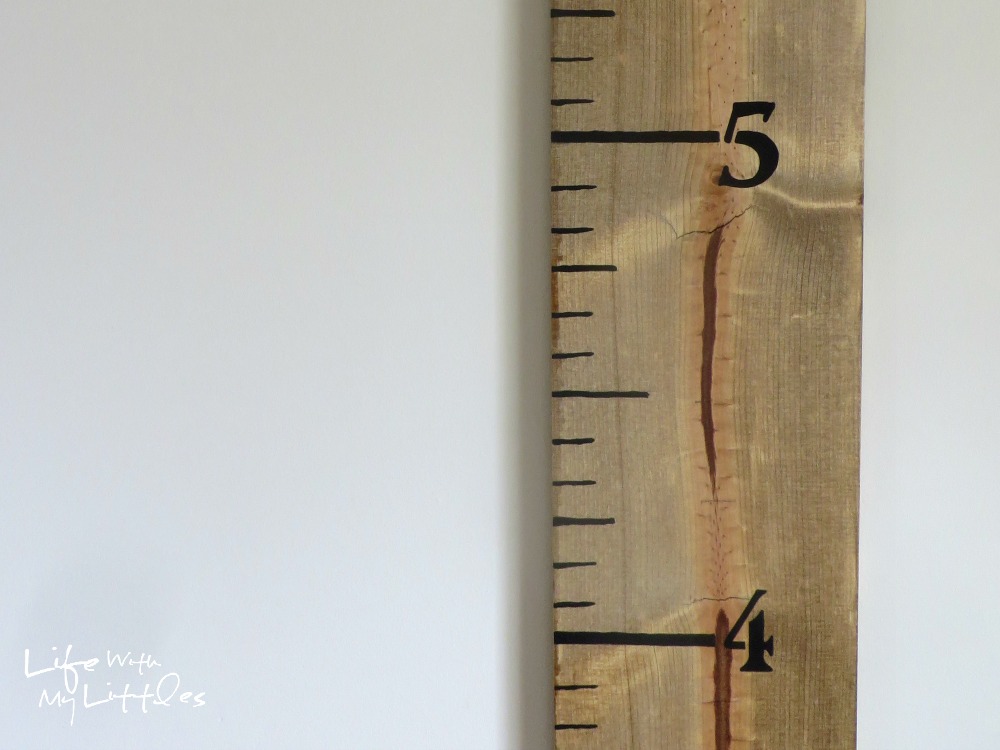
Okay so I hope that makes sense. Mark your foot marks all the way to the end of your board when you can’t make any more marks. Next, you will want to do the inch marks. On my board, I made the six inch marks a little bit shorter than my foot marks and a little bit longer than my one inch marks. The six inch marks are also a little bit thinner than my foot marks, and the one inch marks are the thinnest of them all (if that doesn’t make sense, look at the finished pictures of the board and it will). In the below picture, you will see the painted foot marks (you don’t have to paint yours yet) and the marks I made every inch in between.
So now you have all of your marks on your board and you can begin painting! Yay! Just use a THIN paintbrush and black paint. If you don’t use a thin brush, you will regret it. Trust me, I have messed up fatty ugly marks on the back of my board because I messed up and didn’t use a thin brush.

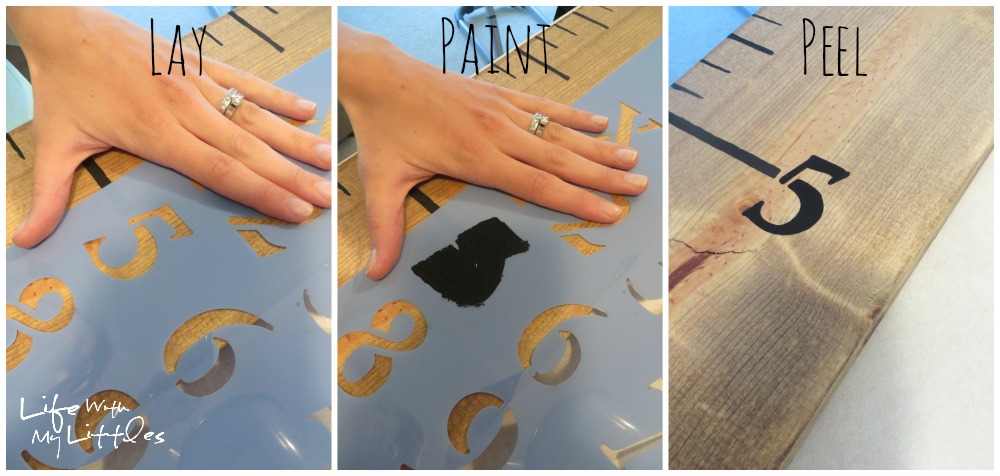
Once you have all your lines painted, it is time to break out your stencil and get those numbers on your board. My board hangs at 2.5″, so my first foot mark is at 3 and my last one is at 7. If you are starting at an even foot, you will only have three numbers to add on. Lay your stencil on your board and paint over it. Slowly peel the stencil back and you will have a beautiful number.
Paint all of your numbers and you are done! Yay! You now have a beautiful handmade growth ruler to hang in your home and chart your littles’ growth. To hang up your growth ruler, you can use sawtooth hangers. I just nailed two into the back top and it was good to go!
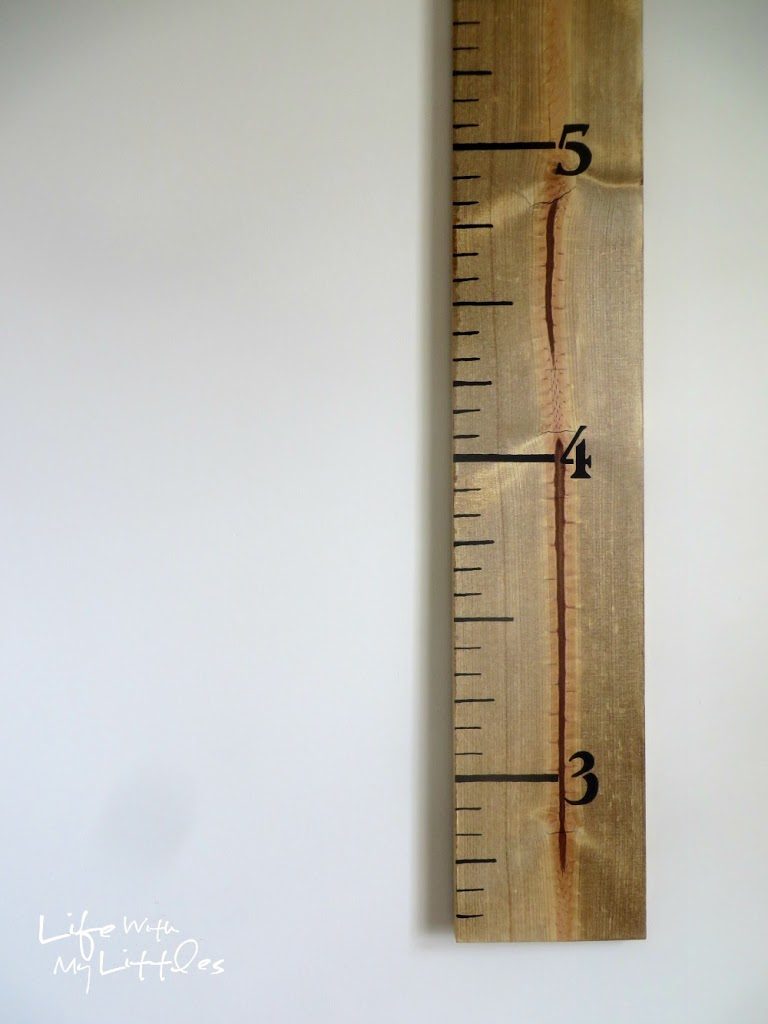
And there you have it! A beautiful, homemade growth ruler that can travel with you from home to home. And even if you aren’t planning on moving when your kids are young, it’s still a cute way to display your family’s growth!
runtspickins says
This is so cute! I really want to make one for my little guy. Maybe I'll get around to it before he turns one… lol
sdaigneault2 says
Such a cute idea! And better than a wall.
Chelsea says
Thanks! It was really easy and if you don't count drying time, fast, too!
Chelsea says
Definitely better than a wall 🙂
Jessica says
Love this Chelsea!! Pinning!
Chelsea says
Thank you! It turned out perfect and I can't wait to hang it up and use it with all of our littles!