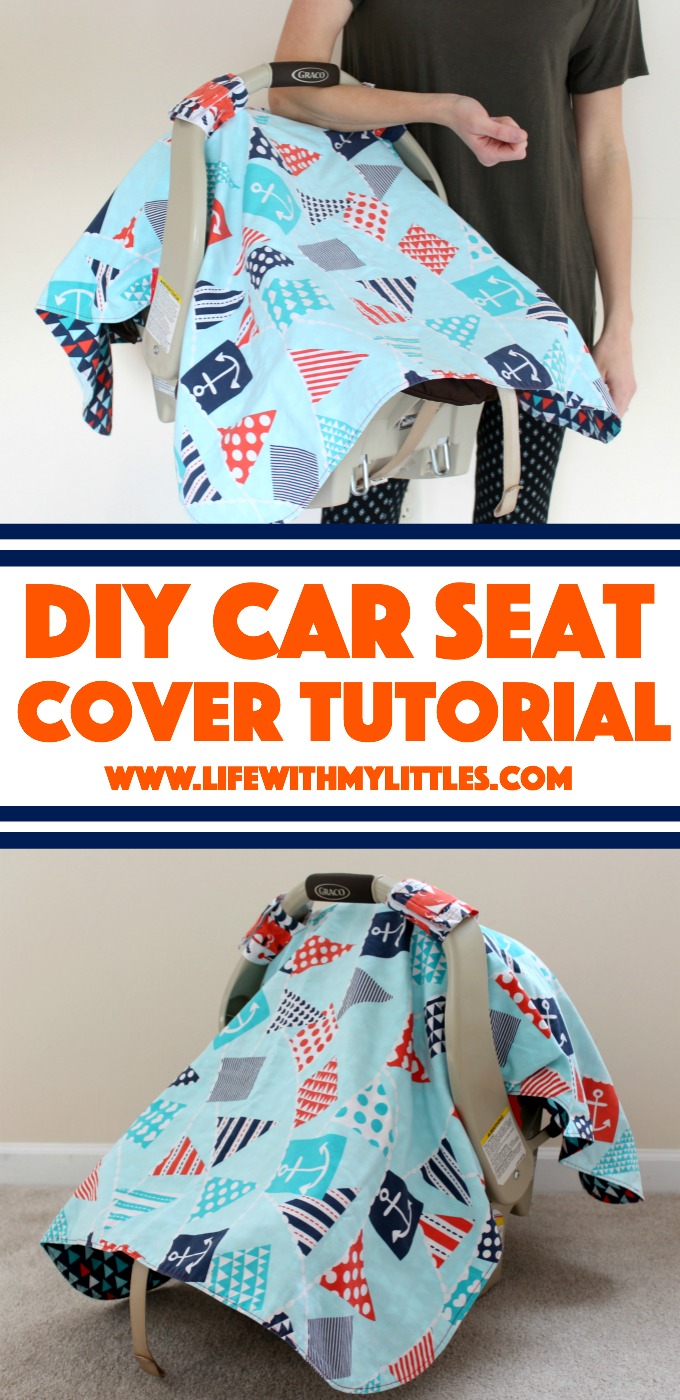
Car Seat Cover Tutorial: A cute, easy canopy for your baby’s car seat that is durable and looks great!
EDIT: It has been five years since I posted this tutorial, and I have used this cover with both of my sons. It’s still in great condition! I’ve updated the photos of the finished cover, and I apologize the photos for the actual tutorial aren’t the greatest. I was still learning how to use a camera!
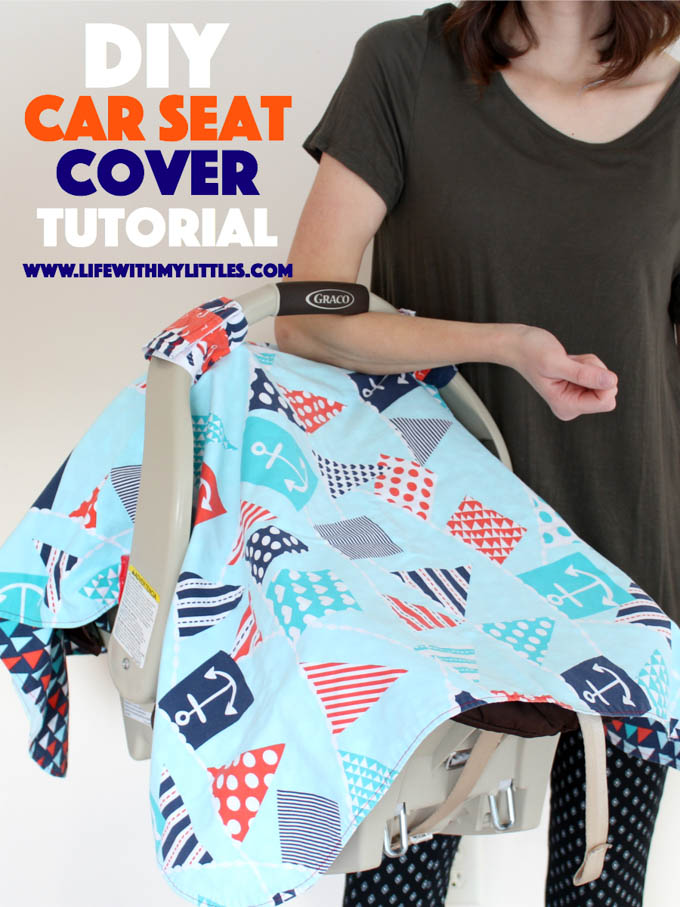
So I have looked for the perfect tutorial for a car seat cover, and have been unable to find one. I found two different tutorials, and I liked things about each car seat cover, so I decided to combine them and make my own!
First of all, I am absolutely in love with the fabric. I got it off of Etsy from the Nauvoo Quilt Company, and they were a joy to work with. They were incredibly helpful when I requested a custom order, and it came very quickly in the mail. The fabric was perfect, and I would definitely buy from them again
So, let’s start our tutorial. The first thing you need to do, is gather your supplies. You will need:
- 1 yard of your top fabric (you might need more if you have a directional fabric)
- 1 yard of your bottom fabric (you might need more if you have a directional fabric)
- 1/3 yard of strap fabric
- 1/3 yard of another strap fabric
- 6″ of 2″ wide sew-on velcro
Step One: Pre-wash/shrink your fabrics. I highly recommend this, because this is definitely something you’ll be washing multiple times. I usually throw in some vinegar into the wash cycle when I do it because my sewing teacher at BYU told us it helps keep the colors bright and vibrant if you do this on the first wash. She was awesome, so I trust her.
Step Two: Iron your fabrics to get out any wrinkles or creases. This is important because when you are cutting your fabric, you want it to line up.
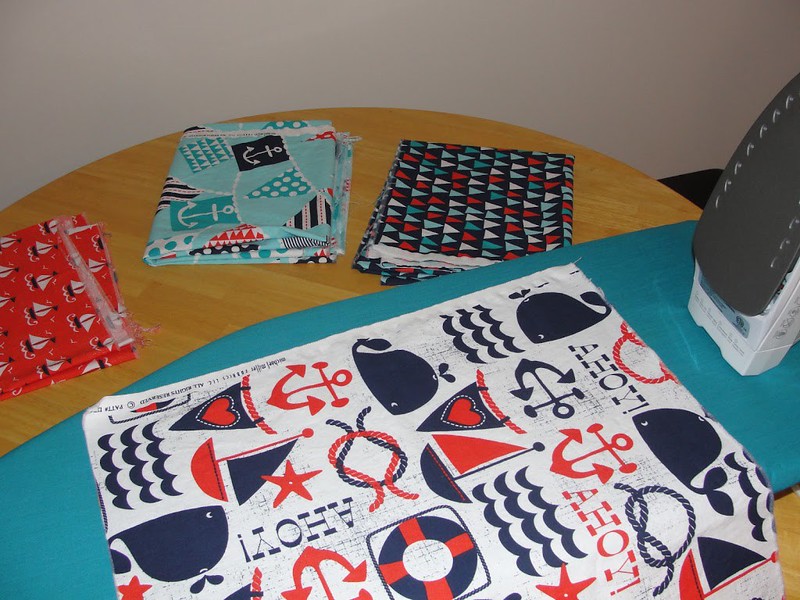
Step Three: Cut the two main fabrics (top and bottom fabrics) to be 35″ wide x 42″ long. If you have a directional fabric, be aware that you will need to cut it a certain way in order to have the pattern facing correctly.
Step Four: Line up your two fabrics, right sides together. Using a bowl or other curved edge, trace and cut the corners of your two fabric pieces.
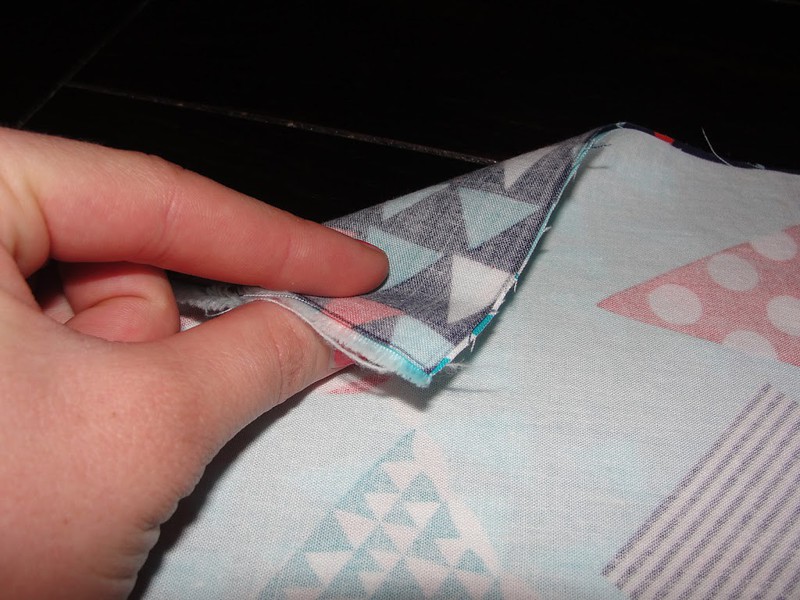
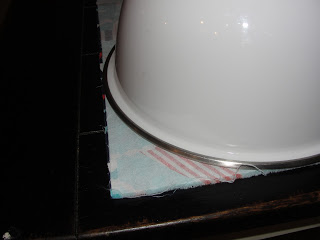
Step Five: Sew together top and bottom, still right sides together, leaving a little space so you can turn the fabrics right-side out. I just lined my presser foot up with the fabric and sewed it shut.
Step Six: Flip the fabric right-side out, and then iron around the edges so that the seam is right on the edge. When you get to the part that isn’t sewn yet, just fold the edges under and iron them so it looks like the rest of the border.
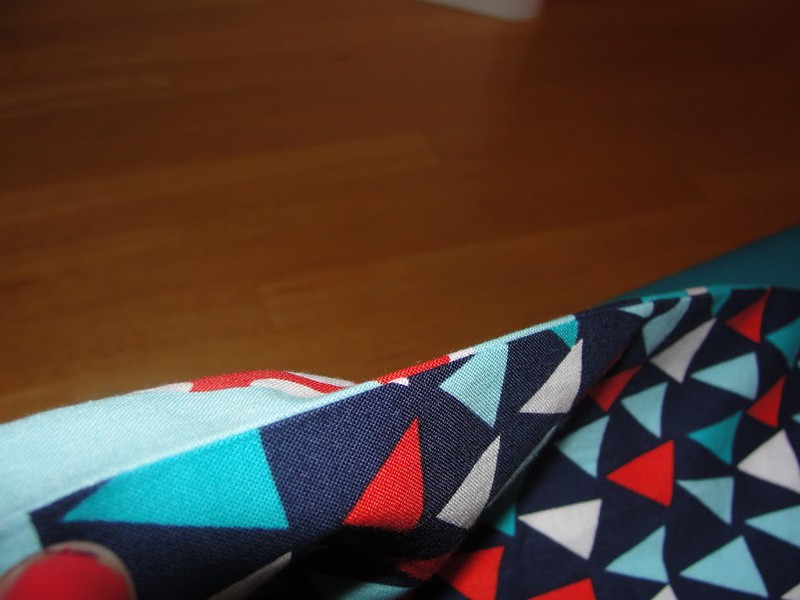
Step Seven: Topstitch all the way around your edge. And ta-dah! You are done with the main part of the cover!
Step Eight: Cut 2 strips 2″ wide x 11″ long from your third fabric, and 2 strips 6″ wide x 11″ long from your fourth fabric.
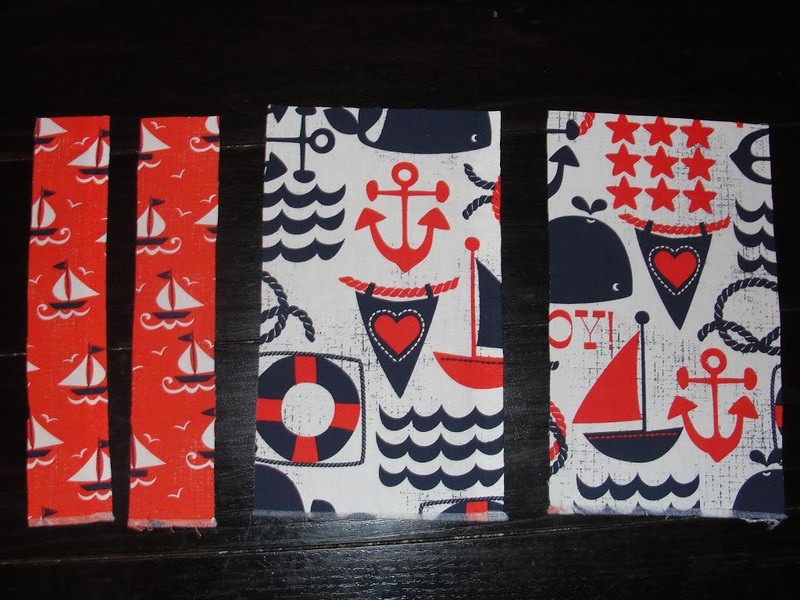
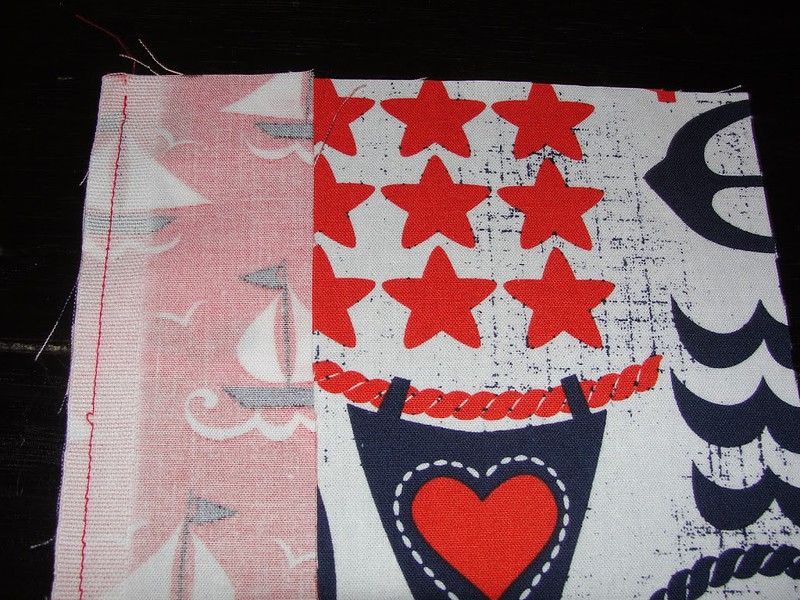
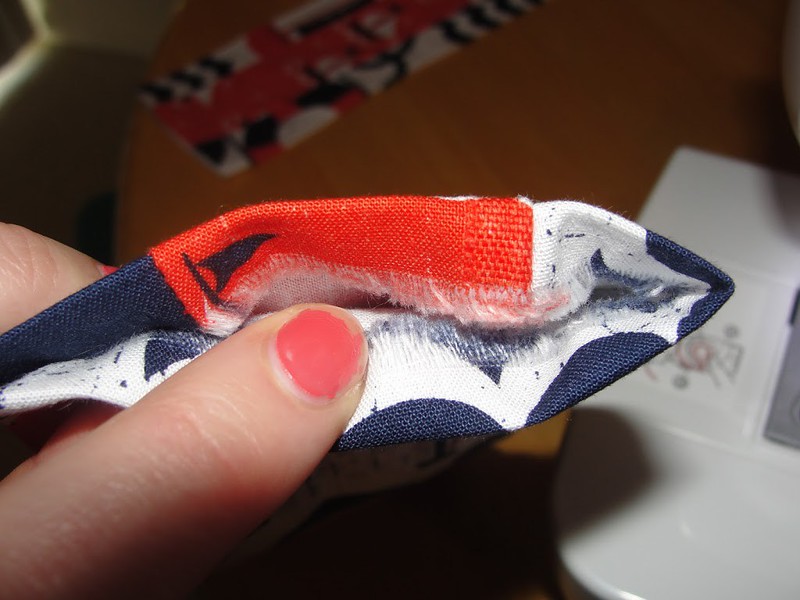
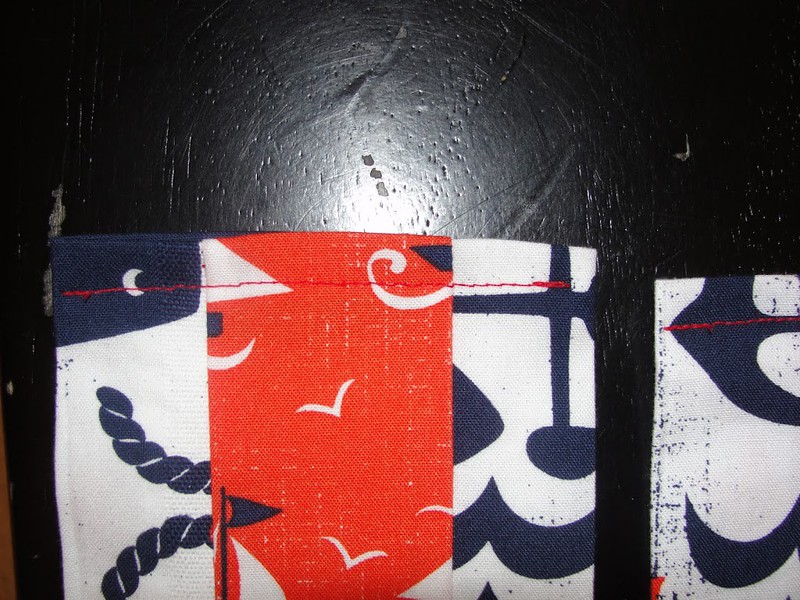
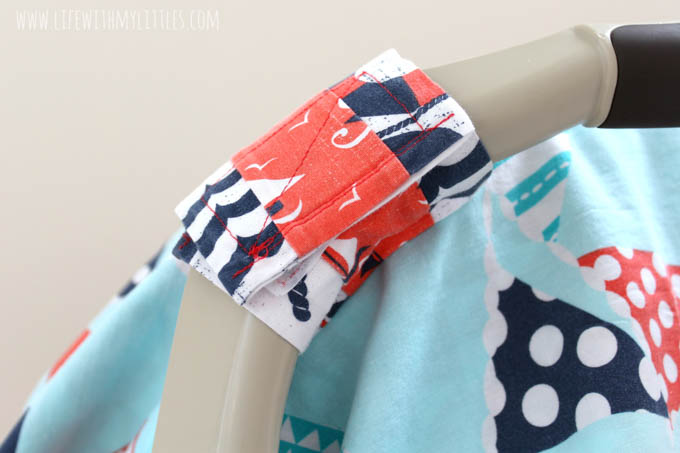
Step Nine: Line up the straps by putting the small straps on the edge of the wide straps, right sides together (see picture). Sew along the edge (I did 1/4″ seam). Then sew the other two edges together as well (see second picture). Press seams to the middle and turn right-side out.
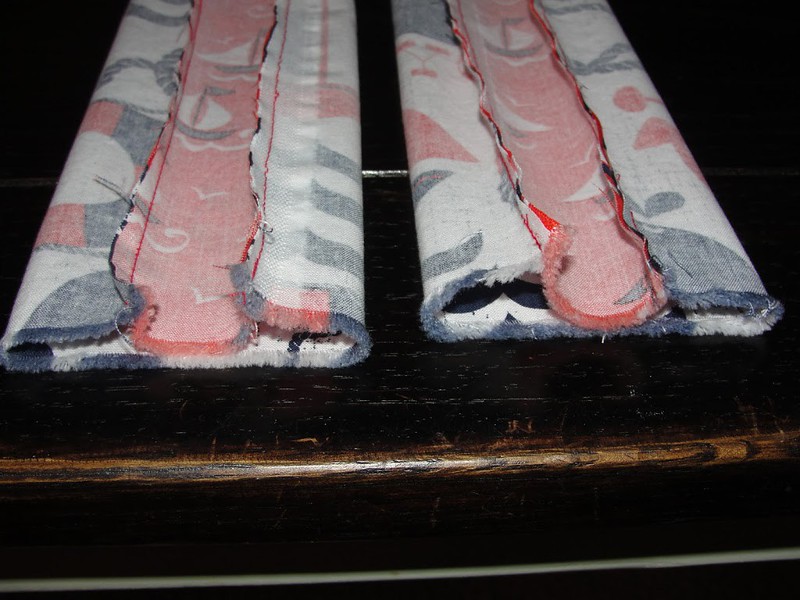
Step Ten: Press straps flat, turn open edges in 1/4″, and sew closed.
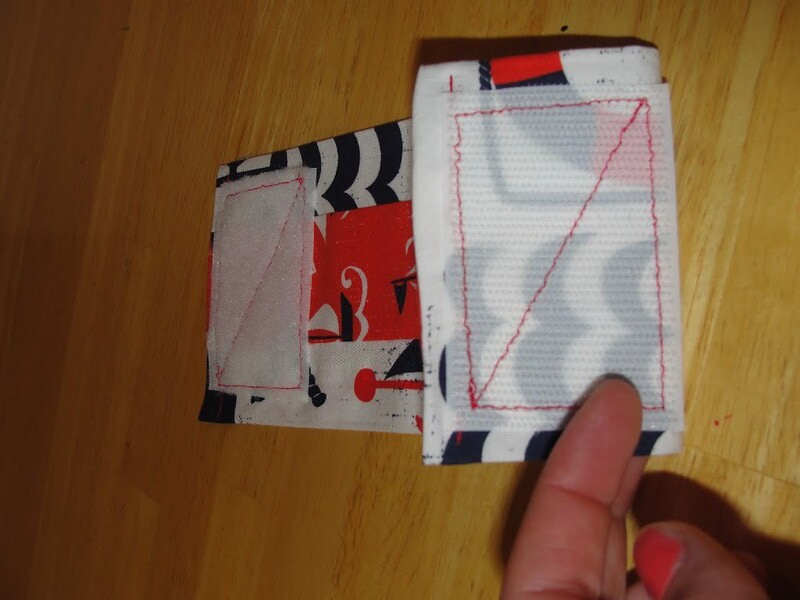
Step Eleven: Sew 3″ of velcro on each strap. Make sure you sew them on the right sides so that when the strap is sewn onto the cover, the velcro will stick together. When you have the velcro on, one will be on the top of the front, and one will be on the bottom of the back.
Step Twelve: Sew the straps onto the cover. To do this, I put the straps (velcroed) onto the car seat, and then measured how far apart they were (mine was 6″). Then I folded the cover in half, and pinned the straps on in the middle, 6″ apart and centered. I put it back on the car seat, just to make sure it was going to work well and that it wouldn’t drag on the ground on one side, and it was perfect. After pinning straps, sew them on.
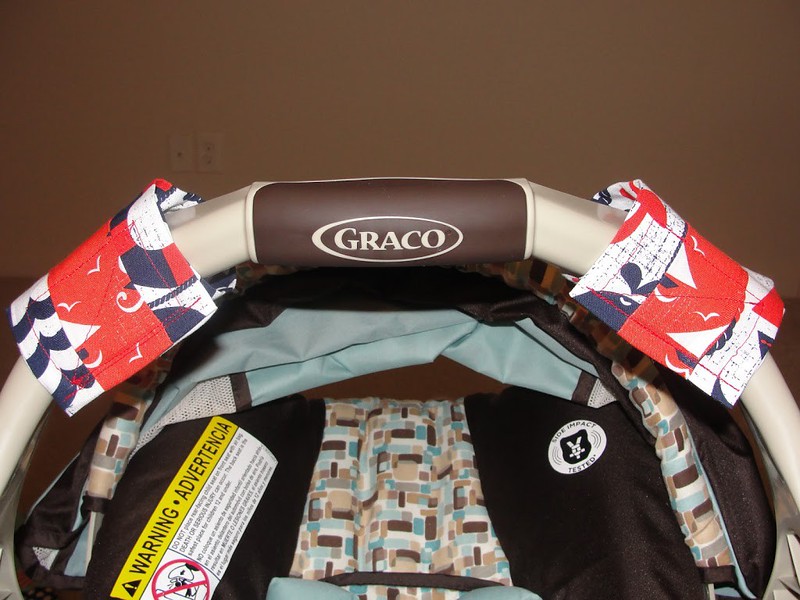
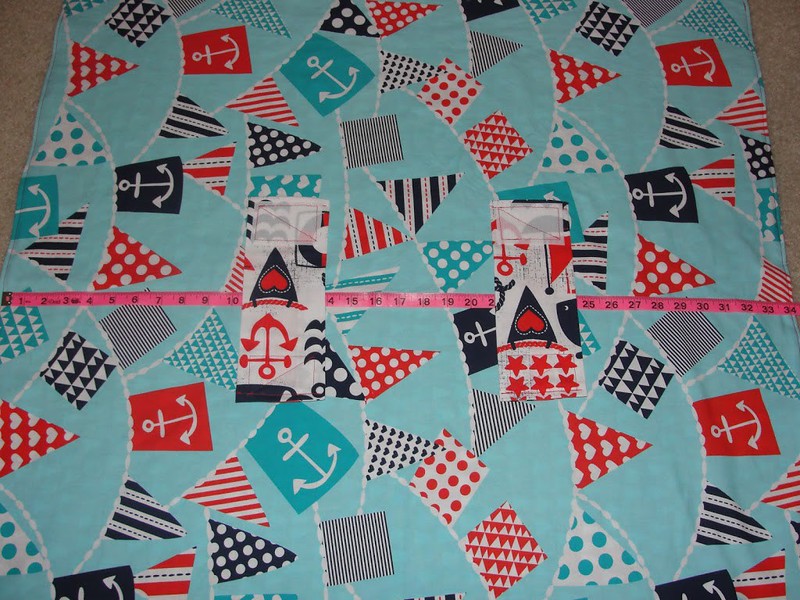
Step Thirteen: Step back and admire your beautiful, new, handmade car seat cover!!!
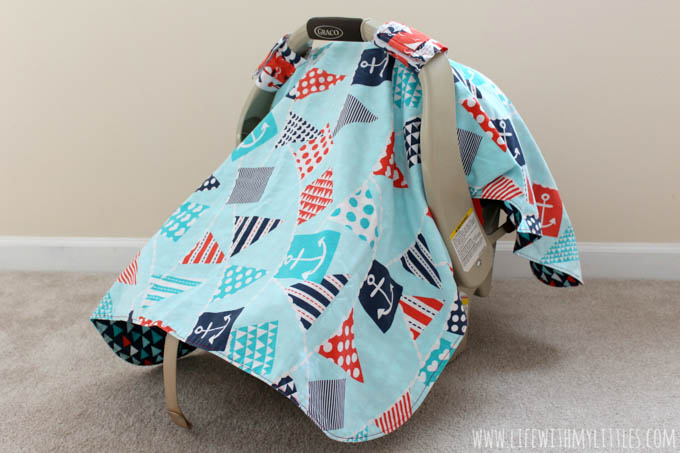
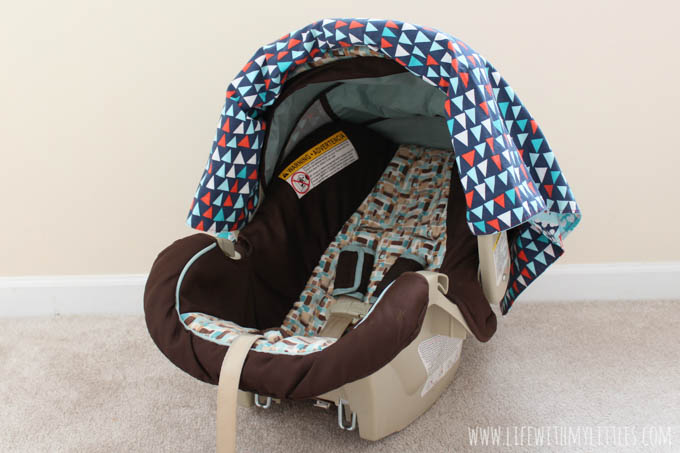
If you want a more quilted look for your car seat cover, check out my Quilted Car Seat Cover Tutorial! And please be safe with your car seat and make sure you aren’t making any of these common mistakes!
Shelby says
I’m very new to sewing and I was looking for an easy to understand tutorial for a car seat cover, since I’m pregnant with my first! I saw a lot of tutorials with gorgeous pictures of the finished product, but I couldn’t understand how they got there. Then I found your tutorial. I have yet to make it, but the pictures and step by step instructions are so simple, I have no doubt I’ll be able to make this cover with ease. Thank you!
Chelsea Johnson says
Thanks, Shelby! That’s why I took so many pictures! I hope it turns out great!
tina says
can you please email me thecae seat cover pdf . I am having trouble downloading..
Thank you
tinam95961@comcast.net
Chelsea Johnson says
There is no download or PDF. That’s probably why you’re having trouble.
Tina Carpenter says
Thank you.. 🙂
Susan says
What size seams did you do for the cover? Thank you.
Chelsea Johnson says
I did a 1/4″ seam.
Kathlyn Garceau says
Fantastic idea, thank you for that! Most car seats are sad and boring, time to spice up our travel time 🙂
Chelsea Johnson says
Glad I could help!
Sonja says
I’m a beginner. I am a little confused by your measurements. If I need a yard of each fabric measuring 35”x42”, how is that possible when there is only 36” in a yard?
Chelsea Johnson says
Because fabric the width of fabric is usually more than 36″. Cotton is usually 45-60″ long. So if you got a yard of fabric, it would be 36″ long, but between 45 and 60″ in length. Hope that helps!
Sonja says
Thanks for the quick reply. After I sat here and thought about it, I remembered that fabric comes folded in half lengthwise and that’s where the 42” would come from. Lol! I told you I’m a newbie Thanks again!
Chelsea Johnson says
Well I had to think about it for a minute before I responded! In my head I was like “how has nobody brought this to my attention before!?” And then I realized why haha. Glad I could help!!
Natalie says
How exactly do you pre-wash? Do you sew around the edges? What cycle? Use Tide? Thank you!!! Excited to make this!
Chelsea Johnson says
I really just wash it the way I would anything else. The intent behind pre-washing is to have it shrink BEFORE sewing it. Sometimes it doesn’t shrink at all, and if it does it’s usually very minimal, but if you take care of pre-washing before, it won’t shrink weird after you’ve already sewn it. I just do a normal cycle on hot with whatever detergent I have! Good luck!
Eunice Scott says
I just made one of these and I left a 18″ opening in the front. That way it can be folded open and not have to remove it entirely. I haven’t sewn the straps on yet, because I don’t have a car seat to measure where to put them. It’s for my great granddaughter’s baby due in July. I will use snaps on the 18″ opening. Your instructions were so easy to follow. Thank you so much!! If you would like a photo of my finished product with the snapped opening, just email me.
Eunice Scott
Chelsea Johnson says
That sounds awesome! I’ve always wondered how that would turn out! I’m glad you were able to make it work! Congrats on your great granddaughter’s new baby!!!
Cherris says
I would like to know how you made the opening and the measurements for where you put it please.
Vera says
Im a little confused with the straps
Chelsea Johnson says
If you clarify what you’re confused on I can try to help!
Jessica says
How do you sew the straps onto the cover once u have the Velcro sew to the straps, and does the other part of the Velcro get sewn into the cover? I know I have to be overthinking this! But it’s driving me crazy lol!
Chelsea Johnson says
I’ll try to elaborate and add detail to what I have in the post. First, velcro the straps onto the cover where you want them. Measure how many inches are between them. Then mark where the halfway point is on the cover while you have it laying out flat. Unvelcro your straps and pin them on, unvelcroed (so they’re laying flat), with however many inches apart they need to be. I just sewed a small rectangle that went to each edge of the strap. Does that help at all?
LouAnn says
How can I probably not this pattern or information out?
Chelsea Johnson says
You can’t print any pattern because there isn’t one to print, but you can print out the web page if you want to print the whole blog post!
Susan Muszynski says
Please help. I can’t find the video.
Chelsea Johnson says
Hi Susan! I don’t have a video for this tutorial. You’ll just have to scroll through the images and text and follow that.
Sue Merrill From Alabama says
Thank you for such great instructions!! I have a new Great Nephew and wanted to make him one .
Chelsea Johnson says
How sweet! I hope it turns out just the way you want!
penny says
You definitely have the best instructions of all the ones I looked at. Would you please tell me how to alter so that there is a slit down the middle to easily check on the baby the middle.
Chelsea Johnson says
If you wanted to do that, you’d probably have to find a whole different tutorial. But honestly, lifting up the edge of the cover is a pretty simple way to check on your baby, too.