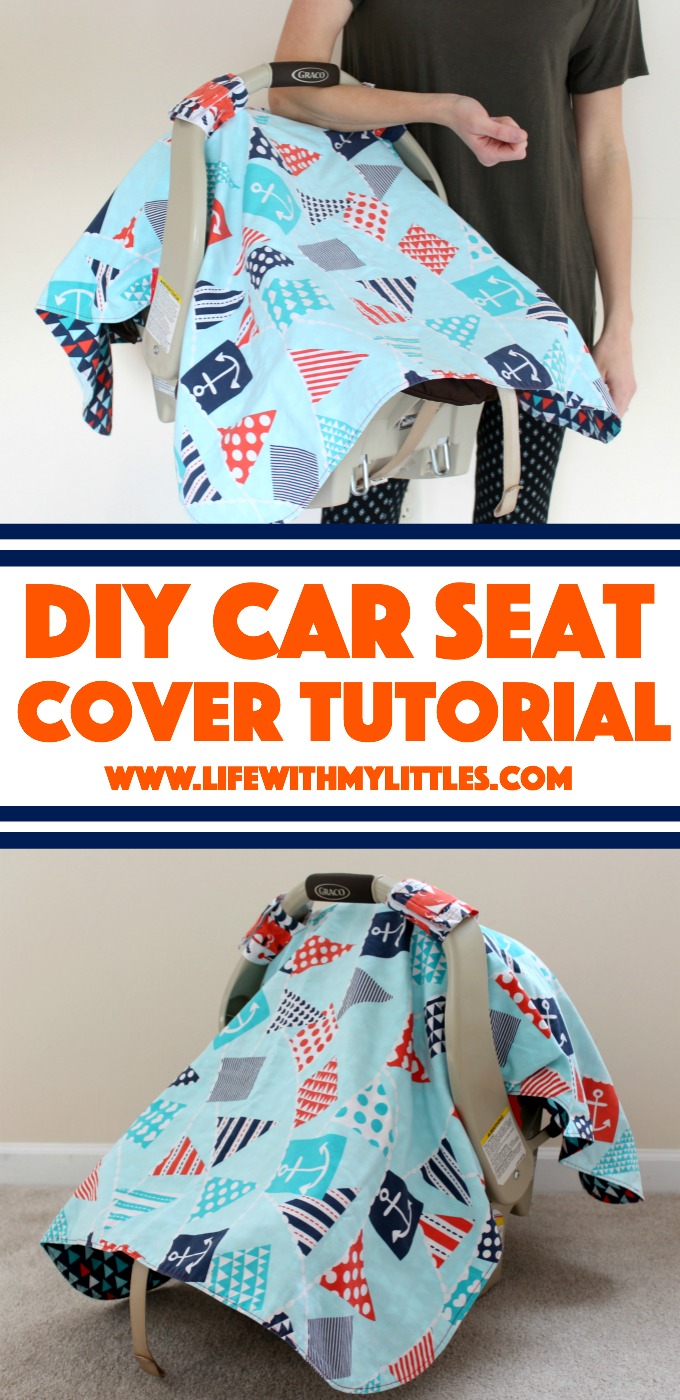
Car Seat Cover Tutorial: A cute, easy canopy for your baby’s car seat that is durable and looks great!
EDIT: It has been five years since I posted this tutorial, and I have used this cover with both of my sons. It’s still in great condition! I’ve updated the photos of the finished cover, and I apologize the photos for the actual tutorial aren’t the greatest. I was still learning how to use a camera!
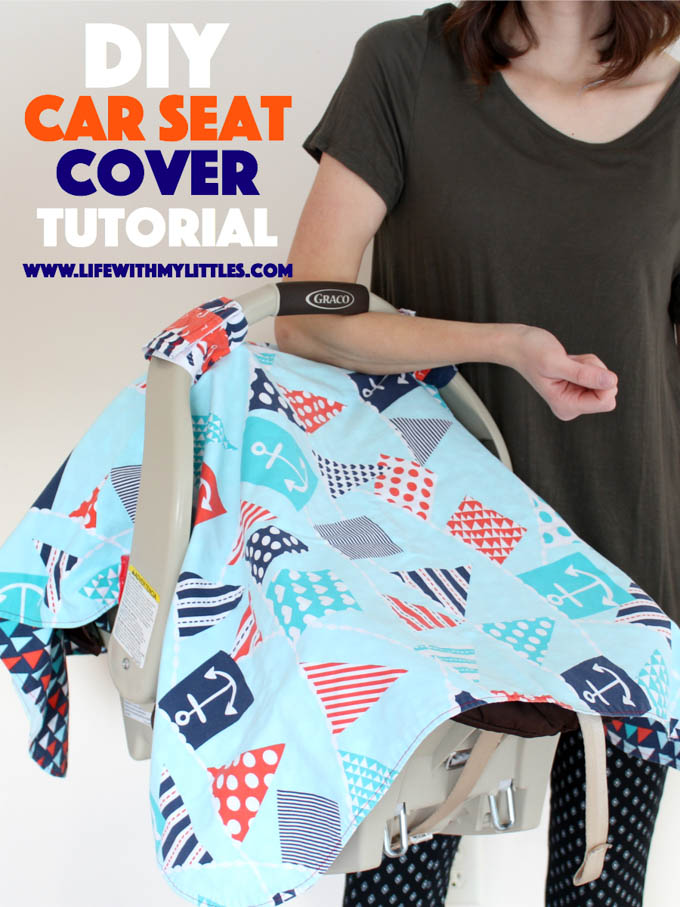
So I have looked for the perfect tutorial for a car seat cover, and have been unable to find one. I found two different tutorials, and I liked things about each car seat cover, so I decided to combine them and make my own!
First of all, I am absolutely in love with the fabric. I got it off of Etsy from the Nauvoo Quilt Company, and they were a joy to work with. They were incredibly helpful when I requested a custom order, and it came very quickly in the mail. The fabric was perfect, and I would definitely buy from them again
So, let’s start our tutorial. The first thing you need to do, is gather your supplies. You will need:
- 1 yard of your top fabric (you might need more if you have a directional fabric)
- 1 yard of your bottom fabric (you might need more if you have a directional fabric)
- 1/3 yard of strap fabric
- 1/3 yard of another strap fabric
- 6″ of 2″ wide sew-on velcro
Step One: Pre-wash/shrink your fabrics. I highly recommend this, because this is definitely something you’ll be washing multiple times. I usually throw in some vinegar into the wash cycle when I do it because my sewing teacher at BYU told us it helps keep the colors bright and vibrant if you do this on the first wash. She was awesome, so I trust her.
Step Two: Iron your fabrics to get out any wrinkles or creases. This is important because when you are cutting your fabric, you want it to line up.
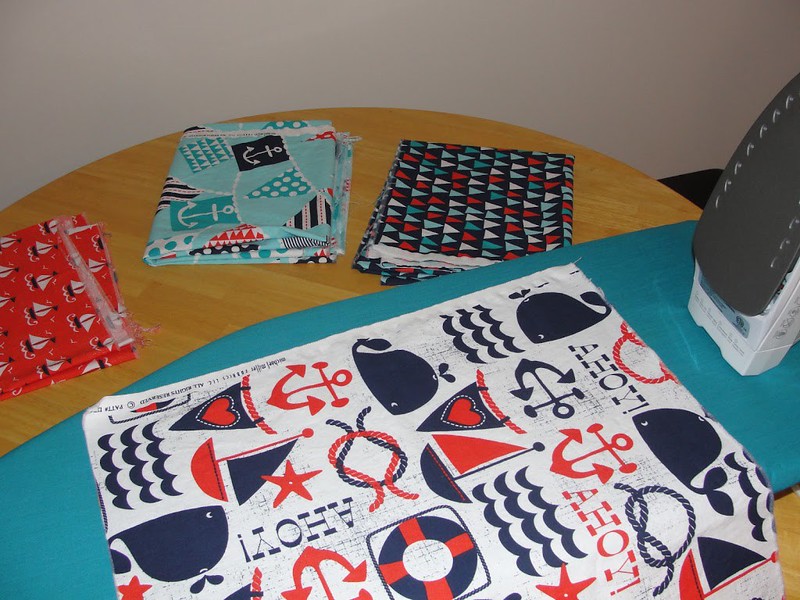
Step Three: Cut the two main fabrics (top and bottom fabrics) to be 35″ wide x 42″ long. If you have a directional fabric, be aware that you will need to cut it a certain way in order to have the pattern facing correctly.
Step Four: Line up your two fabrics, right sides together. Using a bowl or other curved edge, trace and cut the corners of your two fabric pieces.
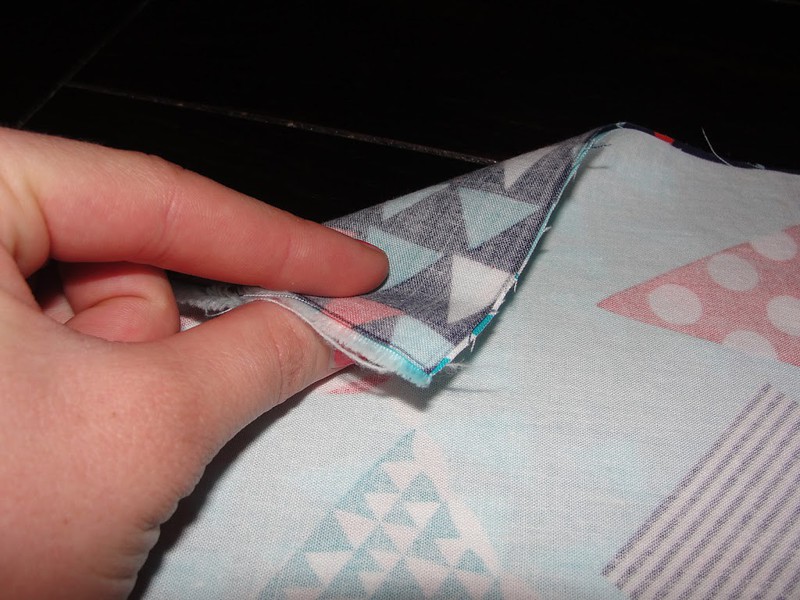
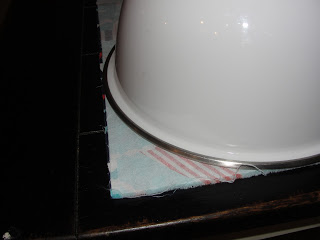
Step Five: Sew together top and bottom, still right sides together, leaving a little space so you can turn the fabrics right-side out. I just lined my presser foot up with the fabric and sewed it shut.
Step Six: Flip the fabric right-side out, and then iron around the edges so that the seam is right on the edge. When you get to the part that isn’t sewn yet, just fold the edges under and iron them so it looks like the rest of the border.
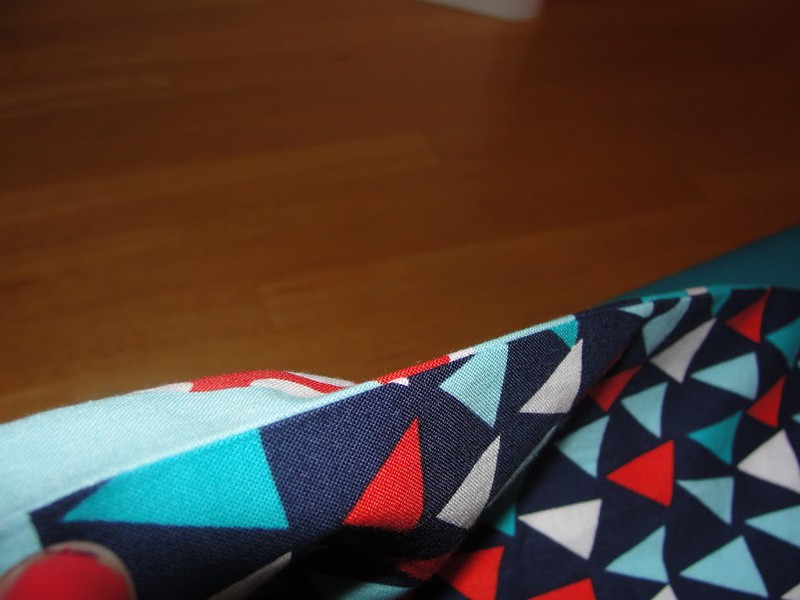
Step Seven: Topstitch all the way around your edge. And ta-dah! You are done with the main part of the cover!
Step Eight: Cut 2 strips 2″ wide x 11″ long from your third fabric, and 2 strips 6″ wide x 11″ long from your fourth fabric.
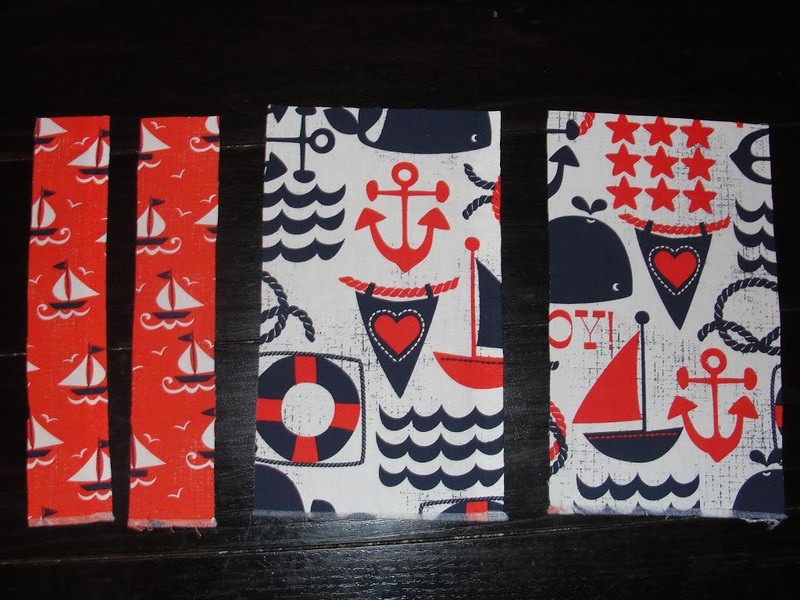
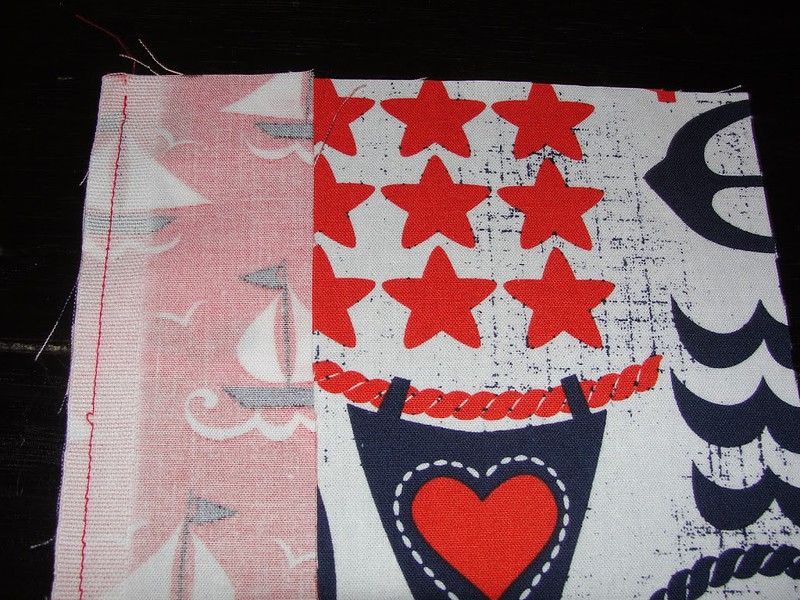
Step Nine: Line up the straps by putting the small straps on the edge of the wide straps, right sides together (see picture). Sew along the edge (I did 1/4″ seam). Then sew the other two edges together as well (see second picture). Press seams to the middle and turn right-side out.
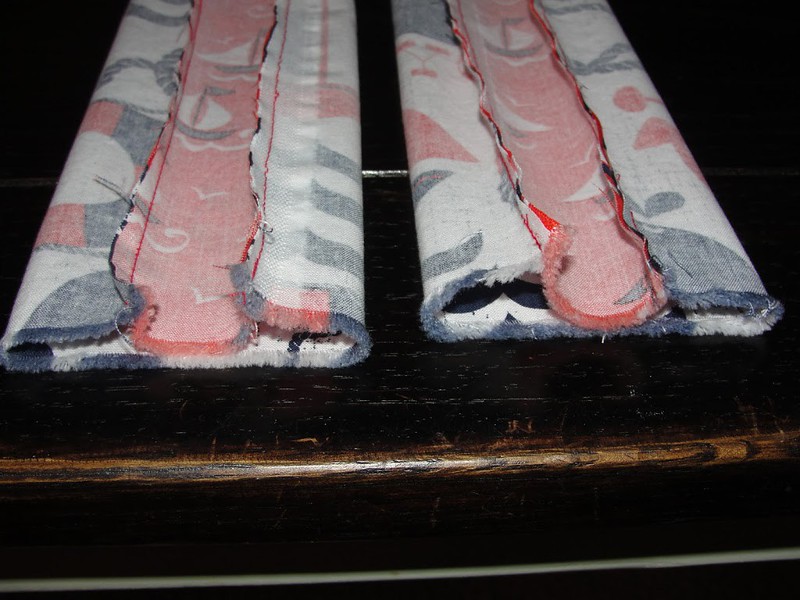
Step Ten: Press straps flat, turn open edges in 1/4″, and sew closed.
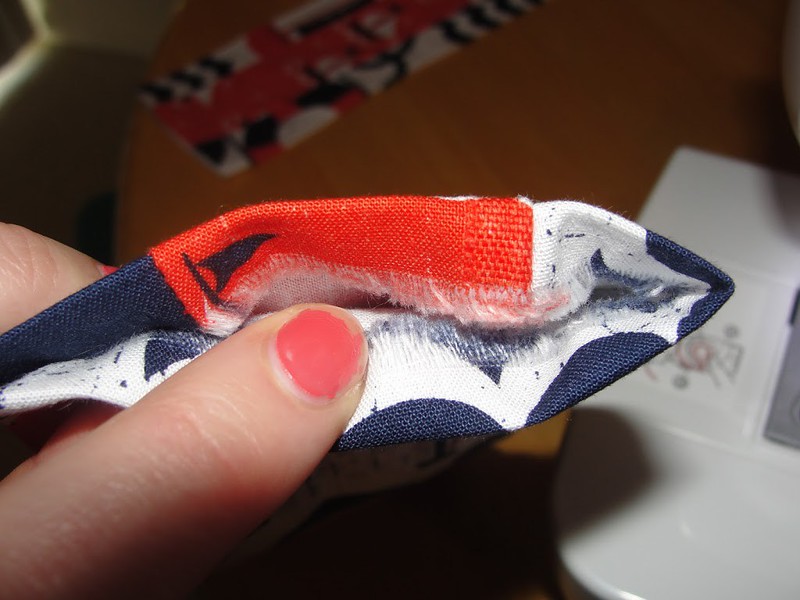
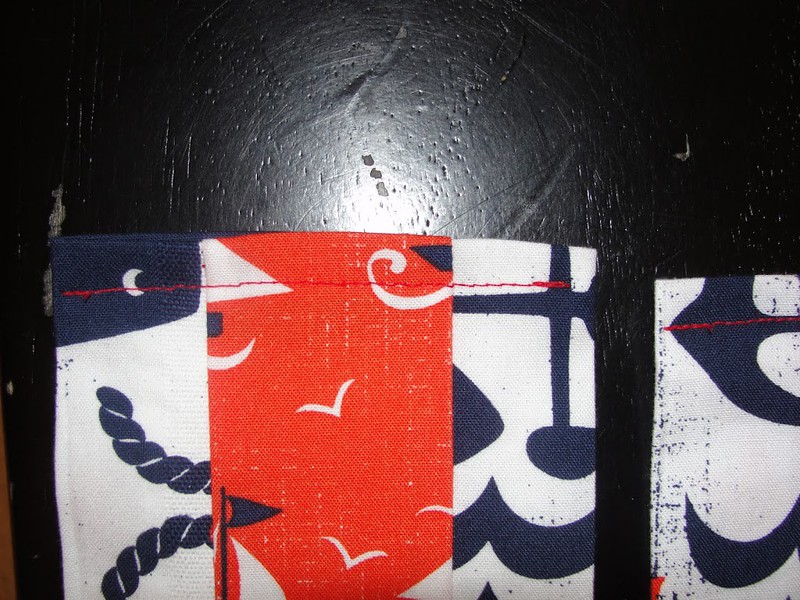
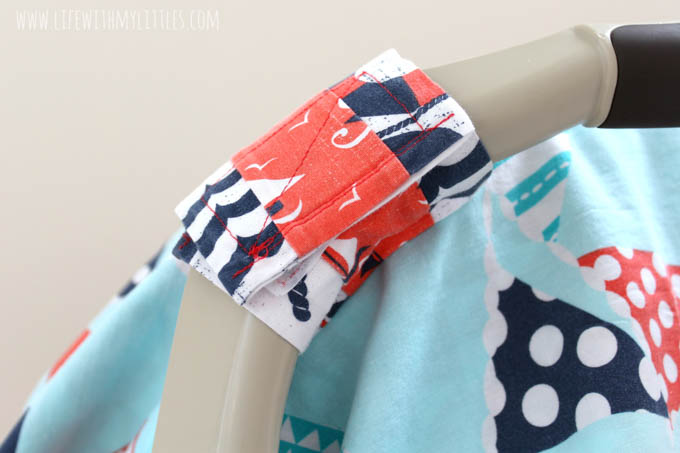
Step Eleven: Sew 3″ of velcro on each strap. Make sure you sew them on the right sides so that when the strap is sewn onto the cover, the velcro will stick together. When you have the velcro on, one will be on the top of the front, and one will be on the bottom of the back.
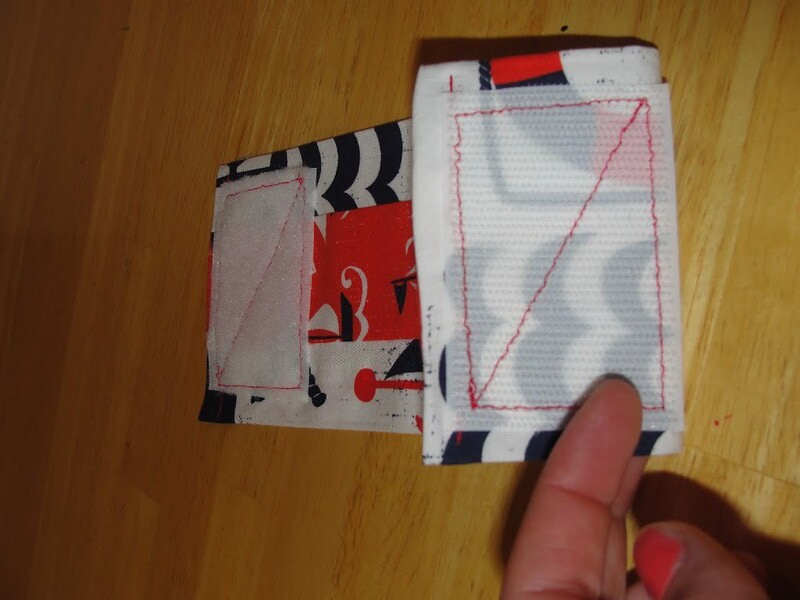
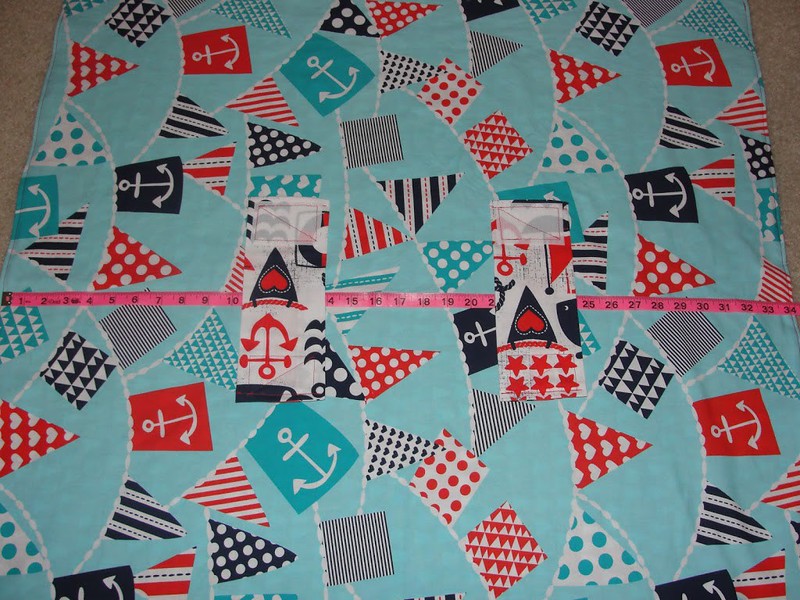
Step Twelve: Sew the straps onto the cover. To do this, I put the straps (velcroed) onto the car seat, and then measured how far apart they were (mine was 6″). Then I folded the cover in half, and pinned the straps on in the middle, 6″ apart and centered. I put it back on the car seat, just to make sure it was going to work well and that it wouldn’t drag on the ground on one side, and it was perfect. After pinning straps, sew them on.
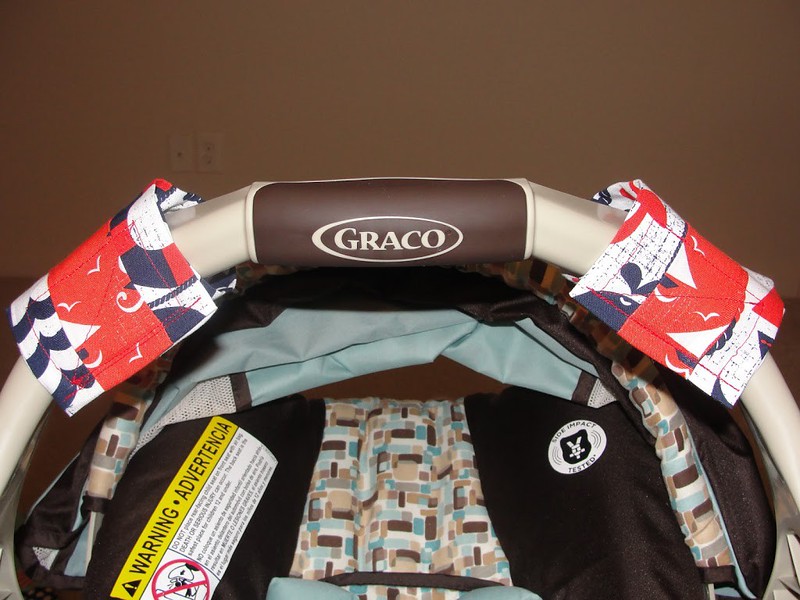
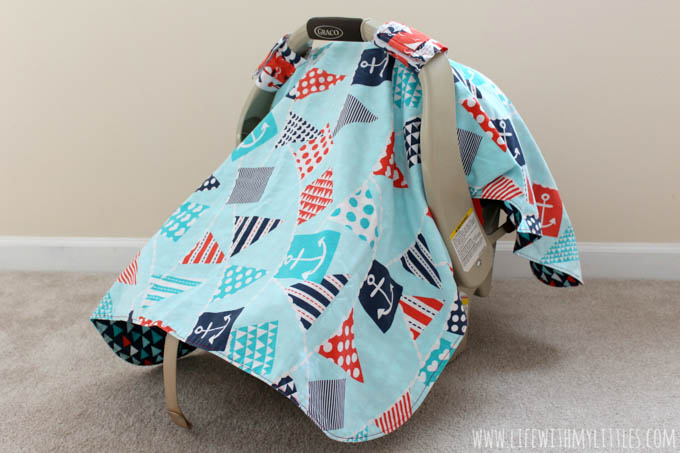
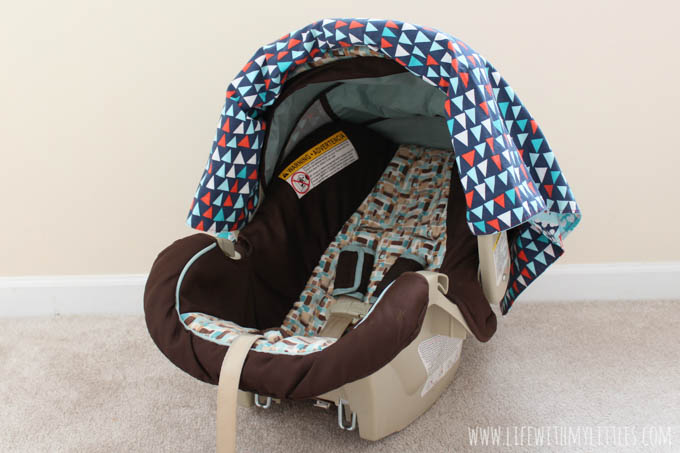
Step Thirteen: Step back and admire your beautiful, new, handmade car seat cover!!!
If you want a more quilted look for your car seat cover, check out my Quilted Car Seat Cover Tutorial! And please be safe with your car seat and make sure you aren’t making any of these common mistakes!
Christina Axthelm says
I love that fabric!! Thank you for posting where you got it!
Chelsea says
You bet! They were super nice and helpful with my custom order, too!
Lea-Ann says
I just used your tutorial this afternoon and made a cozy little flannel one for my baby due end of this month in Alaska. Thank you!
Chelsea says
That’s awesome! I’m sure it will keep your baby nice and warm and safe!!
Simply D Constructed says
Brilliant! Thanks for the tutorial. I think I’m going to attempt this!
Chelsea J says
Good luck! I absolutely loved using mine.
HME says
WOW!!! This is an awesome tutorial!!! I love all the little tricks you did to make it just a little cuter!! Like adding the small strip in the handle and curving the edges with a bowl!! Thanks for all the ideas! I’m going to make one.. right now!! 🙂
Chelsea Johnson says
Thank you! When you don’t like any other tutorials, combine them and make your own! I hope yours turns out just the way you want!
Sarah Yoch says
Is this fabric cotton? I clicked on the etsy site but they no longer sell 🙁
Chelsea Johnson says
Oh my gosh, I am so sorry I haven’t replied to this yet. I thought I did already! Yes, the fabric is cotton. And it’s too bad they don’t sell anymore because they were so great to work with! I’m sure you could find another place on Etsy to buy your perfect fabric!
Terry Jo says
Just finished this car seat cover and it is adorable! Thanks for the tutorial! Great ideas.
Chelsea Johnson says
Thank you so much! And you are welcome! I’m glad you love it!
Allison says
I’m going to make this tomorrow! I can’t wait to see how it turns out! Just a question… You used 2 different fabrics on the straps – was that just for looks? If I just want to use 1, what should the dimensions be? Thanks!!
Chelsea Johnson says
Exciting! And yes, it was just for looks. If you want to use one, the dimensions should be 7 1/2″ x 11″ for each strap.
Lyn Pearce says
Thank you for such clear, easy to follow directions AND photos!!! I really appreciated the measurements on the strap placement, since this is a gift, and I did not have an infant carrier available for measuring!
Great, easy project completed in just a few hours!
Chelsea Johnson says
You’re welcome! I’m glad you were able to follow along easily! I’m sure your gift will be very appreciated and used all the time!
Marcia says
I just made this for my new grandson. I wanted to compliment you on a wonderful tutorial with easy to follow instructions. I’m sure I’ll be making more of these 🙂
Chelsea Johnson says
Thanks, Marcia! I’m so glad it helped you!
Lynn says
I put drapery weights in the corners, to keep it from blowing off in the wind. My niece LOVES hers!
Chelsea Johnson says
Oh that is genius! I didn’t even know those existed, but that’s so smart! Thanks for the tip, Lynn!!
Cassidy says
I just did this project yesterday! It turned oht rrally cute! Had to wait until today to do the straps because I had to go buy velcro. I’m a beginner, so my question is how exactly did you see the straps on, like onto the cover? Was it just one line across or a box or?
Chelsea Johnson says
I did a box just like I sewed the velcro on. Just a little bit smaller. And I’m glad that it turned out cute!!
Tina Thies says
I have two lighter (in color) fabrics I want to use this with. Is there a certain fabric you would recommend using in between so that the opposite side does not show through?
Chelsea Johnson says
You can use interfacing in between!
Cameron says
Thanks for the step-by-step! This is one of the best tutorials I’ve seen!
Chelsea Johnson says
Thanks, Cameron!
claire quiltyl says
Great idea for our quilt group who makes many charity items. Thank you.
Chelsea Johnson says
You’re welcome, Claire!