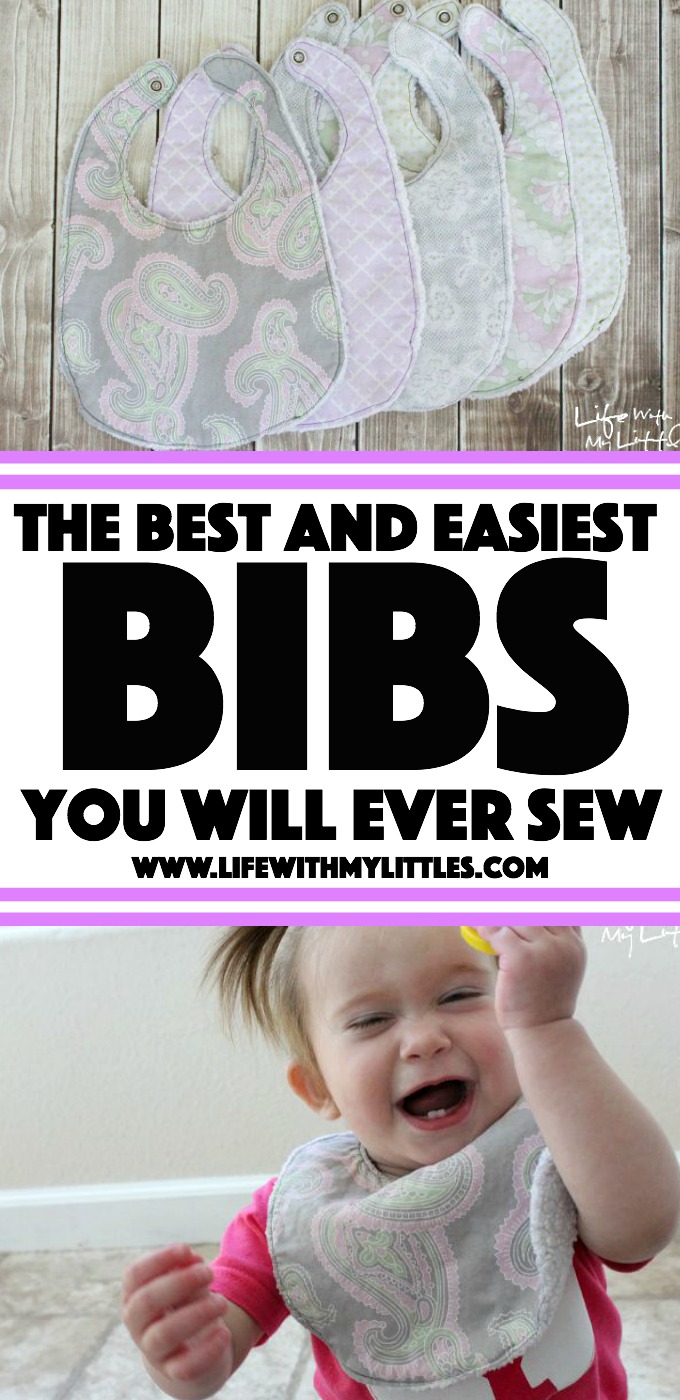
This really is such an easy bib tutorial! Only a few steps, and they are the best bibs!! Great for easy baby gifts, too.
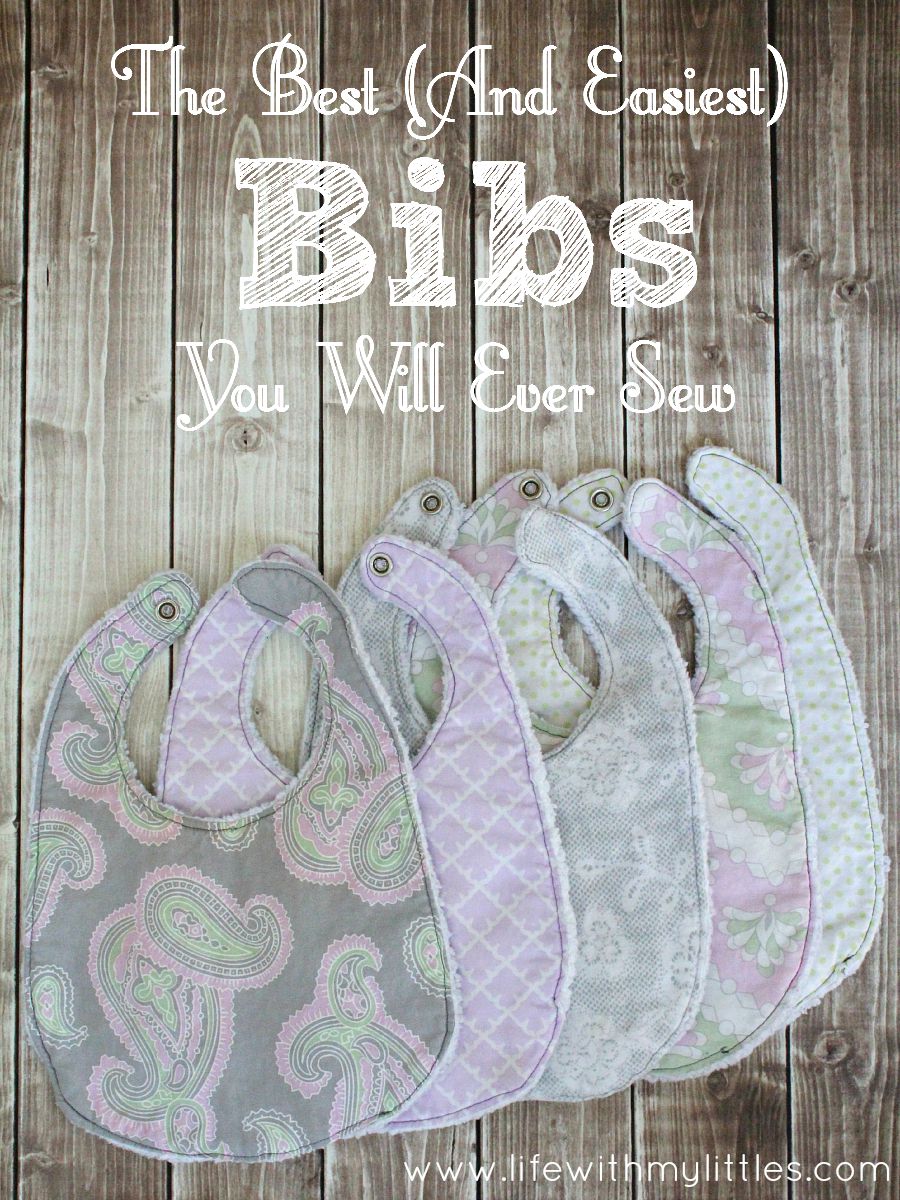
When I was pregnant with my son, I made a set of matching burp rags and bibs so I would have a bunch of cute ones to use when he was born. They worked AMAZING.
The tutorial that I posted for “The Easiest (and Best) Burp Rags You Will Ever Sew” currently has over 170,000 pageviews, and has been featured on several other websites as an easy baby shower gift. In that post, I mentioned that I also made some bibs for my son, and there were a ton of people who asked me to do a tutorial for the bibs.
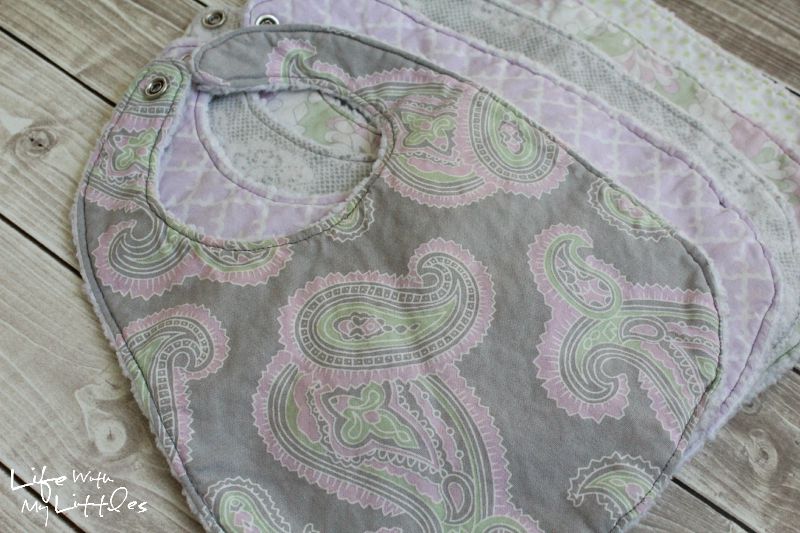
Now, almost a year later, I am finally putting together this tutorial for the easiest (and best) bibs you will ever sew. I made one change to the bibs I made my son to make them even better, but they are still easy and the best bibs.
In fact, I actually got out my son’s old bibs and have been using them on my daughter for months, and they still work great. So rest assured, these bibs are fantastic and can withstand multiple babies!
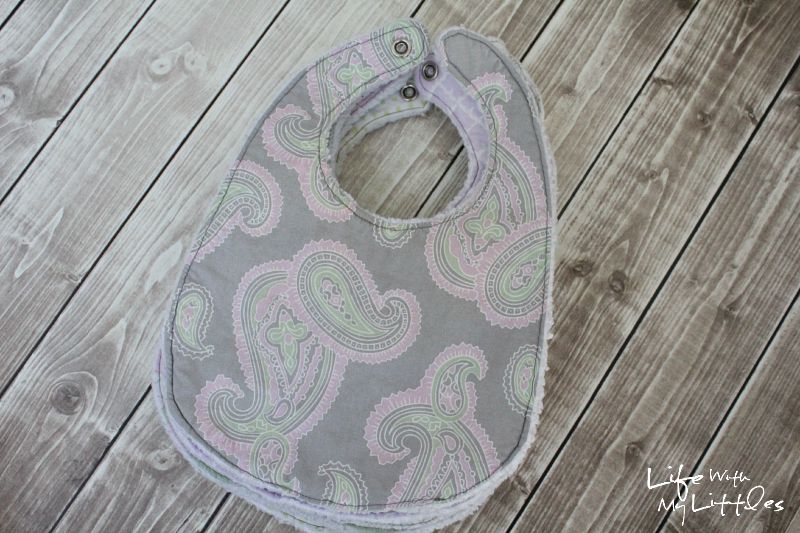
If you could master my tutorial for the burp rags (aka, sew straight lines), then you should easily be able to move onto this tutorial for bibs. I promise it is an easy bib tutorial. Obviously you will have to sew some curved lines, but don’t be scared because they are super easy and if you go slow, you will have no problem making yourself some cute little bibs.
To make one bib, you will need my fabulous free bib pattern, 1/3 yd cotton fabric, 1/3 yd minky fabric (also called Soft n’ Cuddly or Soft n’ Fluffy), matching thread, and a size 16 snap and fastener (like this one I got from JoAnn).
Now onto the tutorial! Don’t be scared. It may seem like several steps, but some of the steps are super easy and could’ve been combined (like pin your pieces).
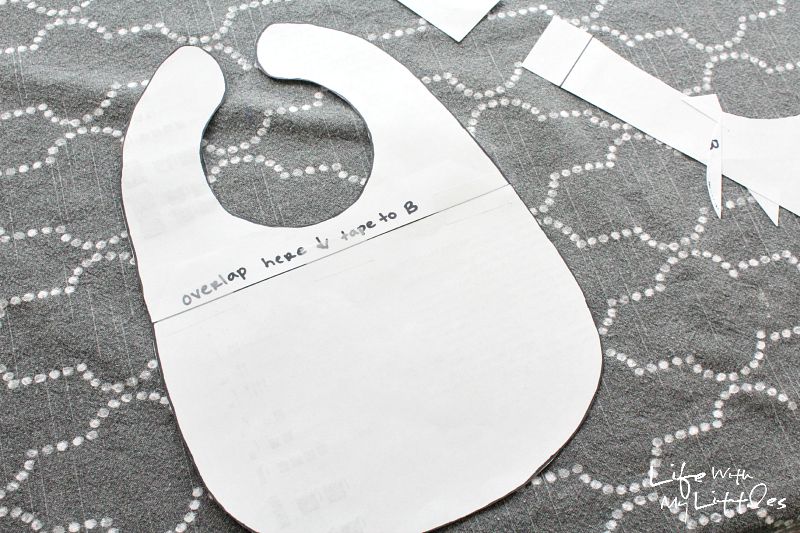
First, assemble your pattern. Tape piece A over piece B and then cut around the edges.
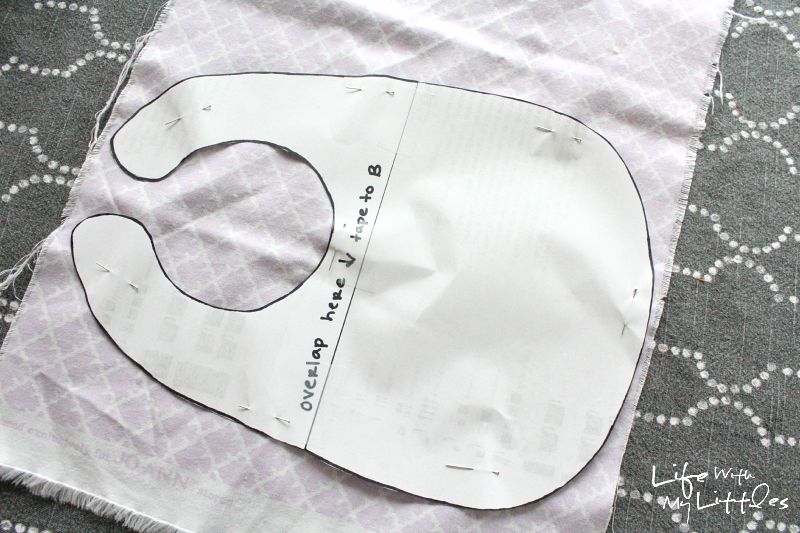
Next, pin your pattern piece to your cotton fabric, like in the picture. You can pin it up-and-down too, but you won’t make as many bibs from your strip of fabric.
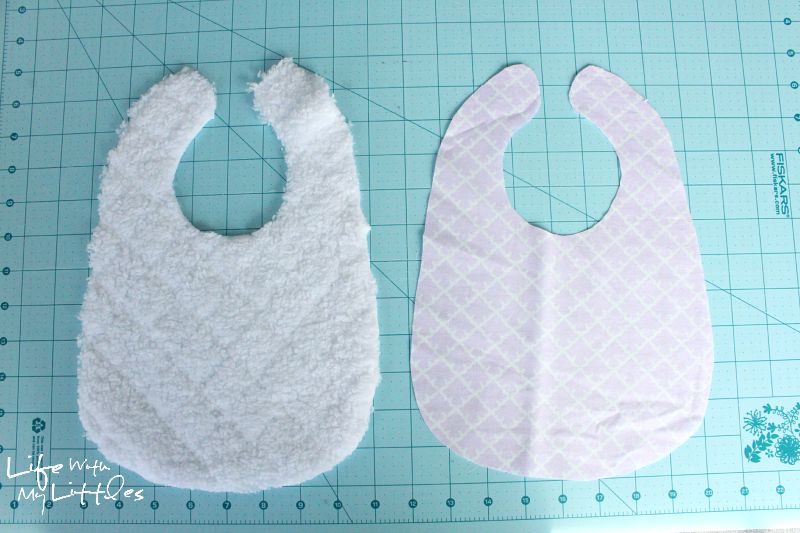
Cut it out, and repeat with the minky fabric. You should have two matching bib pieces.
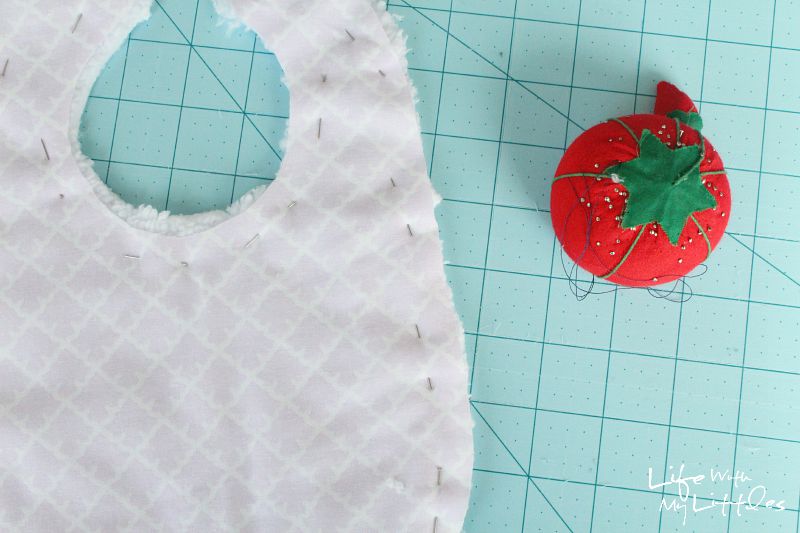
Pin your pieces together, right-sides together.
Now the only tricky part of the bib. The snaps. You will want to grab one top snap and one bottom snap, plus your fastener.
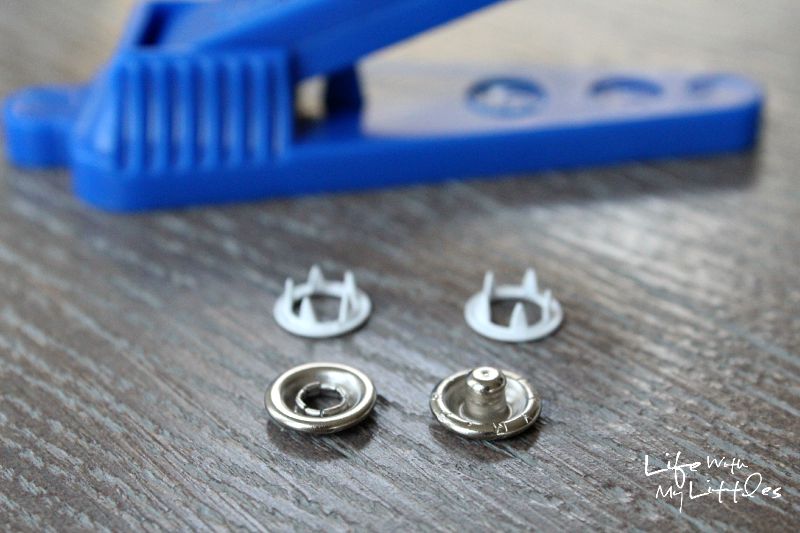
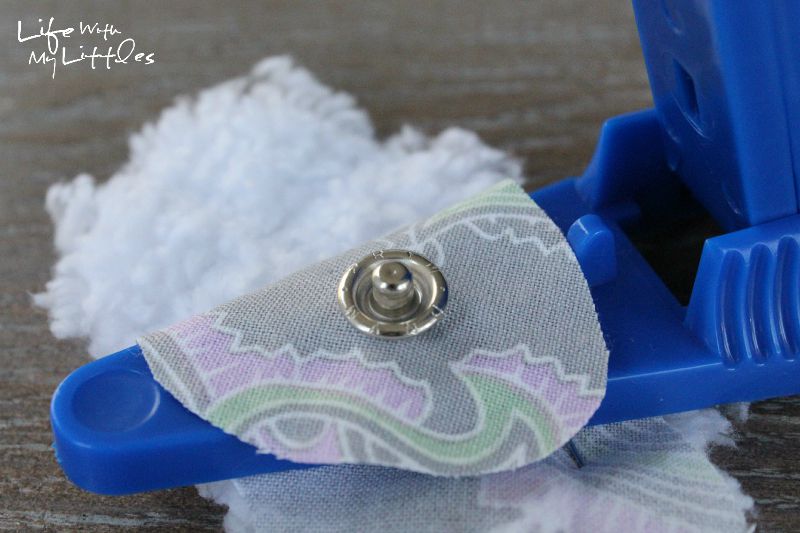
Now attach one side of your snap so the snap part is on the inside of the top of the cotton. Make sure you center it, but don’t put it too close to the top. You may have to fold down part of your fabric to get it.
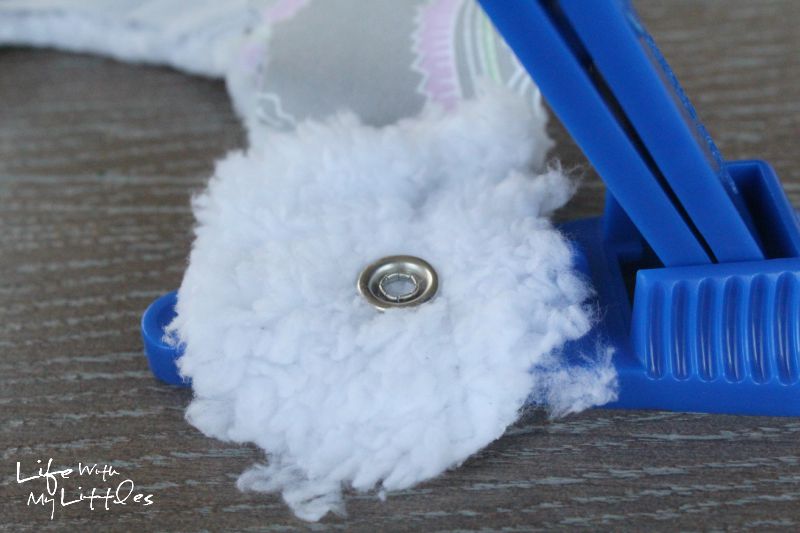
Next, attach the other side of your snap so the snap part is on the opposite bib top, but on the minky. It should look like this:
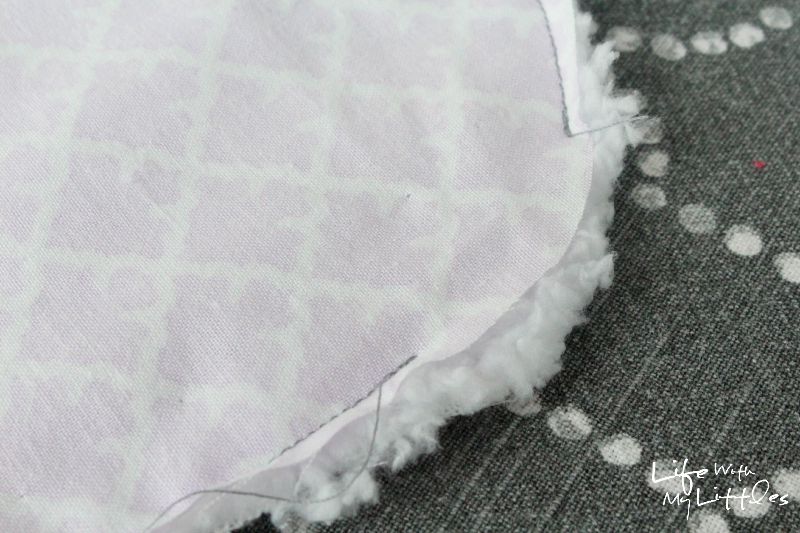
Now pin the top of your pieces again and sew all the way around, leaving a 2″ hole on the bottom side of the bib.
Flip your bib inside out, and then press with an iron. It will make topstitching your bib a lot easier if you press it with an iron first.
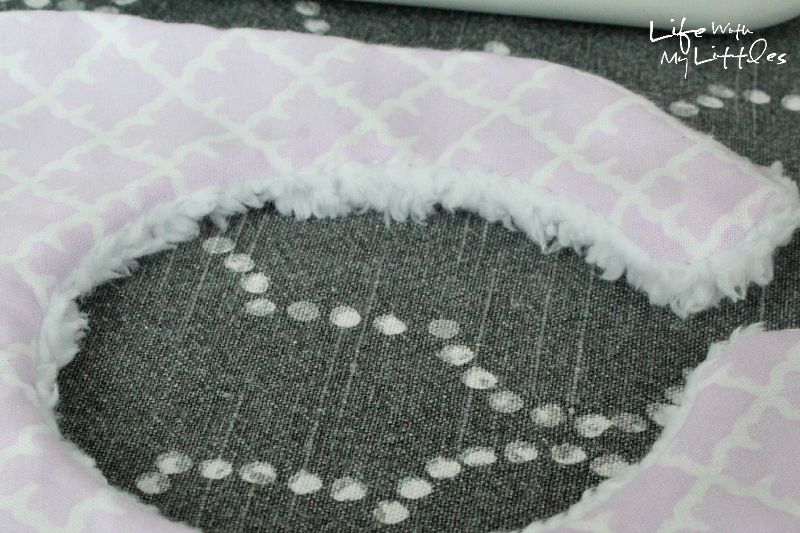
Now topstitch your bib all the way around! Aka, just sew about 1/8″ away from the edge, all the way around. Now you have a bib!
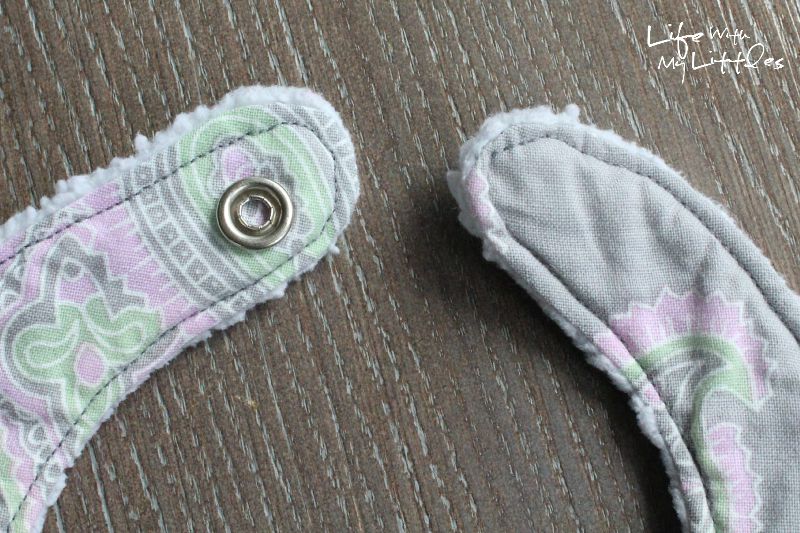
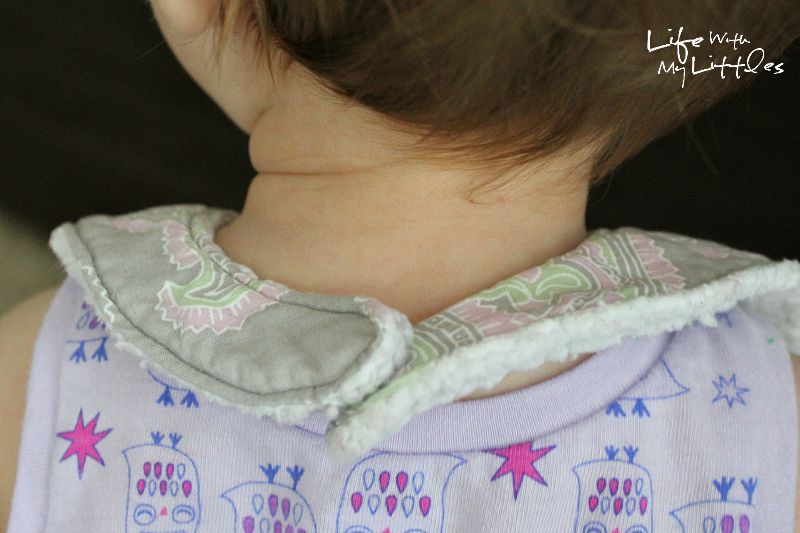
The first bibs I made for my son had velcro, but he learned to pull those off pretty fast. The snap fasteners have been so much better because I can keep the bibs on my daughter (she drools SO MUCH) and she can’t get them off!
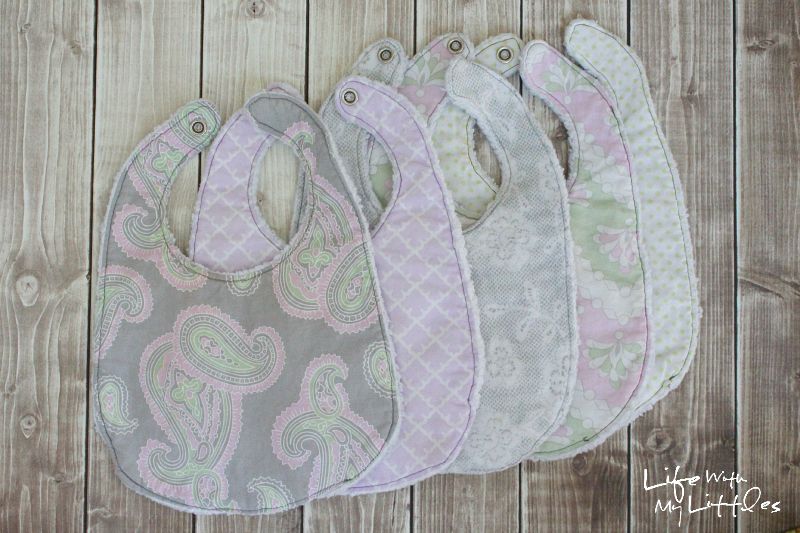
You can make 4 or 5 bibs from each 1/3 yd. of fabric. So you could make several of the same fabric, or if you wanted you could make a bunch of different ones in matching fabrics. Either way, your baby will be super stylish and people will compliment you on how cute your bibs are!
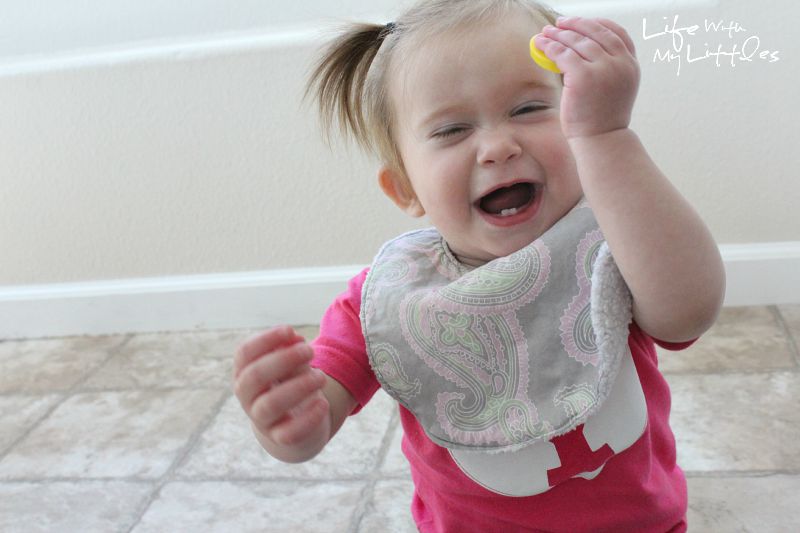
See, I told you that was a super easy tutorial! Now good luck, and happy sewing!
Kersten says
These look so easy!! And that fabric is adorable. Cute AND functional:)
Chelsea Johnson says
They are! And they work perfectly!
Kelly Kennedy says
Can you buy the snap tool at JoAnns? Love these sooooo making them for a coworker!! Thanks for the instructions on these
Chelsea Johnson says
Yup! That’s where I got mine!
Barbara Carpinelli says
Hi can you help me to understand how the fuzzyness is showing around the edge when you sew it right sides together and turn it inside out?
Chelsea Johnson says
There is fuzzy from the minky fabric, so when you sew it and then topstitch it, you’ll see those fuzzies even from the top of the bibs.
Katie says
I have so much fabric just laying around that I need to use! These would be perfect for that. They are SO cute!
PS – if you don’t already, you have to submit your projects to allfreesewingprojects.com. I get a ton of traffic from them!
Chelsea Johnson says
I haven’t heard of that site, thanks! And these are super easy. You should make some new ones for baby boy!
UrsulaC says
Hi Chelsea! Thank you so much for the great tutorial on burp cloths and bibs. Your tutorials were excellent and super easy to follow! I like the idea of the minky soft fabric but I used the Terry cloth this time. Wish I could share my results with you. Thanks again ❤
Chelsea Johnson says
Thanks, Ursula! I love hearing that people use my tutorials and love how their projects turn out!
Sara Barry says
I absolutely love these and can’t wait to make a million of my own! I’m just curious about how the edges come out like that after top stitching. Do they just automatically look kind of frayed or is there a step I’m not seeing to get them to look like that? I love the edges so I want to be sure that mine look like that 🙂
Chelsea Johnson says
It’s not fraying, it’s actually just the way the minky fabric looks. Good luck sewing! Thanks so much!
Melissa says
When I click on the link for the bib pattern the page turns up blank!? Help?
Chelsea Johnson says
Really? The links all work for me! Maybe try again in a different browser?
Anna says
Thanks for the great tutorial! My bib came out with a diameter of 3 inches for the neck. Is that about the right size for a newborn?
Chelsea Johnson says
I think mine were a bit bigger, but I mostly used the bibs on my kids for when they started solid foods so they were a bit older.
Mackenzie says
Mine came out with a 3″ diameter as well and about 8″ around. Any suggestions on how to make it bigger? I’m afraid these will only for my baby for a little while.
Chelsea Johnson says
That’s how it should be! You’ll be surprised how tiny baby necks are!
Wendy says
Thank you for the great tutorial very easy to follow even for me a newbie to sewing. I just have one question, I downloaded your free pattern and after cutting it and about to sew I noticed the neck hole is only 3in in diameter, is that right?
Chelsea Johnson says
I know it seems small, but it’s accurate. Babies have tiny necks!!
rebecca says
Have you ever placed a water proof layer between the 2 layers for excessive drooling babies?
Chelsea Johnson says
I haven’t. You probably could, but the minky on the back does make them quite a bit thicker than regular bibs anyway.
rebecca says
ok, I might give it a shot and see how they feel. 🙂
Chelsea Johnson says
I’d love to hear if it works well!
rebecca says
I’ll update when I get them done
Magen Grappendorf says
I do love these bib, I have been making some similar for years but I have been using Velcro to fasten it, but it looks like the snaps take less time. I will have to try it! Thanks for the idea:)
Chelsea Johnson says
I used Velcro initially with my son’s bibs, but once he could pull them off I needed a new approach! The snaps work great!
Linda says
I printed off the bib pattern…but it looks like the next area is too small. Any suggestions?
Chelsea Johnson says
Did you print it so it fits the page? At 100%? The neck does look sort of small when you print it, but you might have it so it’s not printing the right dimension.
Courtney says
Can you have the snap go through both pieces of fabric? I like the “hidden” look but I am wondering if they would hold up to more pulling if I went ahead and put the snaps through both. Or is it too thick with both the minky and the cotton? Thanks. I am getting ready to make a bunch of these for gifts. The fabric is in the wash. 😉
Chelsea Johnson says
I wasn’t able to even apply/install/snap the piece onto both pieces of fabric. That’s why I only did it through the cotton. You could try and if you have a strong fastener, but it wouldn’t work for me. Good luck!!
Lfox18 says
Yes. I put the snaps through both layers. But don’t use the little cheap plastic snap tools. Get a good one that is sturdy and large. They are about $20 vs the little $3 tool. But those cheap ones are worthless when trying to work with layers.
Chelsea Johnson says
Good to know!!
Marina Sharp says
I was wondering the same thing! Did you end up making them? If so, how did you do the snap and how did they hold up?
Marianne Hardy says
Just working on bibs. Quick question: is the seam allowance included in the pattern size and if so how wide is it. 1/2 inch or smaller? I am going to teach my daughter to sew by making the burp rags. We are having fun getting ready for her baby
Chelsea Johnson says
I used 1/4″ seam allowance on these, and yes, it is included in the pattern size. If you want to do a larger seam allowance you can definitely add a little bit extra to the pattern.
Brooklyn says
Thank you for the tutorial! How do you wash them normally? Does the fabric shrink?
Chelsea Johnson says
I just wash them with the rest of my baby clothes. No special laundering needed, and as long as you prewash the fabric before cutting out the pattern and sewing, your fabric won’t shrink after it’s been sewn.
Donna says
I can not get the pattern to print. When I click the down load it takes me to a scrap booking page, any suggestions that a computer illiterate will understand?
Chelsea Johnson says
I’m not sure what link you are clicking because when I click “free download” as well as “pattern” they both take me to the pattern page. Sorry that’s not helpful!
Kristin says
I love that fabric! Who is the designer, and what is the fabric name?!
Chelsea Johnson says
I actually just found these fabrics at Jo-Ann! It was over two years ago though, so they probably don’t have it anymore. Sorry that’s not helpful!