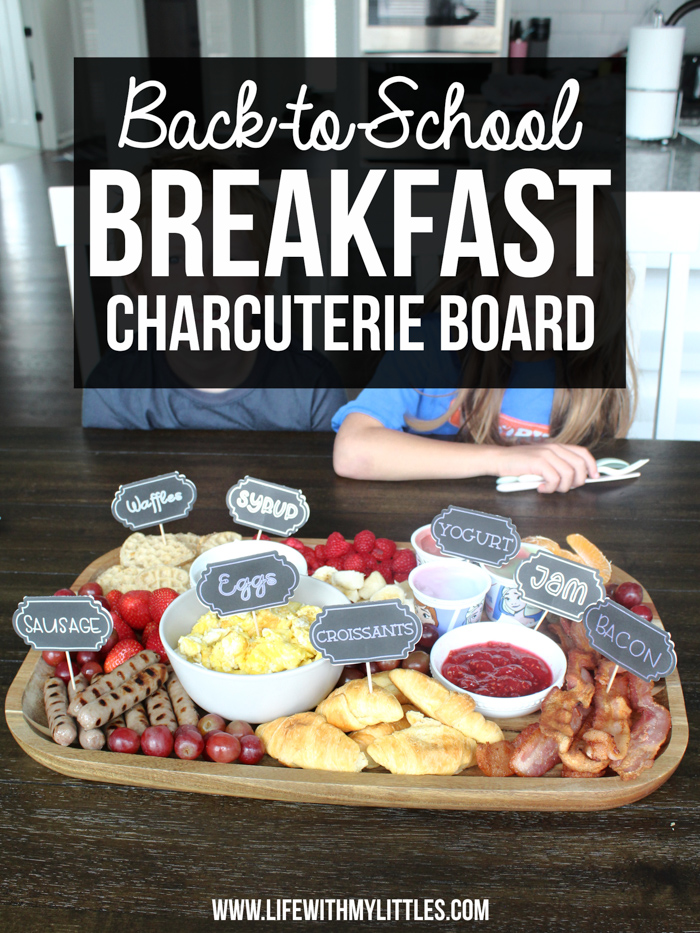
Serving a breakfast charcuterie board is such a fun way to celebrate your child’s first day of school! And with these cute school-themed DIY labels that you can make in a few minutes with a Cricut machine, the first day of school will get off to a great start!
This post is sponsored by Cricut and contains affiliate links.
After a long year of homeschooling last year, I am beyond thrilled that my kids are going back to in-person learning at the local elementary school in a few weeks.
For my son, that means starting third grade and getting back into the routine of learning at school. He did his first two years of elementary school at school, so he knows what to expect and he’s familiar with the concept of “going to school.”
For my daughter, who did kindergarten at home last year, “back-to-school” means something entirely different. She did two years of preschool before kindergarten, but it was only half-day, a few days a week. She didn’t get a true kindergarten experience last year, and I’m excited and nervous for her to spend her days in a classroom with other students and a teacher who isn’t me.
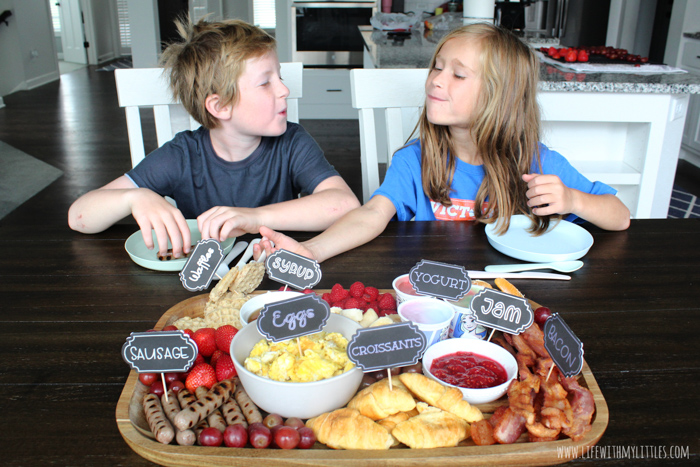
I know she’s feeling a little nervous herself, so I wanted to do something extra special for their first day of school breakfast. My kids loved the Valentine’s charcuterie board I made for them earlier this year, and I thought it would be fun to throw together a back-to-school-themed breakfast charcuterie board for their first day!
I wanted to make some school-themed labels for the board, and I knew that using my Cricut Explore Air 2 to make chalkboard labels would be perfect! I also wanted to make them as simple as possible so I could put them together quickly, and I was thrilled to see that Cricut came out with a sticker-backed Smart Paper cardstock for their larger machines that works without a cutting mat and doesn’t need any messy glue! Can’t get much faster or easier than that!
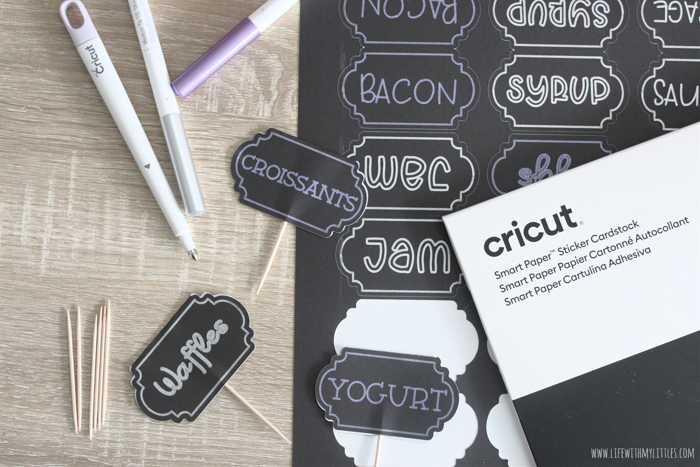
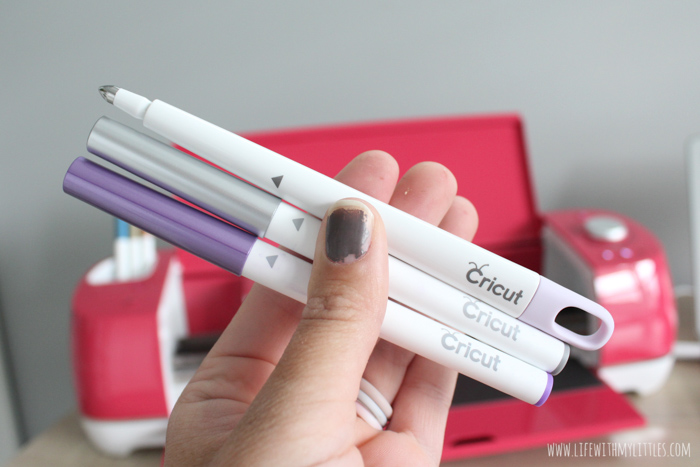
Besides the amazing Smart Paper Sticker Cardstock, I also grabbed a set of Metallic Pens to write on the cardstock so the labels looks like mini chalkboards, and a Scoring Stylus to make folding the labels easy and more precise.
After deciding I wanted to do a mix of proteins, carbs, and fruit on my breakfast charcuterie board, I opened up Cricut Design Space and got to work designing.
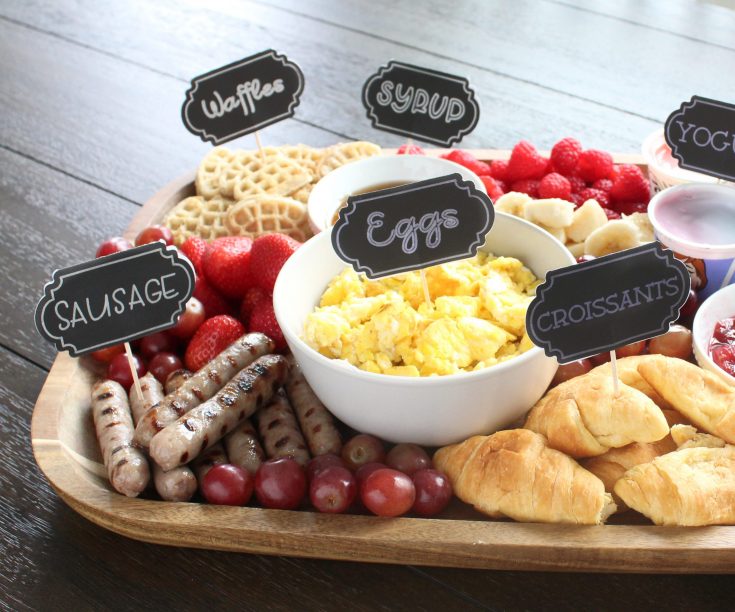
I made chalkboard-style labels that could be folded in half and stuck on toothpicks (thank you, Sticker Cardstock!). You can get the free cut file here.
Once you have all your labels designed and ready to go, it’s time to write, score, and cut! Design Space will tell you which pens to use and when to insert the scoring stylus. Just make sure you have a sharp Premium Fine Point Blade in your machine before you start, so you get crisp clean edges.
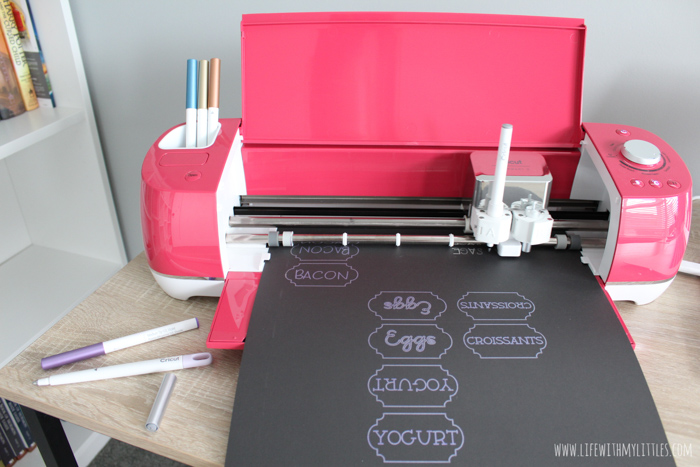
When your Cricut machine is done doing the hard work, unload your Sticker Cardstock, and one at a time, peel your labels off the sheet. You’re going to put a toothpick in the middle so your labels can go stick in your food, so make sure you have those ready.
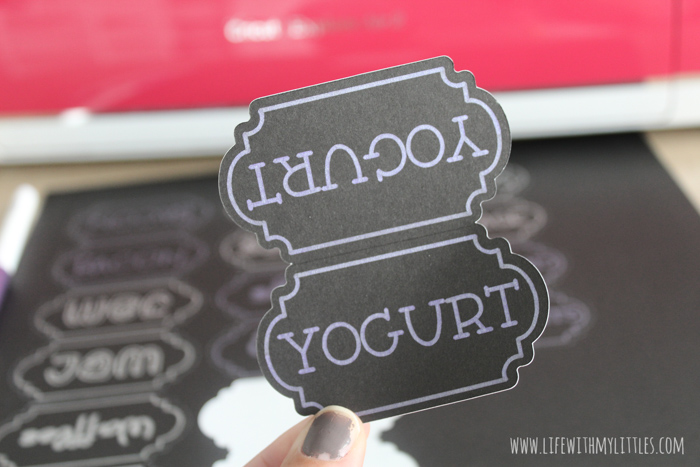
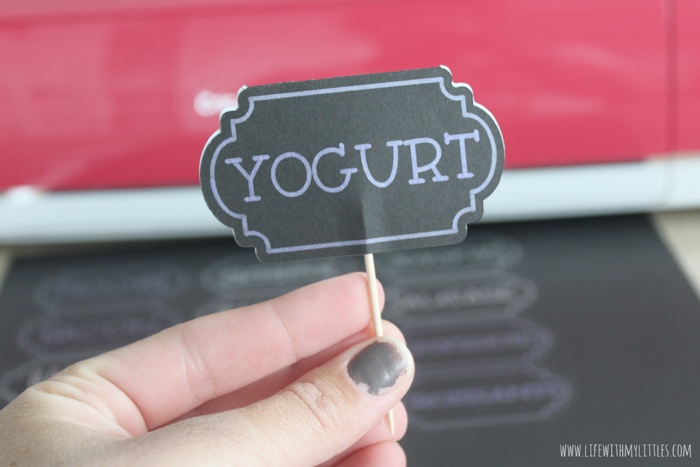
After you peel a label off, gently fold along the score line, line the toothpick up inside, and press the label in half. Repeat for each label, and voila! You have breakfast charcuterie board chalkboard labels!
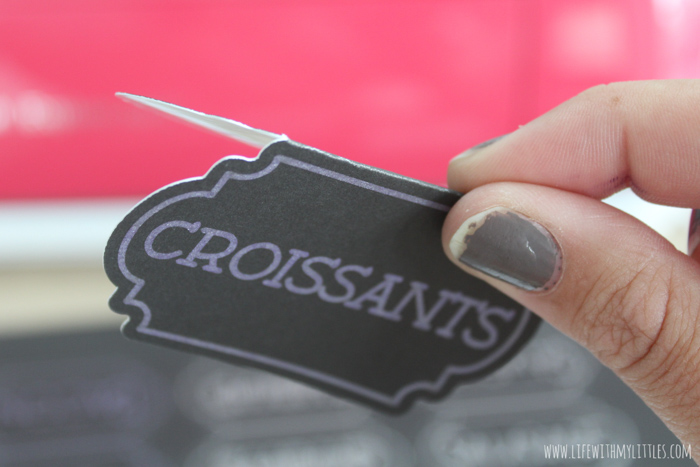
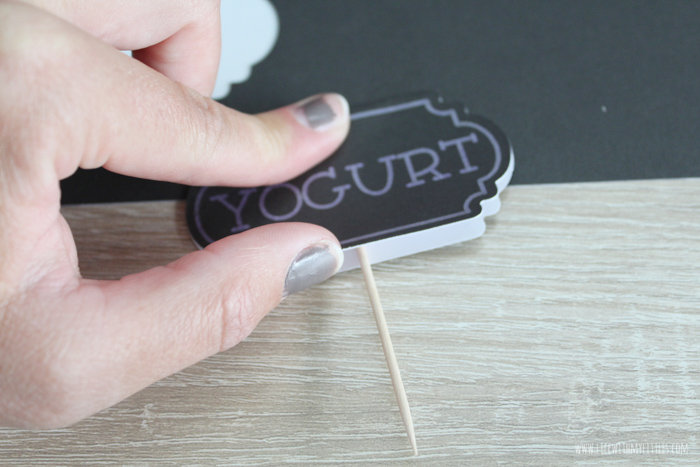
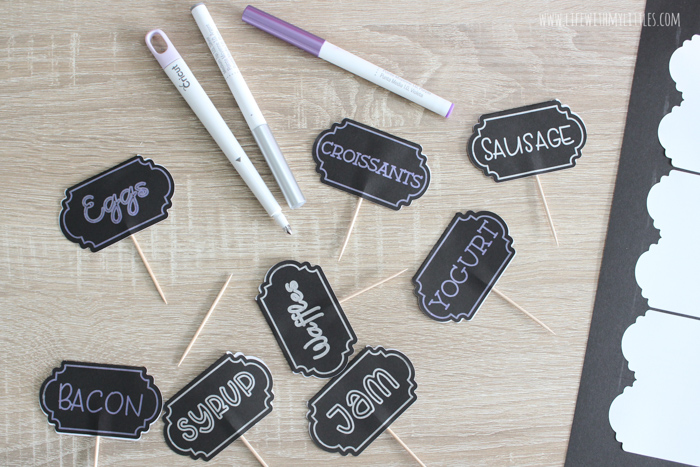
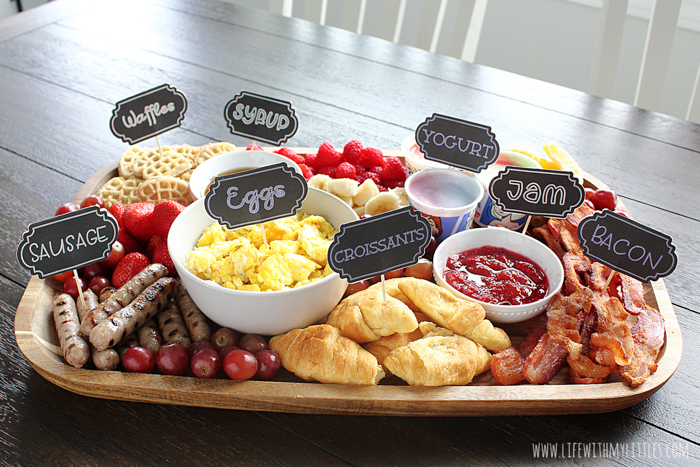
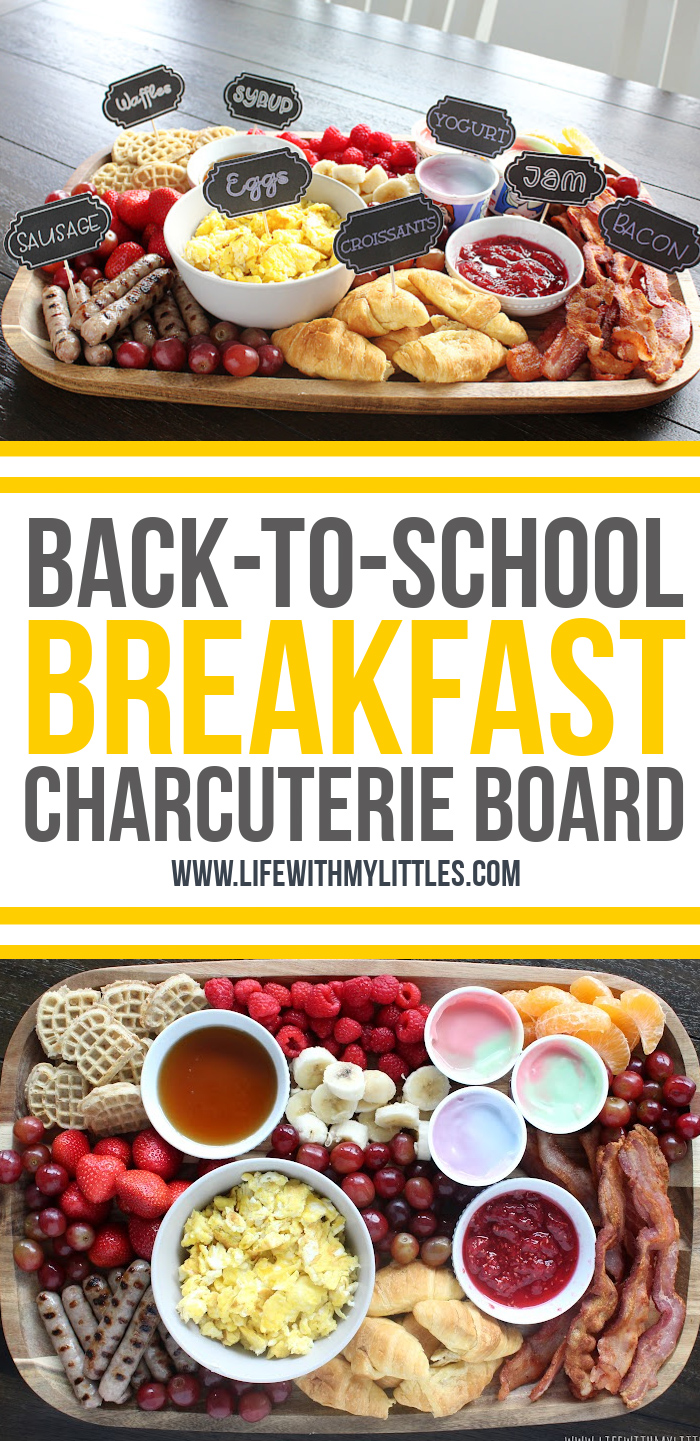
All that’s left to do now is assemble your charcuterie board and add the labels. When I make my boards, I do anything in bowls first (syrup and jam, then eggs and yogurt), followed by bigger items (sausage, waffles, bacon, croissants), one at a time, and then little things (fruit) to fill in any extra spaces.
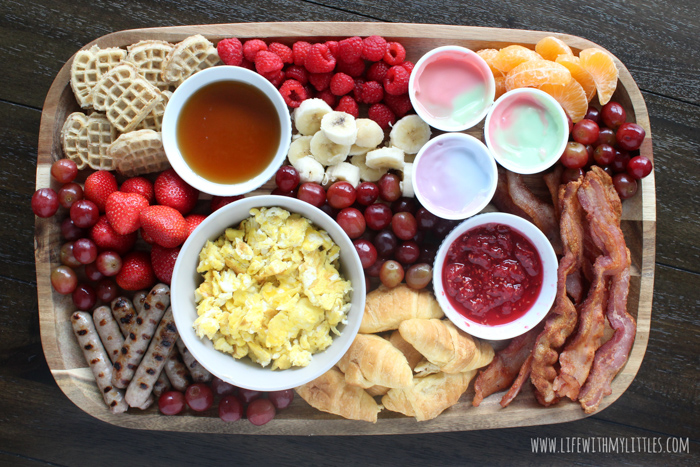
Last, add your labels. If you have bowls and can’t stick the labels into what’s in them, try taping them to the side. Anything else, just stab with a label.
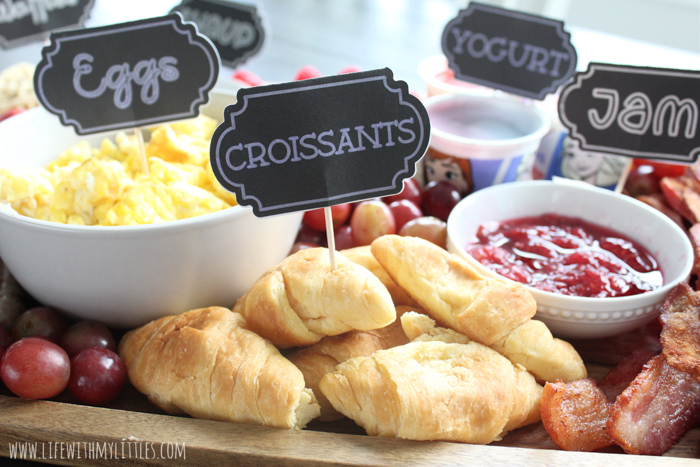
I love the way our back-to-school breakfast charcuterie board turned out, and my kids loved it, too. Serving this special breakfast is the perfect way to start the first day of school off right!
Back-to-School Breakfast Charcuterie Board
Serving a breakfast charcuterie board is such a fun way to celebrate your child's first day of school! And with these cute school-themed DIY labels that you can make in a few minutes with a Cricut machine, the first day of school will get off to a great start!
Materials
- Smart Paper Sticker Cardstock
- Toothpicks
Tools
- Cricut Explore Air 2
- Metallic Pens
- Scoring Stylus
- Premium Fine Point Blade
Instructions
- In Cricut Design Space, open the cut file.
- Press Make It! Connect your Explore machine, load your Smart Paper, and make sure the correct tools are loaded.
- Press Go on your machine and watch it take care of the hard part. Make sure you stick around and switch out tools when prompted on Design Space.
- When your Explore is done, unload the Smart Paper.
- One at a time, peel your labels off the sheet.
- Gently fold along the score line, line a toothpick up inside, and press the label in half, making sure to seal the toothpick inside.
- Repeat for each label.
- Assemble your breakfast charcuterie board.
- Add labels.
- Enjoy!
Leave a Reply