Decorations make all the difference when throwing a party. Check out why the details matter in this post, plus tips on how to throw a Pinterest-worthy party!
I received free product in exchange for this post.
Last weekend was my daughter’s first birthday party. I had so much fun planning and throwing it, and it turned out exactly how I had imagined it in my head (having a vision is key to party-planning!). If you saw Monday’s post, you’ll know I am doing a series called “How to Throw a Pinterest-Worthy Party.” In the first post I gave you basic tips to throwing a Pinterest-worthy party, then I talked about why invitations are so important in setting up your party’s theme. Today I am going to focus on decorations and go more into detail about what I did for Little A’s sprinkle party!
The two centerpieces of Little A’s party were the dessert table and the gift/favor/guestbook table. I highly recommend having at least one table for food (two if you are serving lunch or dinner) and then a separate table for non-edible things like gifts, favors, and a guestbook. For Little J’s train party, I had two food tables and then the gifts, favors, and guestbook each had their own place around the room. It really just depends on you and how much you want to do (and what you have available).
The reason I mention that first is because deciding what you want to have at the party is going to dictate your decorations. Once you have that decided, scour Pinterest for ideas and then pick some that you like. Then, sketch out your design on some paper. I’m no artist, but I drew a basic layout of how I wanted things arranged and what decor I wanted where. Guys, THIS HELPS SO MUCH!
Another tip I want to give you before I give you some more inspiration is to remember the details. The more little details, the more Pinterest-worthy your party is going to be. And yes, sometimes handmade is best. If you aren’t crafty, round up some crafty friends or go search for things on Etsy. It’s a lot more custom and unique if you don’t just go to the party store and buy a boring cardboard banner that matches your theme.
Okay, now let’s go into what I did so you can see more of what I mean and so that you can be inspired in your own decorating adventure!
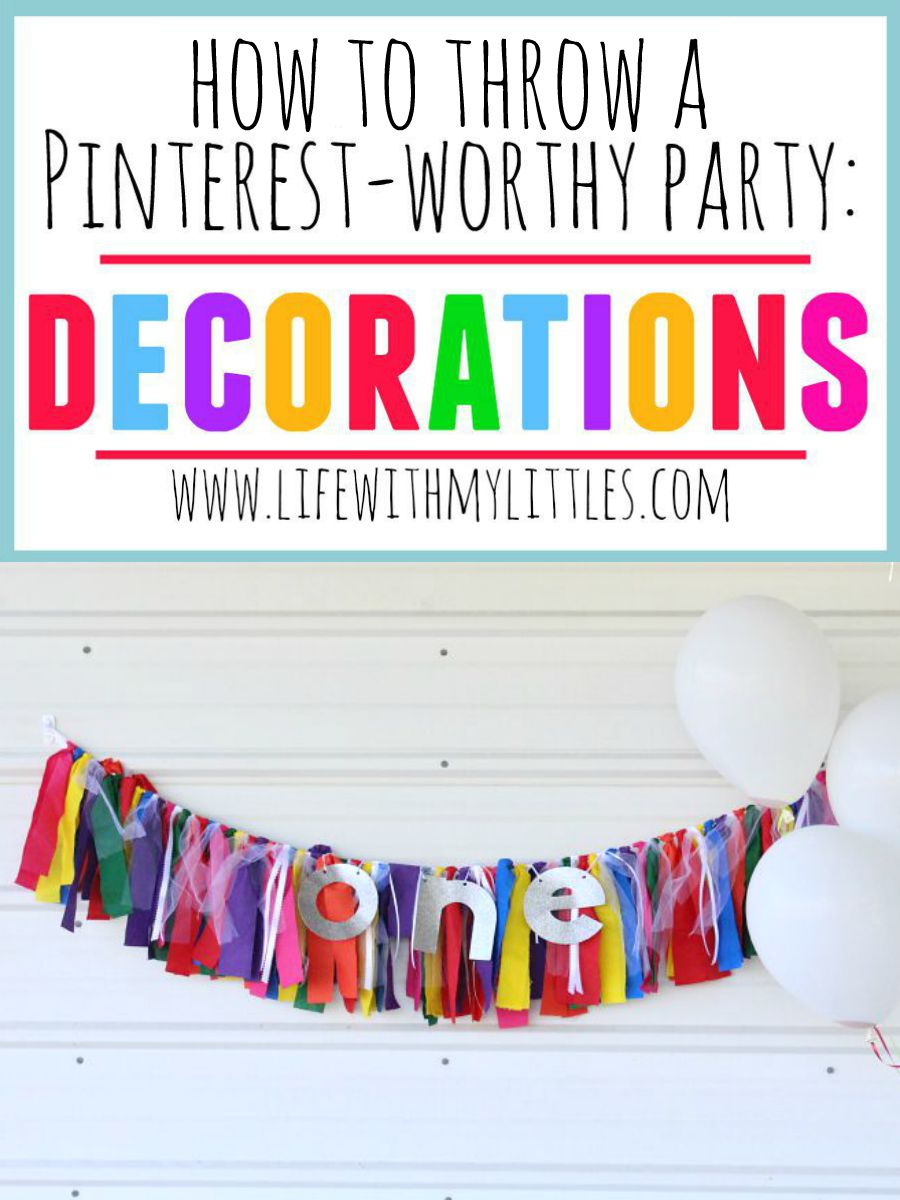
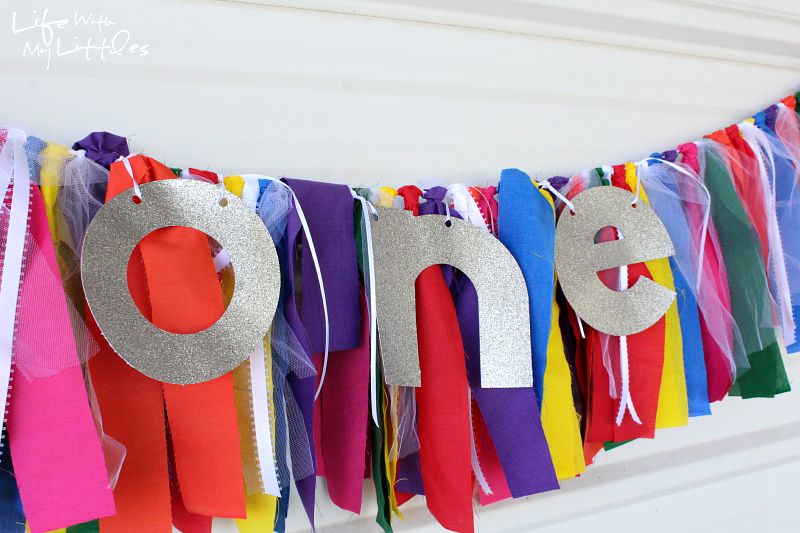
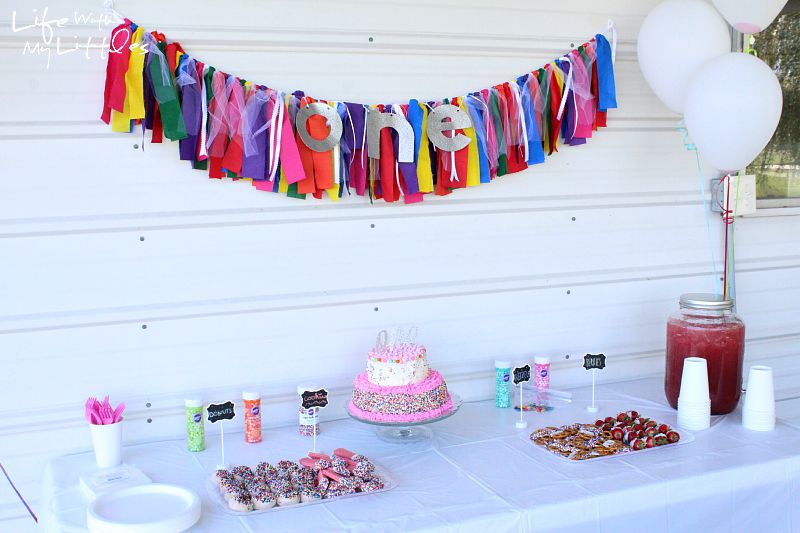
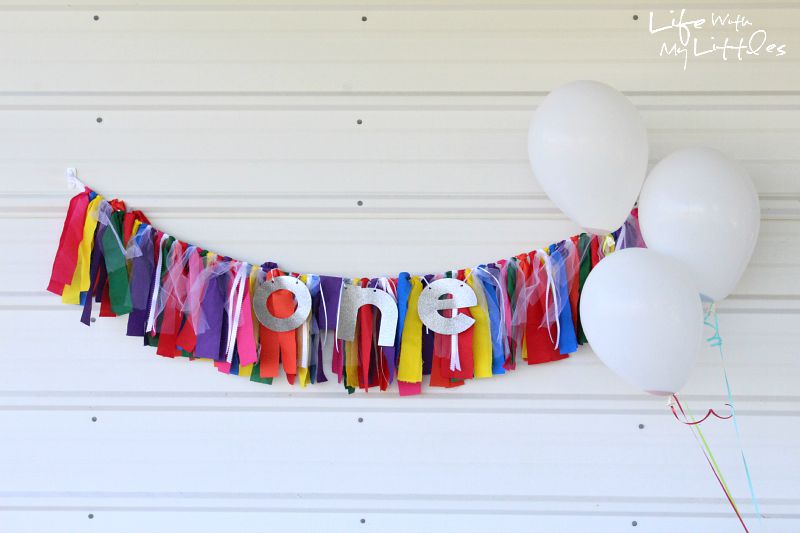
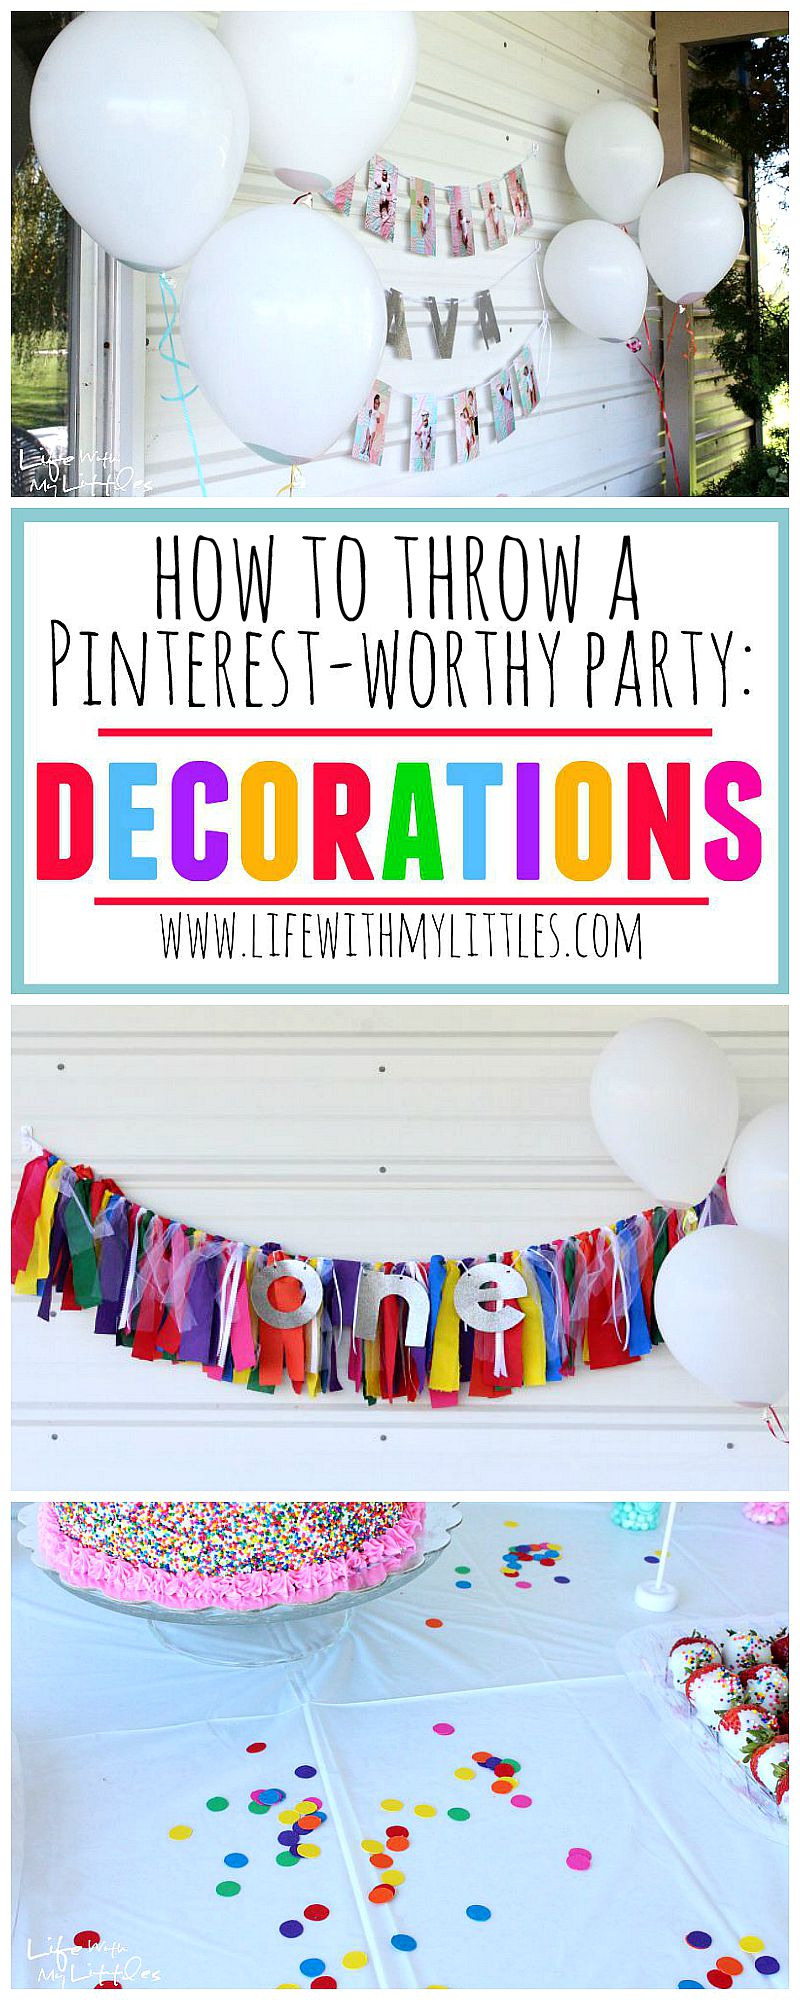
For each table I had balloons on the sides, white tablecloths, and then decor above on the wall. For my dessert table, I created a scrap fabric banner using colors that were in the Wilton sprinkles I was using. I also added in some white tulle and scalloped ribbon for dimension.
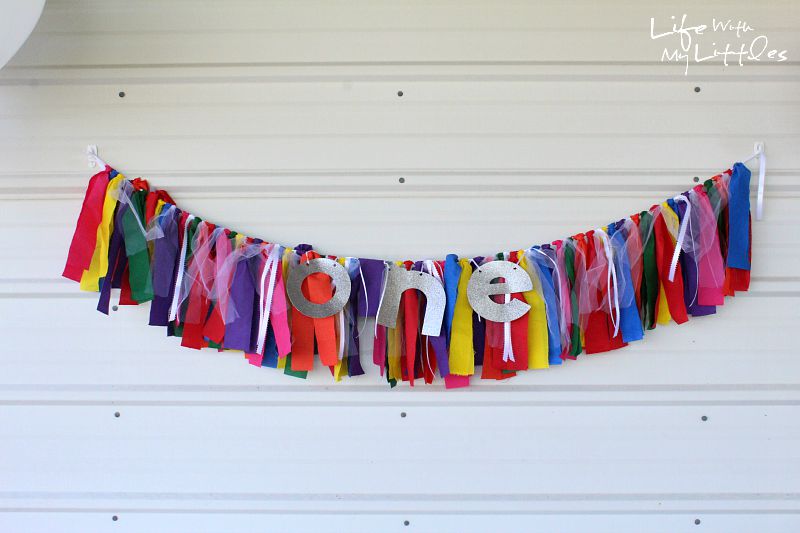
I also cut out the word “one” using my Cricut, and then tied that on. It was simple, cheap, and the bright colors were perfect above my bright desserts. And it tied in the sprinkle theme, which is important.
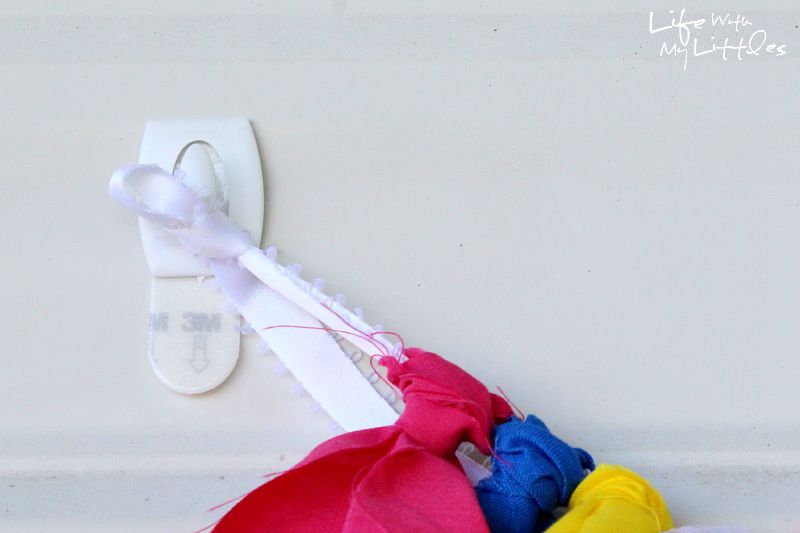
To hang it (and my other banners), I used Command 3M hooks. They were perfect, and when we were done, I just pulled them right off!
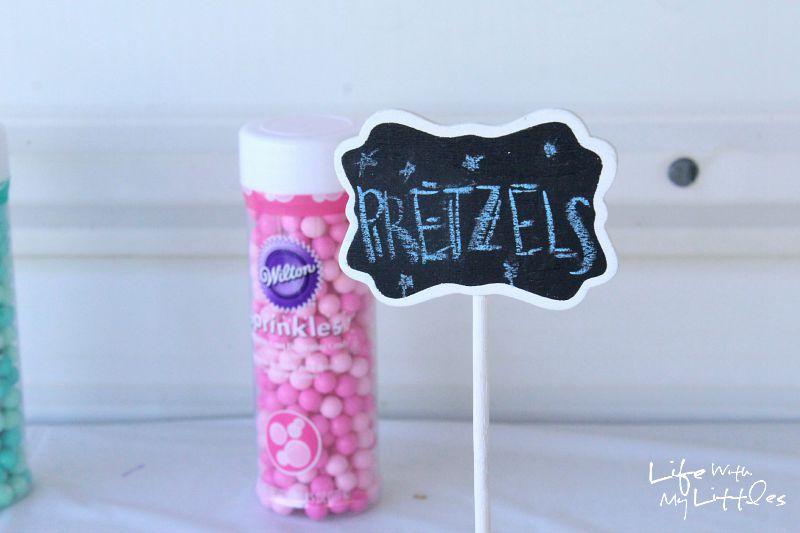
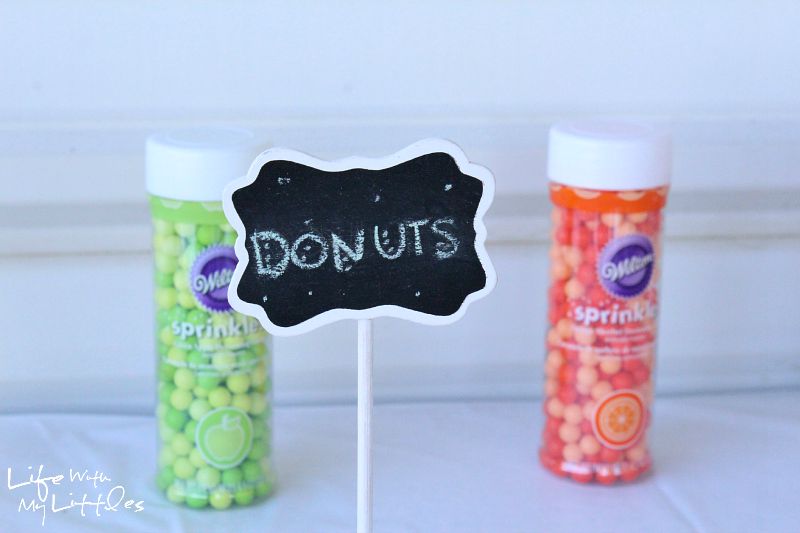
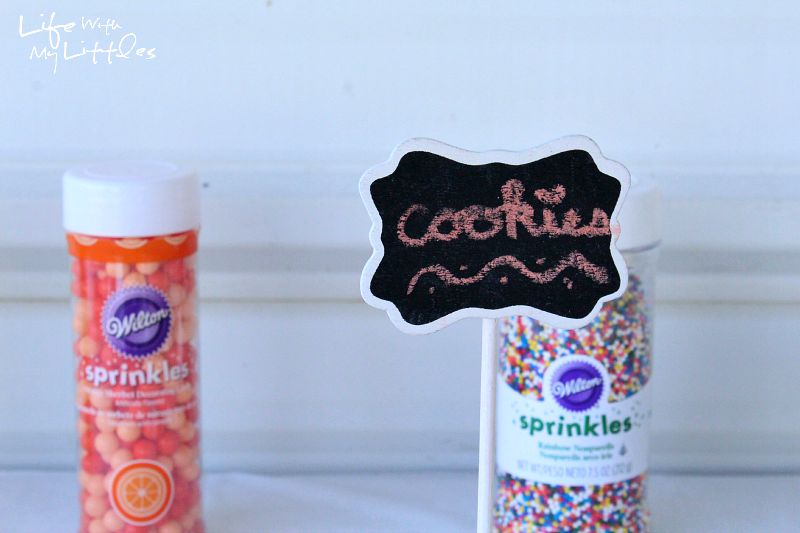
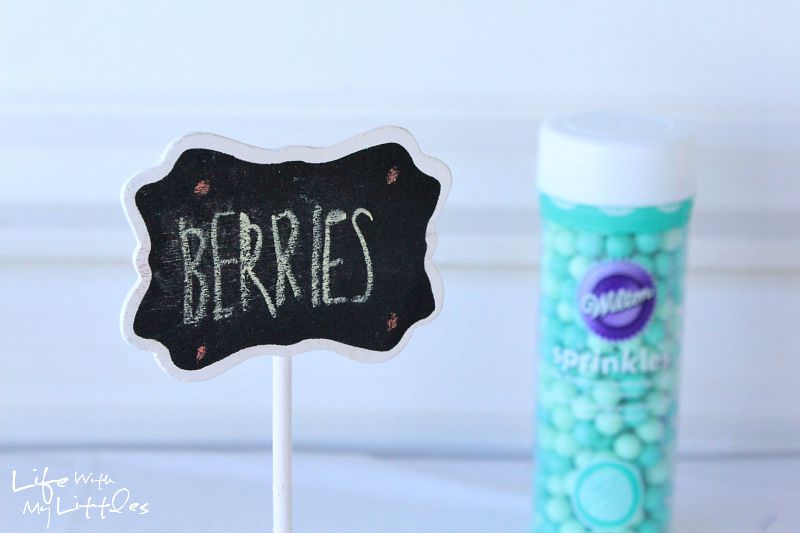
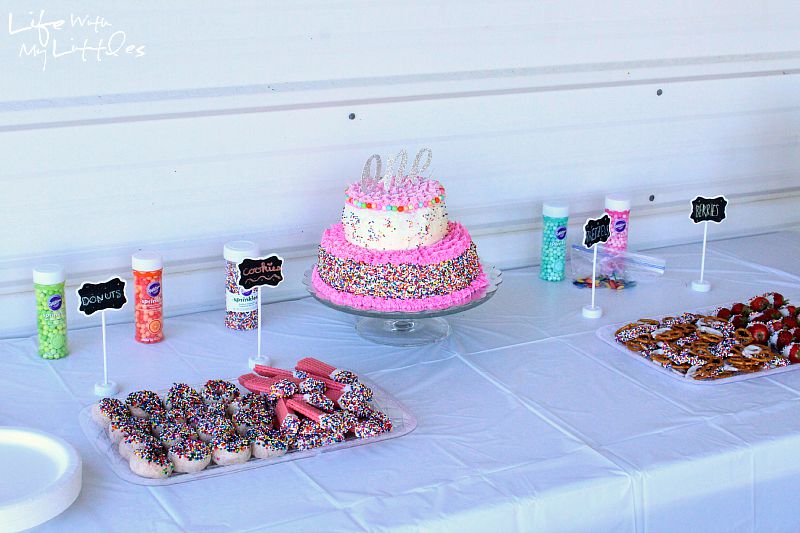
I also bought some little chalkboard signs that were perfect for labeling the desserts. Obviously, everyone knew that the donuts were donuts, but details, people! Little labels like these were super cute and they added to the decorations on the table. Think about how boring the table would have been without them! And they also tied into the chalkboard-style prints I made for the second table.
To tie my theme in even more, I also put the extra Wilton sprinkles I had on the dessert table for props. If there is something like that that will tie into your theme, add it to your table! It makes a big difference, and again, think how boring the table would have been without the sprinkles (also, this was before I finished adding my confetti!)!
I used some plastic trays from the dollar store for the food, and then I used my sister’s cake plate for the cake. Whenever possible, elevate your cake!! It should be the centerpiece of your dessert table! And, as you can see, I used some white plates, white napkins, and white cups with pink silverware for the food. It made the food the focus, and I think it worked great!
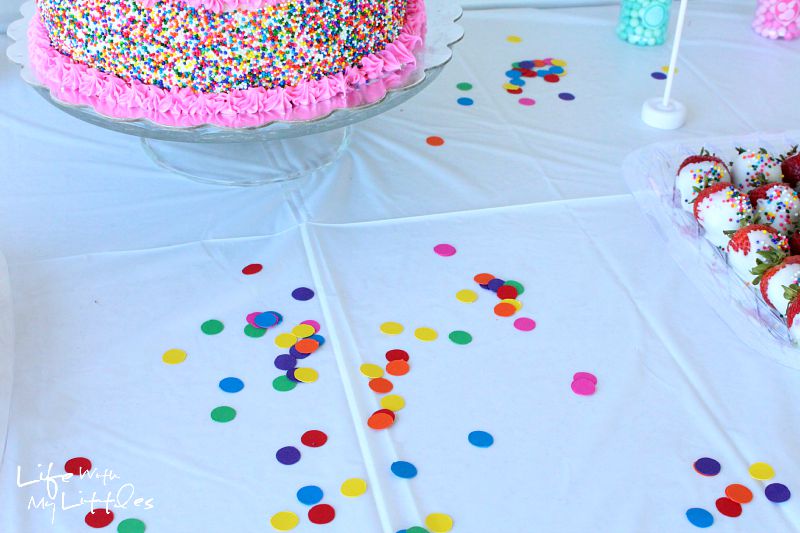
I also added some small rainbow confetti that I cut out using my Cricut to each table (I know it’s not in the shot above). It helped tie in the sprinkle theme even more. Whenever possible, use confetti!
Now that you know how to decorate your dessert table, let’s move on to the non-edible table (haha).
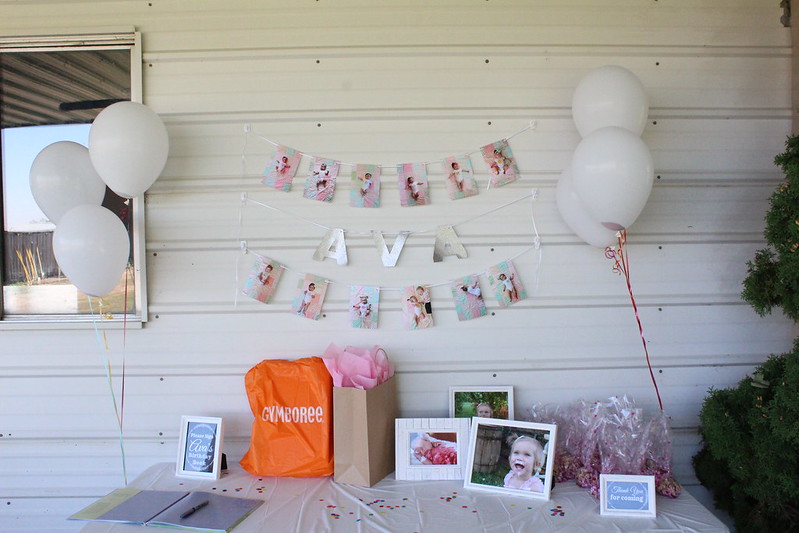
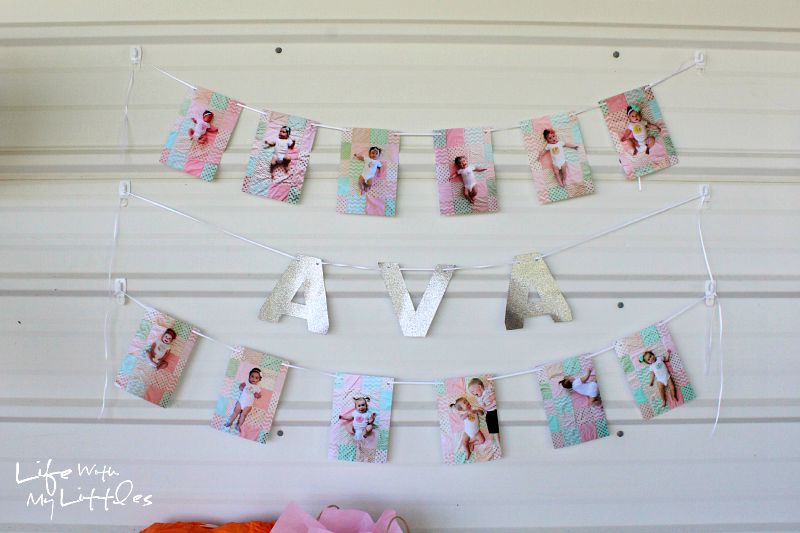
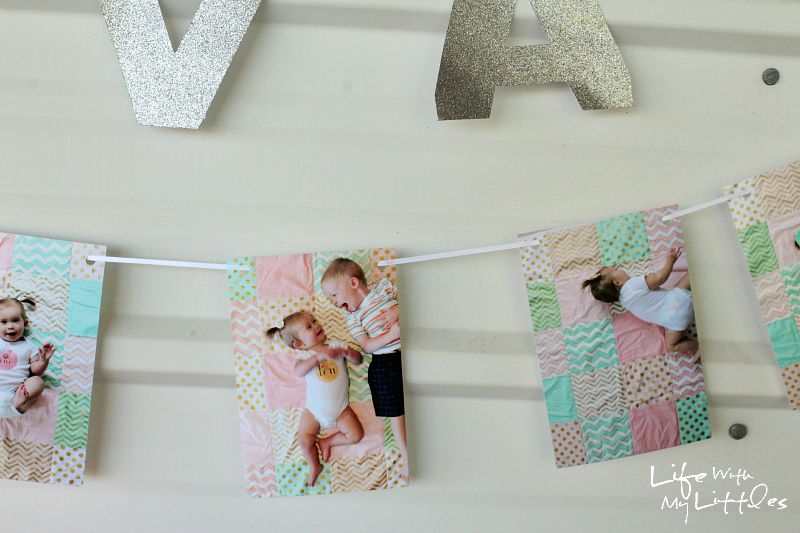
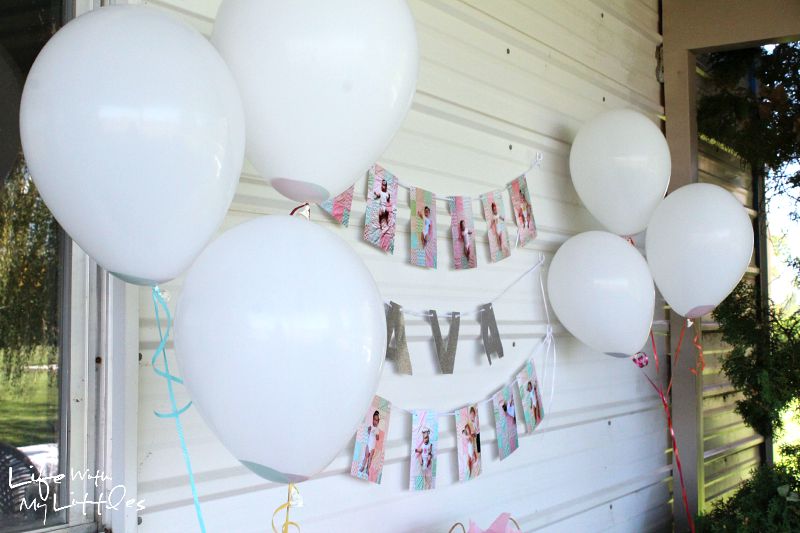
I wanted to do a cute banner above the table again, and since it was my daughter’s first birthday, I used prints of her monthly photos I took to document her growth.
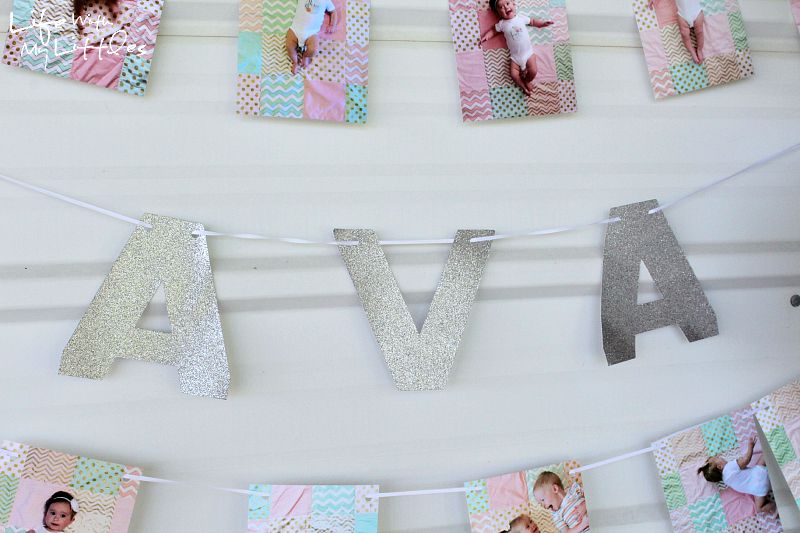
In between the two banners I hung up her name in sparkly letters that I used my Cricut to cut out.
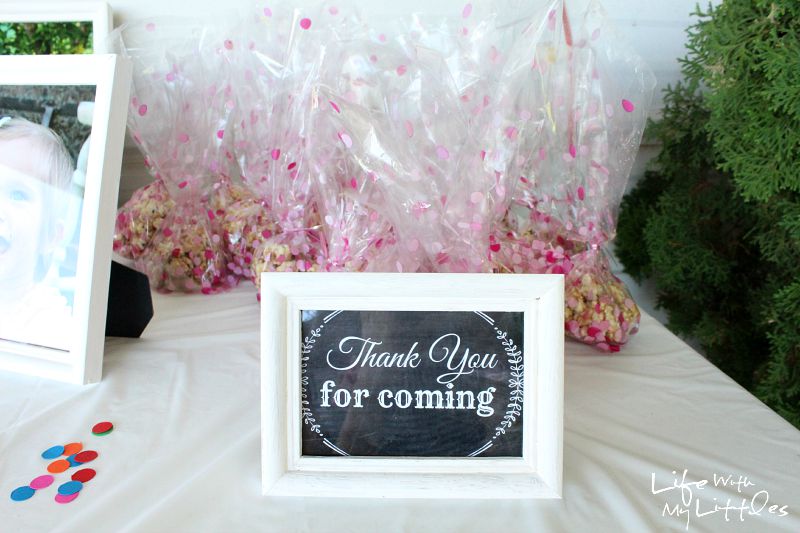
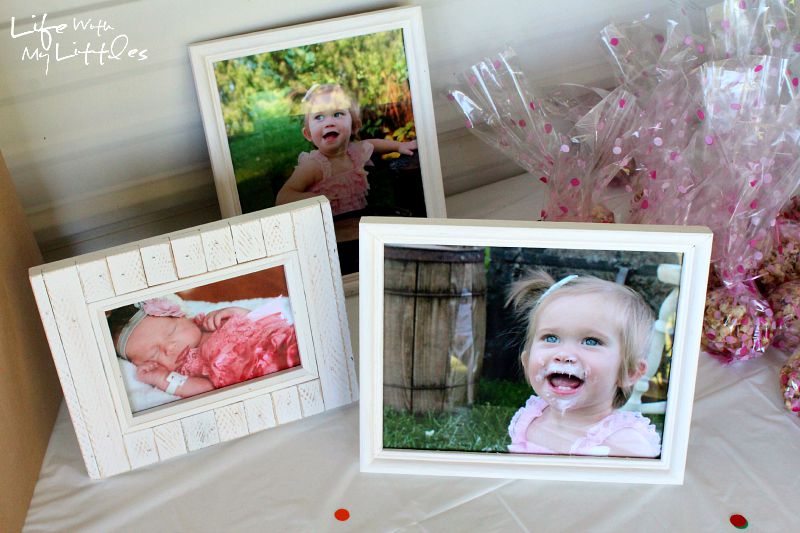
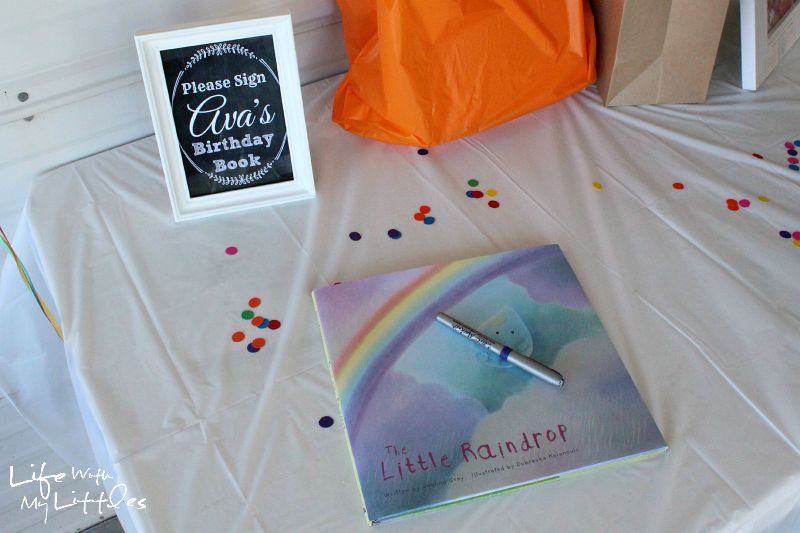
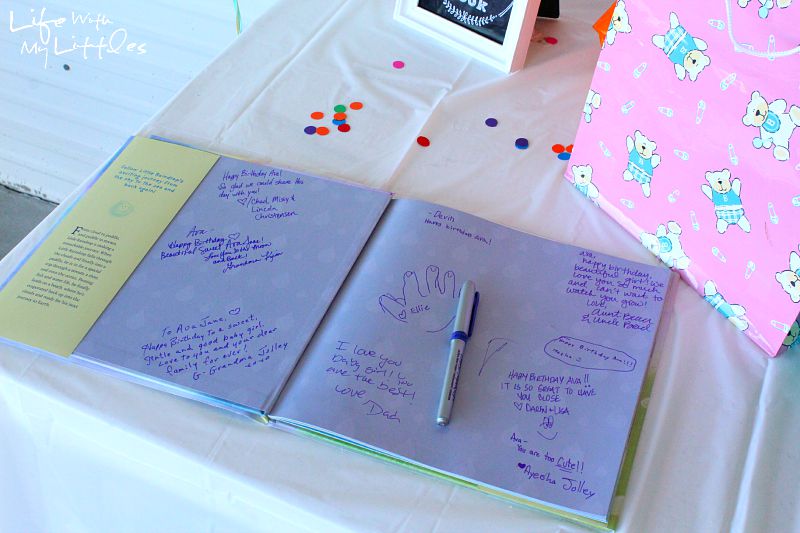
On the table below, I had a guest book, a place for gifts, pictures of Little A, and the party favors for guests to take home.
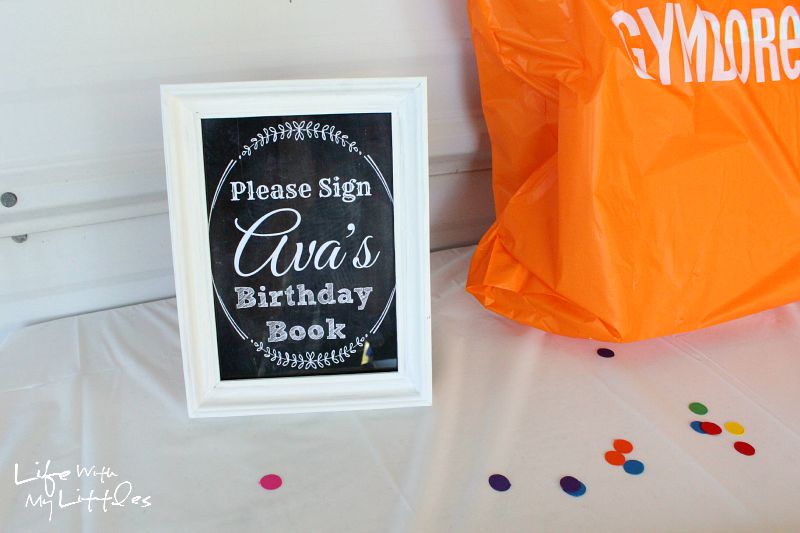
I designed some matching chalkboard prints for the guest book and favors.
Then I bought frames from goodwill and painted them white. DIY people! It looked rustic and was so cheap! I used the frames for the prints and for some pictures of Little A I wanted to display from her cake smash and newborn shoots.
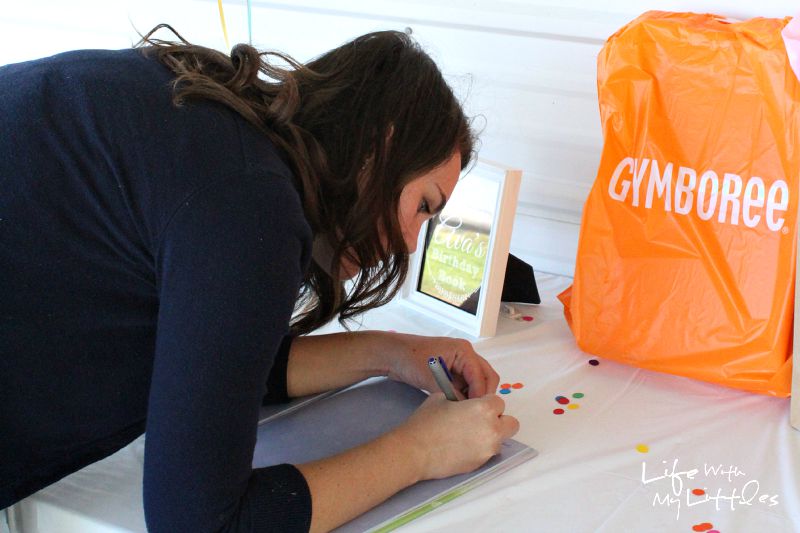
A quick note about the guest book. A guest book is a great way to remember who came to your child’s birthday, and I love the idea of using an actual book that ties in with the theme. For Little J’s train party, I used “The Little Engine That Could.” For Little A’s party, I found a book about a raindrop. It didn’t match entirely, but it had a rainbow and was cute so I went for it. Anyway, I love using a picture book because then you can read it with your child later and it becomes a great keepsake.
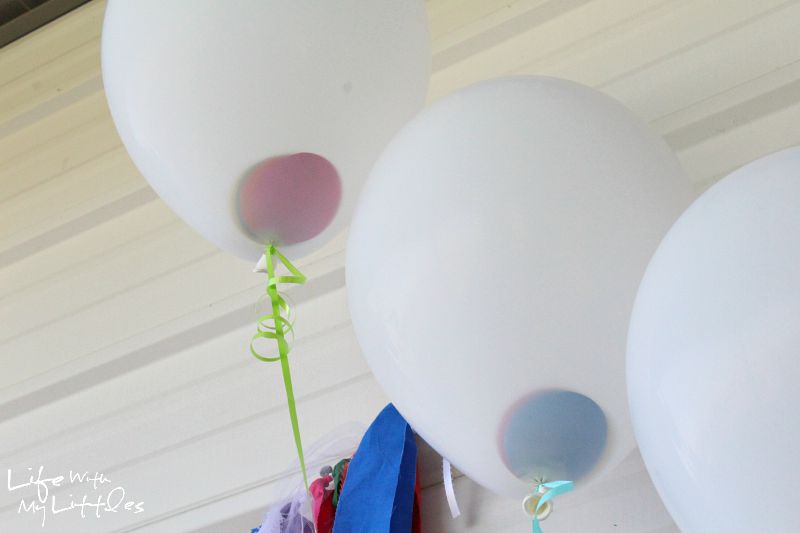
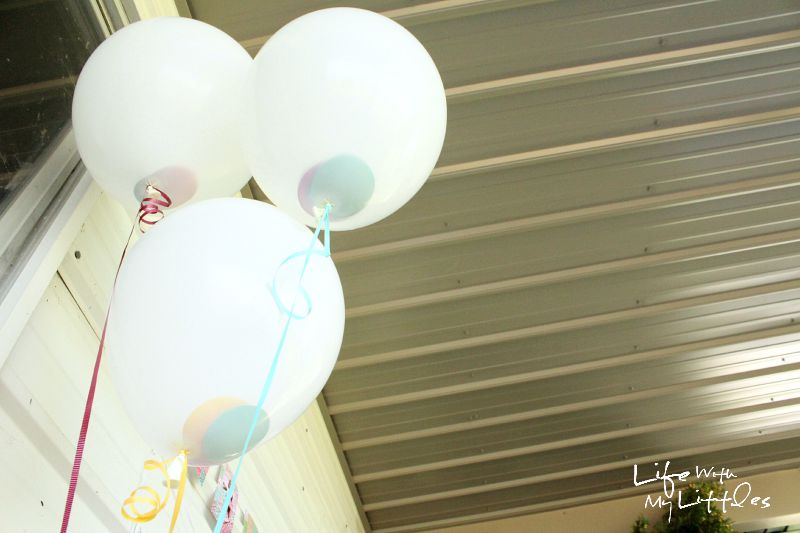
Last of all, I blew up 12 white balloons and put some colorful cardboard circles inside to give them something extra. You couldn’t see the colors as much as I had hoped, but I still really like how they looked.
I tied three to each side of my tables and it was the perfect finishing touch!
I hope those pictures and tips give you some great ideas for what to do for decorations at your Pinterest-worthy party. To review: do lots of homemade things, tie the theme into everything, and pay attention to the details. Decorating for a Pinterest-worthy party doesn’t have to be expensive, and you can make it exactly how you want!
Don’t forget to check out the intro post to this series for more general tips, the invitations post for tips on custom invites, and check back Monday for a post all about food for your party!
Leave a Reply