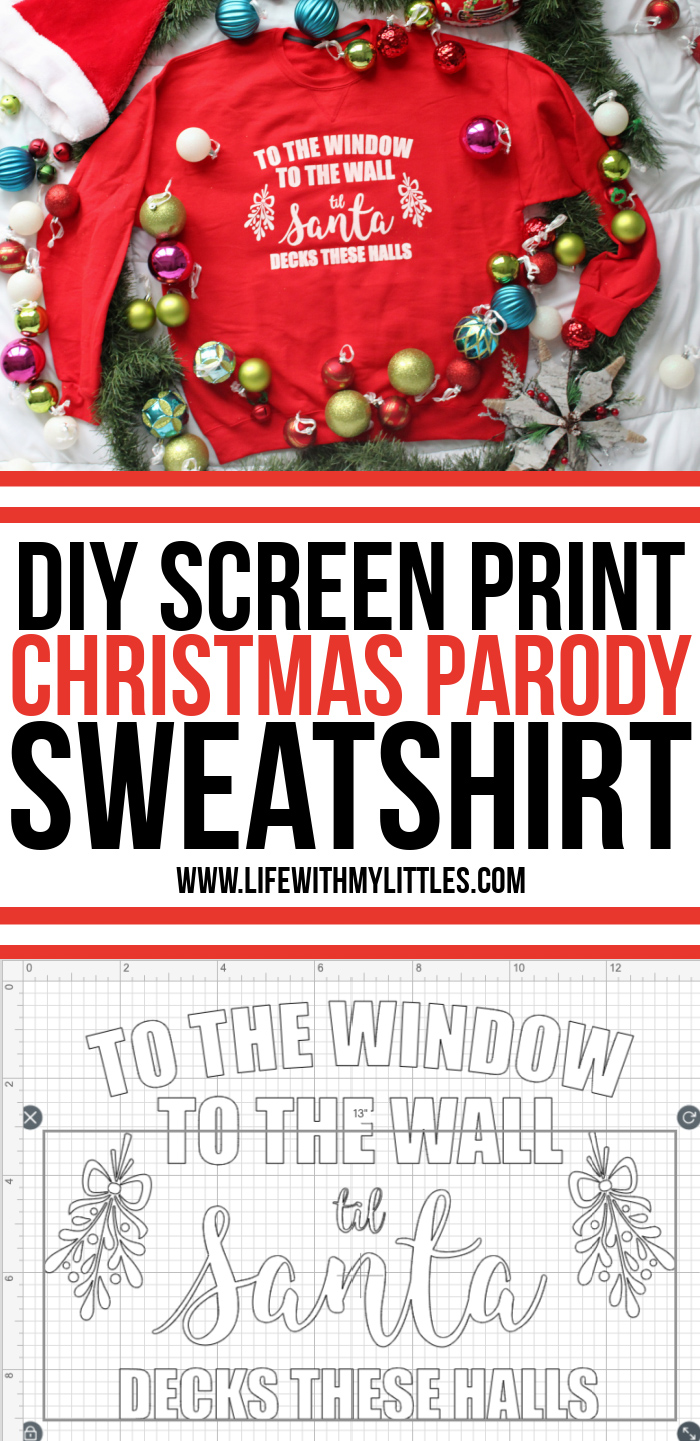
“To the Window, to the Wall, ‘Til Santa Decks these Halls” Christmas parody sweatshirt that you can DIY! All you need is a Cricut, vinyl, screen printing supplies, and a sweatshirt to make this hilarious holiday sweater.
I received free product in exchange for this post. This post also contains affiliate links.

One of the songs that was played at every high school dance I went to was “Get Low” by Lil Jon & The East Side Boyz. As an adult, I’m horrified that the school staff allowed us to dance to that, but as a teenager, it was just a catchy song that everyone loved.
Last year, I decided to turn the lyrics of that rather-inappropriate song into a fun Christmas parody shirt. I took the lyrics of the chorus and changed them to
“To the window, to the wall, ’til Santa decks these halls!”
Unfortunately, I got a grease stain on it and had to throw it out, but I’ve never gotten over how clever it was.
Now that I’m getting into screen printing and with Christmas fast-approaching, I thought I’d make a new version of my “To the window, to the wall, ’til Santa decks these halls” shirt. After a minor redesign on Cricut Design Space, I grabbed a red sweatshirt and all my screen printing supplies and got to work!
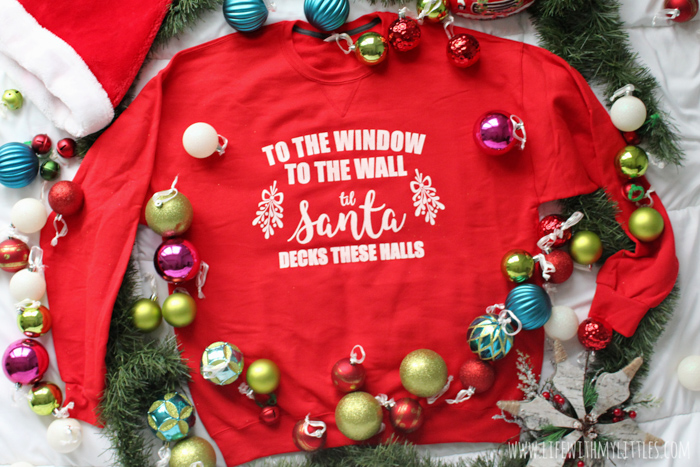
I love the way my sweatshirt turned out, and because I love it so much, I wanted to share a tutorial on how I made it, complete with the free cut file for Cricut Design Space.
The first step when you screen print is to cut your design out of vinyl and apply it to your screen. It’s easy, but takes a few steps, so bear with me.
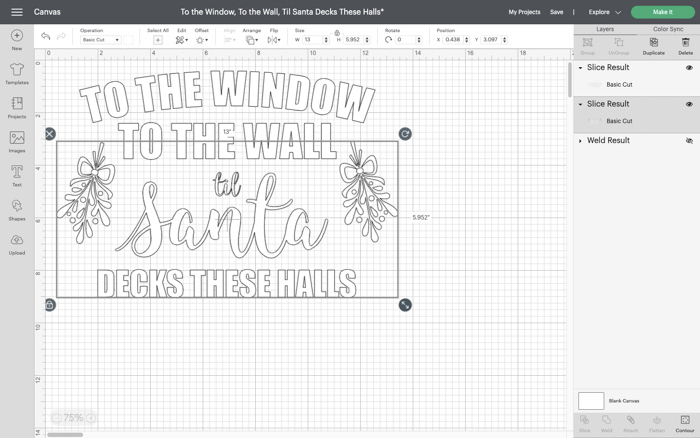
First, open up Design Space, press customize, and decide how big you want your design to be on your sweatshirt. If you like a more fitted look, you’ll probably want a smaller sweatshirt and therefore, a smaller design. I’m a fan of oversized sweatshirts, so that’s what I used. Obviously, my design was a little bigger, too.
I like to measure how big my materials are and then figure out how big I want my design.
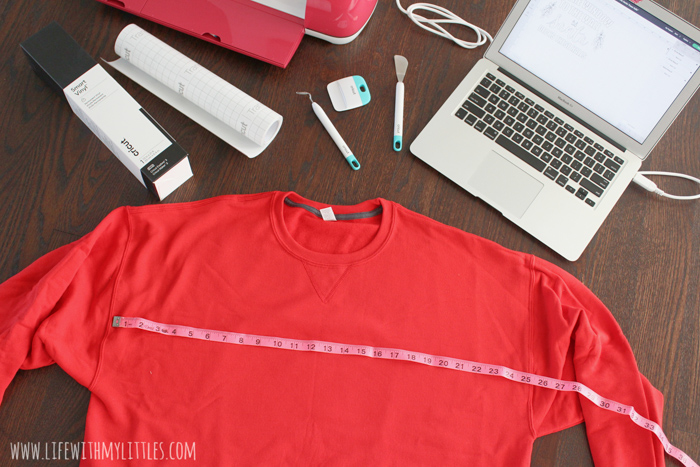
You also need to keep in mind the size of your screen, because that will limit how big you go. This design is cut into two pieces because it’s bigger, but if you’re going to make it small enough to fit on your screen, you can easily weld the design together into one piece.
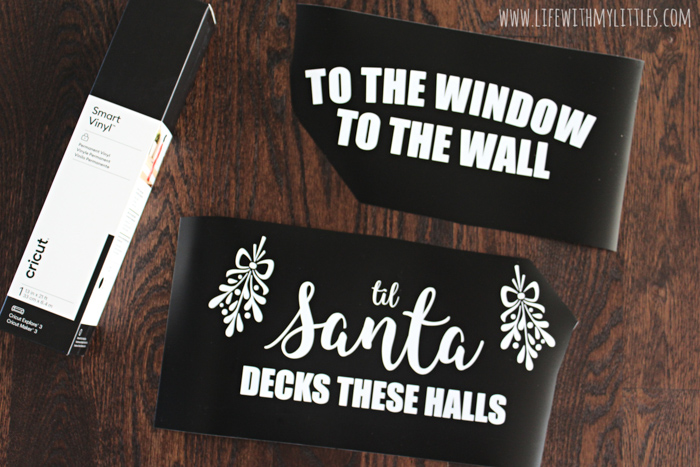
Once you have your sizing right, you get to cut! Press “Make It” at the top right, and then arrange your pieces on the mat. I know you can make this in one piece if you’re doing it smaller, but for the rest of this project, I am going to assume you’re making it in two pieces like I did. So make sure you have enough space around each cut to tape it onto the screen.
The easiest way I found to do this is to change the size of the material to 8.5×14″. That will give each piece it’s own cut.
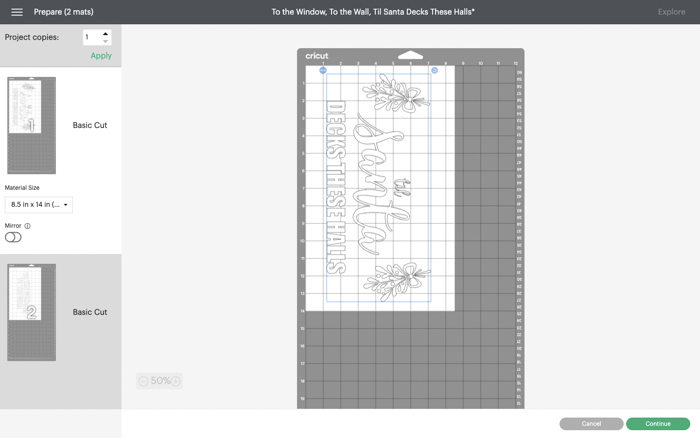
Once you have the design ready on your computer, press “Continue” and select your materials. If you’re using an Explore Air 2 like I am, make sure that your machine dial is set to “vinyl.”
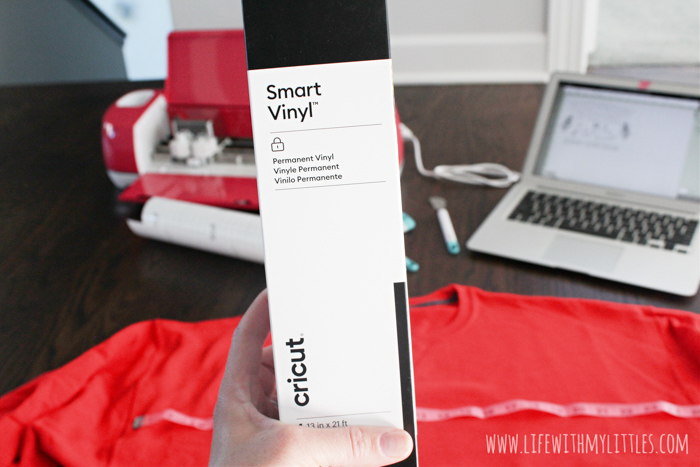
For this project I used Cricut Smart Vinyl in black. You can use any color you want, though. I just discovered the new Smart Materials a few weeks ago and I LOVE them because you don’t need to use a mat and you can cut up to 3′ at once.
Load your vinyl into your machine and press start. It’s that easy!
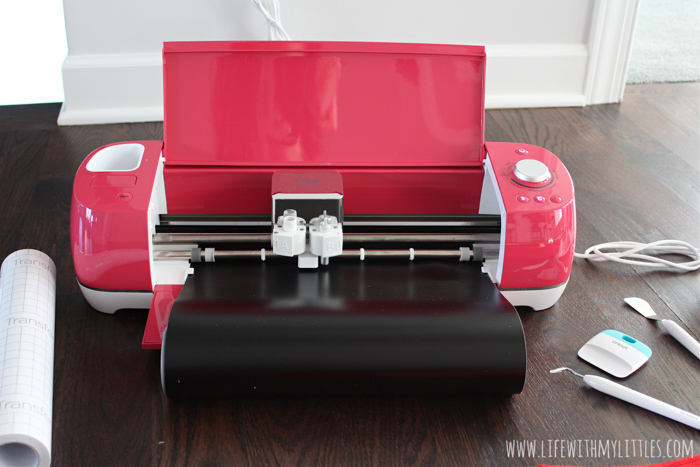
After your design is done, unload it, cut about an inch away from the bottom, and then load it up again and cut out the next piece. Then unload it and cut about an inch away from the bottom again.
Once you have both pieces cut, you need to weed them. You’re going to weed out the words and the mistletoe design (which is the opposite of what you would do if you were using the vinyl design you cut). The Cricut tools in the basic tool set are really helpful here (and for transferring!).
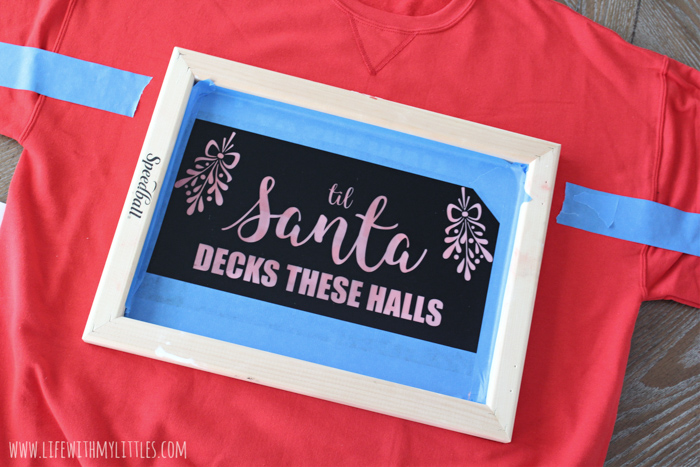
Now get a big piece of transfer tape and transfer the first half of your design to your screen. Mine is a Speedball 10×14″ screen. Make sure you center the design in the middle of the screen.
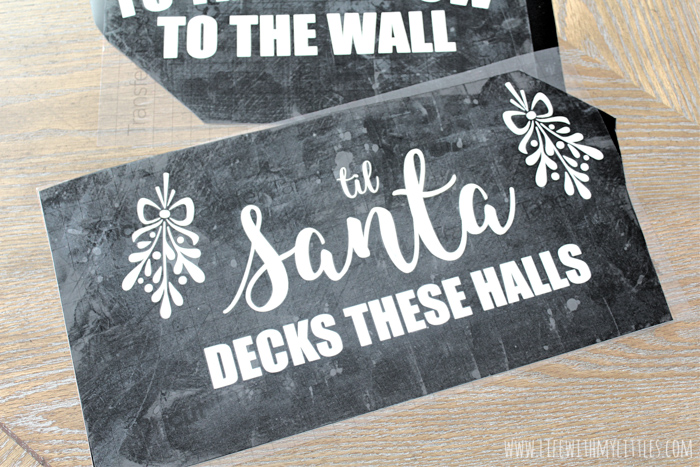
Then use painters tape to cover the rest of the screen. You don’t want any paint leaking through when you do your printing!
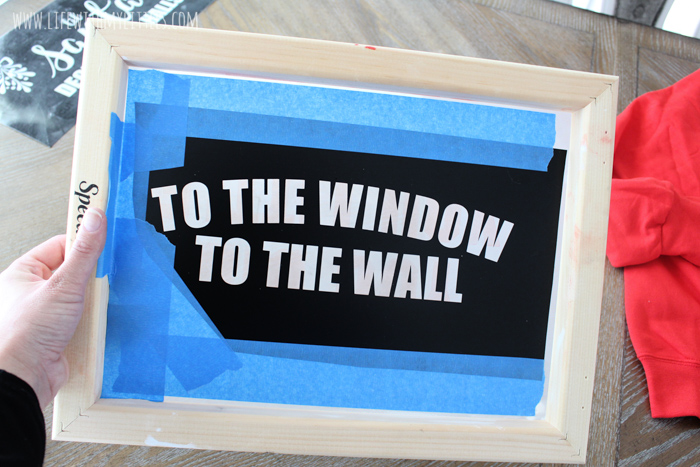
Center your design (keeping in mind that it might not be the center of your screen) on your sweatshirt, near the top. Make sure it’s straight and right in the middle.
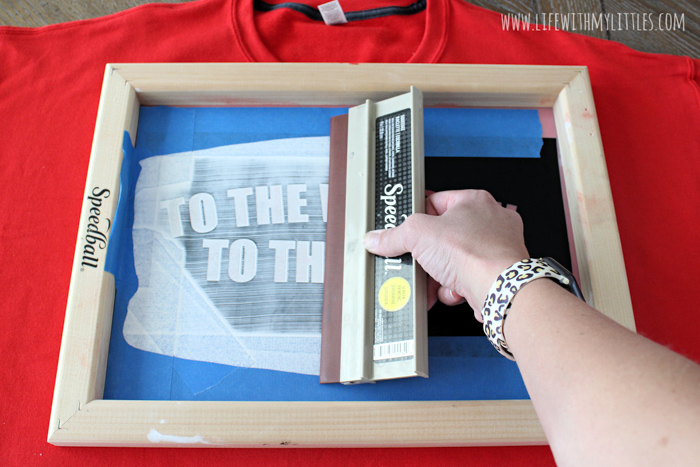
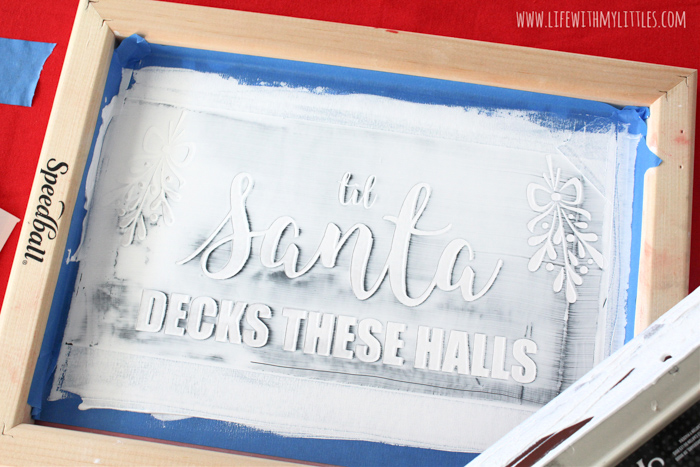
Once you’ve got it just right, grab your screen printing paint, a plastic spoon, and your squeegee. Spoon a little bit of paint on the side of the screen, and use your squeegee to pull the paint across your design. You may need to go back and forth a few times, or even add more paint. Make sure it’s completely covered!
After you spread your paint all over the design, slowly and gently lift your screen off of your sweatshirt.
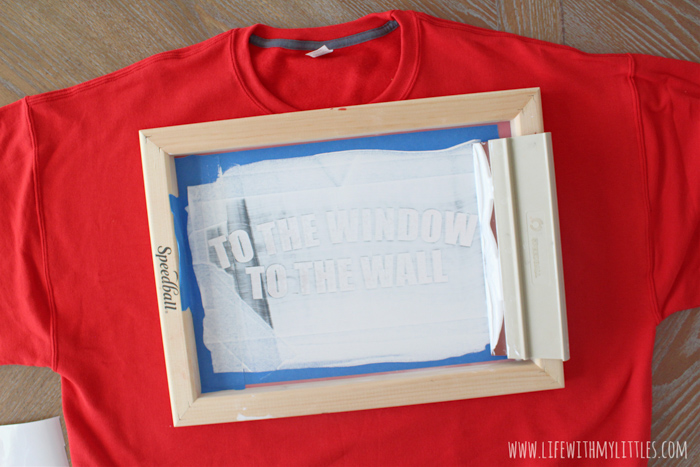
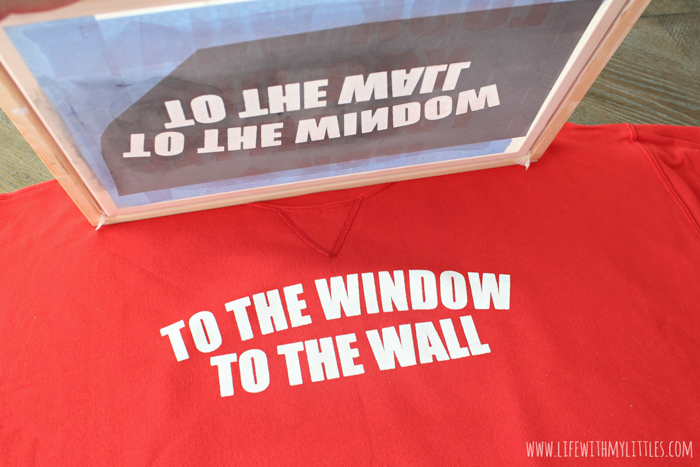
Let this first half of your design dry for at least 24 hours, and then repeat the above steps again with the second half of your design.
If you’re worried about getting the second half of the design in the right place, you can place two pieces of tape on either side of your sweatshirt to mark the bottom of your first half.
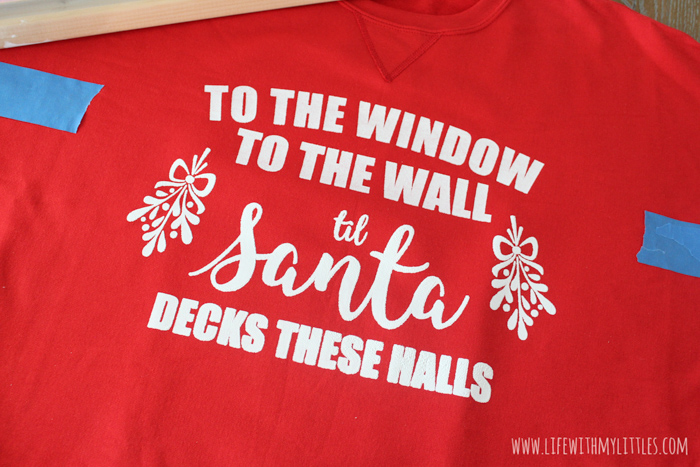
After another 24 hours, it’s time to heat set your paint. I love using my Cricut Easy Press because you can adjust the temperature every 10 degrees, and you can even set a timer. You want to make sure you heat set your entire design at 320 for 40 seconds.
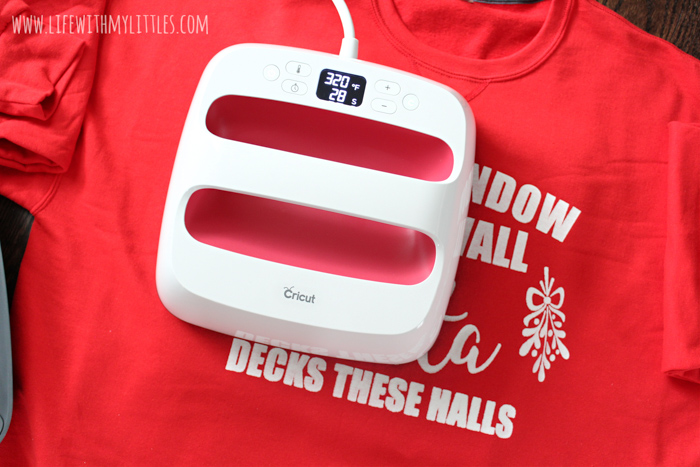
And that’s basically it! You’re done! Pull that sweater on and hit the club!
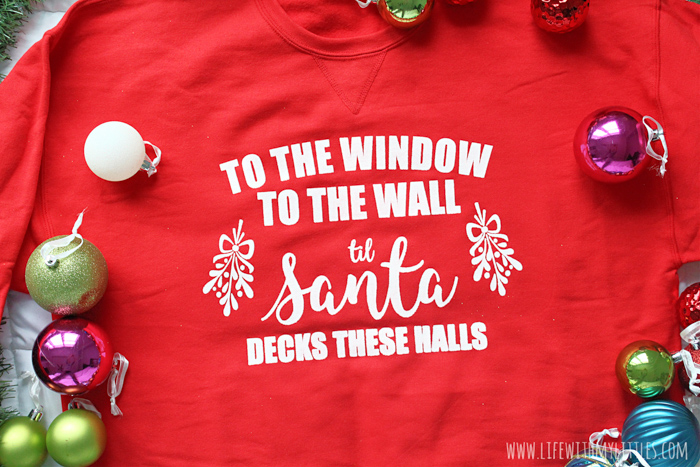
Just kidding. I’m not sure if that’s even a thing people say anymore, but it certainly fits with the theme of this sweatshirt!
Now put your hands up and sing along! “To the windooooooow! To the wall! (To the wall!) ‘Til Santa decks these halls!” We’re not going to finish the rest of that!

"To the Window, to the Wall, 'Til Santa Decks these Halls" Christmas Parody Sweatshirt
"To the Window, to the Wall, 'Til Santa Decks these Halls" Christmas parody sweatshirt that you can DIY! All you need is a Cricut, vinyl, screen printing supplies, and a sweatshirt to make this hilarious holiday sweater.
Materials
- Red Sweatshirt
- Smart Vinyl
- Transfer Tape
- White Screen Printing Paint
Tools
Instructions
- Open Cricut Design Space and pull up the cut file here.
- Decide how big you want your design to be and size down the design.
- Cut out your vinyl on your Cricut Machine. Make sure each half is centered on the cut screen and you're making two separate cuts before pressing "Go"
- Weed out the words and the mistletoe (the opposite of what you would do if you were using the letters you cut).
- Using transfer tape, transfer your first half of the design to your screen.
- Remove the transfer tape and cover up any open spaces on your screen with painter's tape.
- Center your design on your sweatshirt.
- Spoon out paint on side of screen and use a squeegee to pull the paint across your design.
- Carefully lift your screen off the sweatshirt.
- After at least 24 hours, repeat steps 5-9 with the second half of your design.
- After another 24+ hours, heat set your ink. Use an Easy Press set at 320 degrees for 40 seconds.
In our home we always decorate for Christmas the day after Thanksgiving, and I bet you can guess what I’ll be wearing when I get everything out!
“To the window! To the wall! ‘Til Santa decks these halls!”
Merry Christmas, mamas!
Leave a Reply