Grandparent balloon art gift you can DIY and give this Christmas! All you need is some cardstock and a Cricut machine to make the perfect, personalized grandparent gift.
This post contains affiliate links.

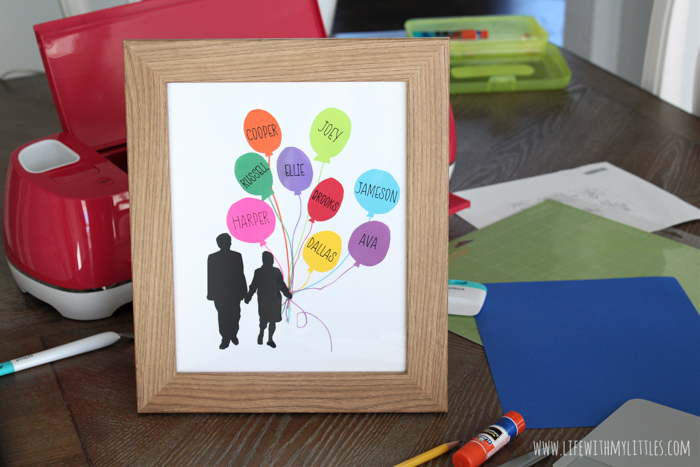
Last year for Christmas, my sister and I pitched in together and got our parents the cutest handmade gift. It was a silhouette of grandparents holding a bunch of balloons, one for each of their grandchildren. My mom especially loved it, and as I’ve been thinking about gifts to give this Christmas, the balloon silhouette gift kept coming to the front of my mind.
I also didn’t want to spend a ton of money to have someone make one for me, and since I own two Cricut machines, I knew I could probably figure out how to make it on my own.
Cricut Design Space had three different grandparent options that were perfect, but none of the balloons looked right for this project. So I decided to draw them myself!
I drew a few balloons, uploaded them to my computer, and imported them into Design Space, and they turned out great!
As a side note, I love uploading my own designs on Cricut Design Space. You used to not be able to do that, and it’s a huge game-changer now that you can. Anything is possible!!!
Anyway, this DIY grandparent balloon art project is really simple, and you can easily make one in less than an hour with the help of your Cricut Explore Air 2.
Ready for the tutorial? Of course you are. That’s why you’re here!
To start, pull up the project on Cricut Design Space. Click the “customize” button, not “make it.” You have to personalize it before you can start cutting!
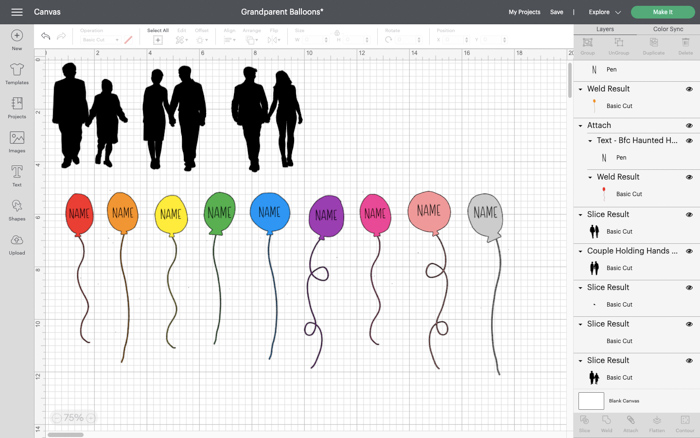
Like I said, there are three couples, so choose the set that looks most like the grandparents you are making your gift for, and delete the other two.

Now either delete some of the balloons, or copy and paste them so you have enough balloons for all the grandchildren.

Choose what colors you want the balloons to be, keeping in mind that you don’t want to use paper so dark that you won’t be able to write the names on them. You can do one color for boys and one for girls, one color for each family, or just a combination of colors that look good together. It’s up to you.
To add the names on your balloons, you first have to detach the name from the balloon. To do this, select the first balloon and press detach in the bottom right corner.
Now double-click the name and change “NAME” in the text box to the name of the first grandchild.
Recenter (or resize, if needed) the name in the middle of the balloon.
Select both the name and the balloon and attach them together by pressing “attach” in the bottom right corner.
Repeat that step for all the balloons you need.
Once you have your balloons ready to go, it’s time to cut! Press “make it” at the top right, and get all your supplies ready. You’ll need to make sure you have the right size of cardstock set on the left before you begin.

You can use either a light grip or standard grip cutting mat, or you can use Cricut’s awesome new Smart Paper Sticker Cardstock and then you’ll get to skip the glue altogether.
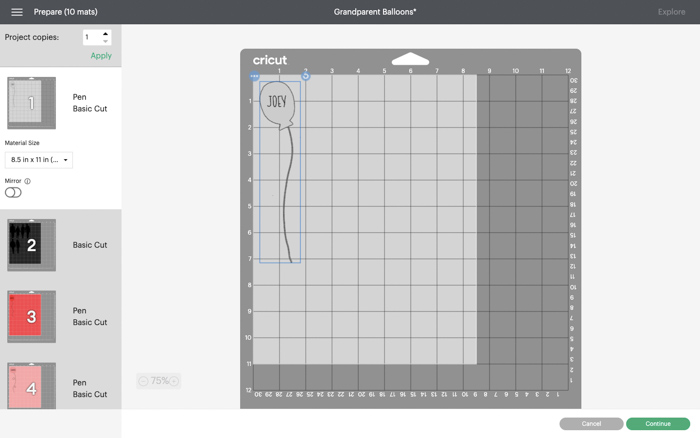
Make sure you have your pen in the machine before pressing go, otherwise you’ll skip writing the names!
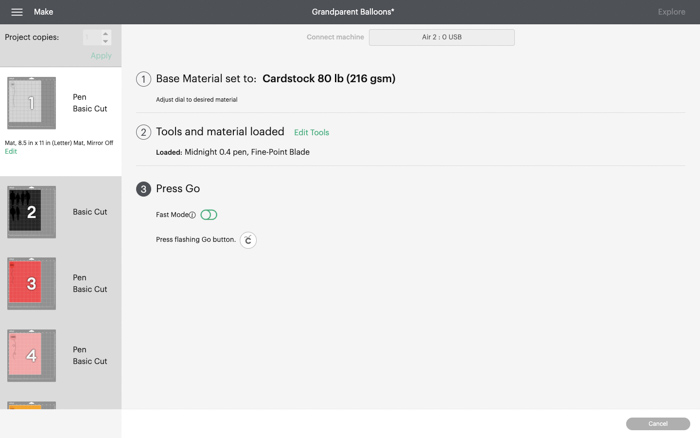
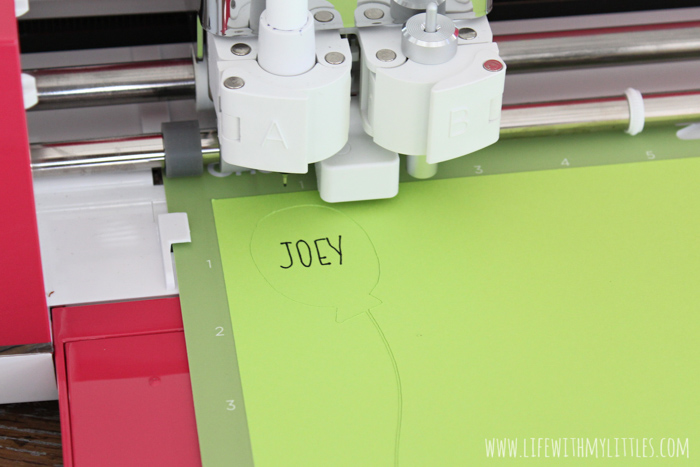
After each piece is cut, you’ll need to take it off, very delicately. The best way to do this without ripping the balloon strings is by using a scraper from the basic tool set. Be very gentle, don’t rush it, and if you do rip the string, you can still try to glue it on so it looks alright.
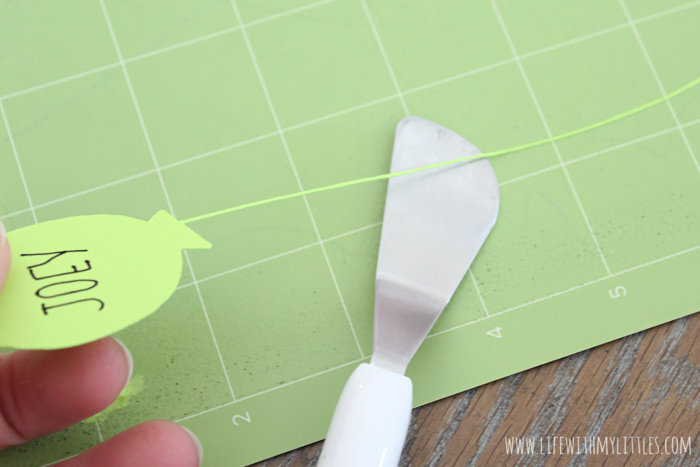
After your machine cuts all the balloons and the grandparent silhouette and you’ve taken them off your mat, you can assemble the picture.
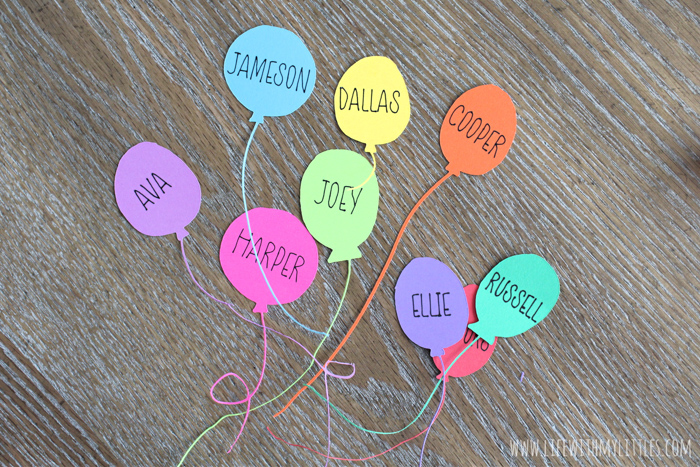
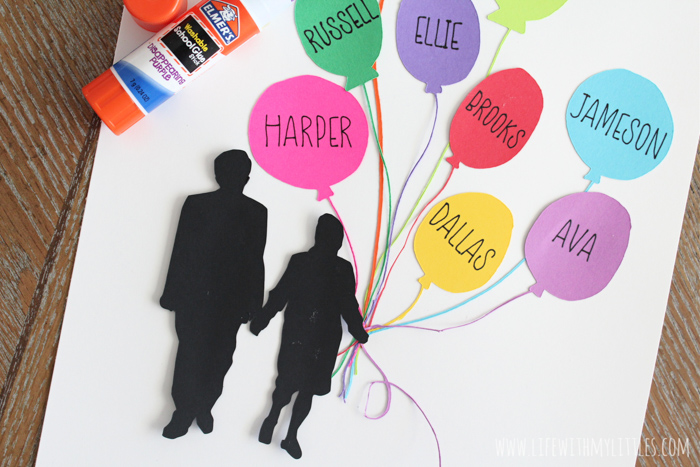
Start by deciding where you want to put your grandparents. I put mine in the bottom left corner. You don’t want to glue down the grandparents until all the balloons are glued down, but you do want to make sure you know where all the balloon strings are going to meet in the grandparent’s hand.
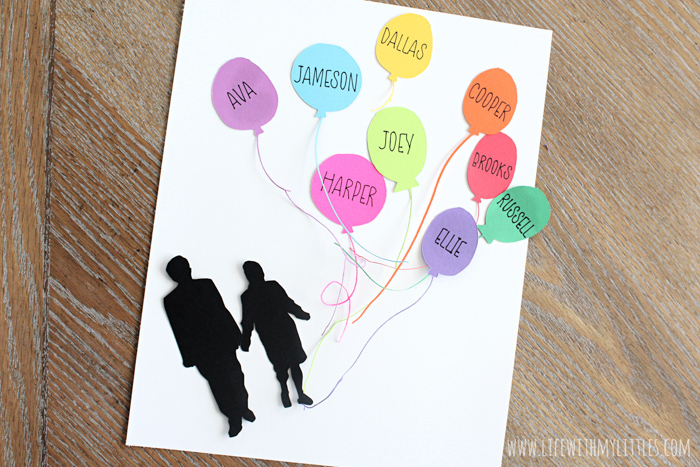
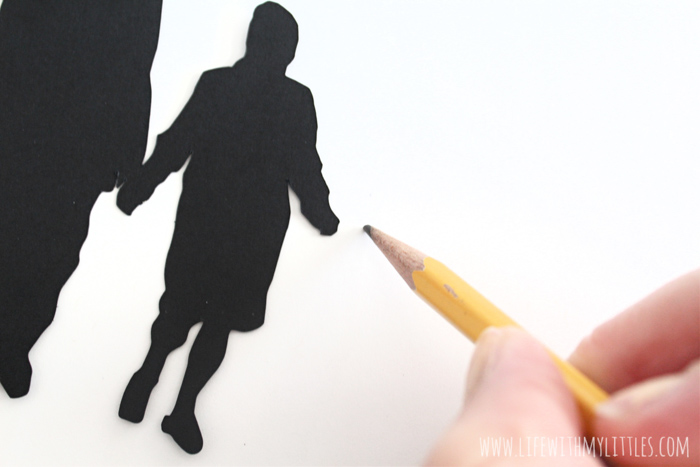
Take a pencil and make a tiny dot under the hand where they are going to be holding the balloons. This will be key when you glue down the balloons.
Decide how you want to arrange your balloons on the paper, and then start gluing them by beginning with the balloons that will be at the top first. Some of the lower balloons may need to cover the strings, so you want to do those last.
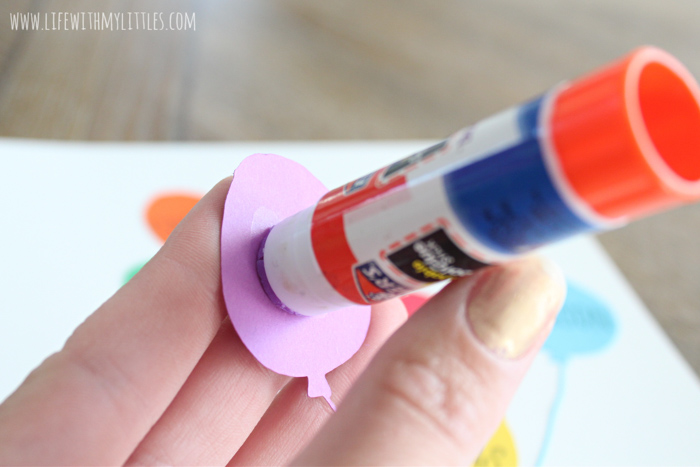
The easiest way to glue your balloons down is to use a disappearing glue stick. Put some glue on the balloon part, then very gently run the string over the top of the glue stick.
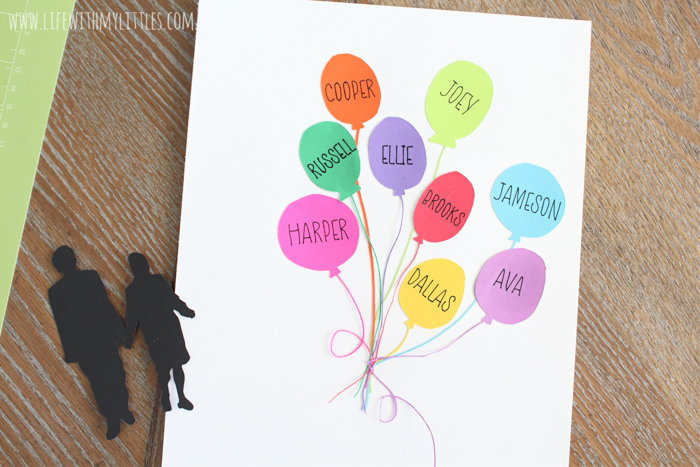
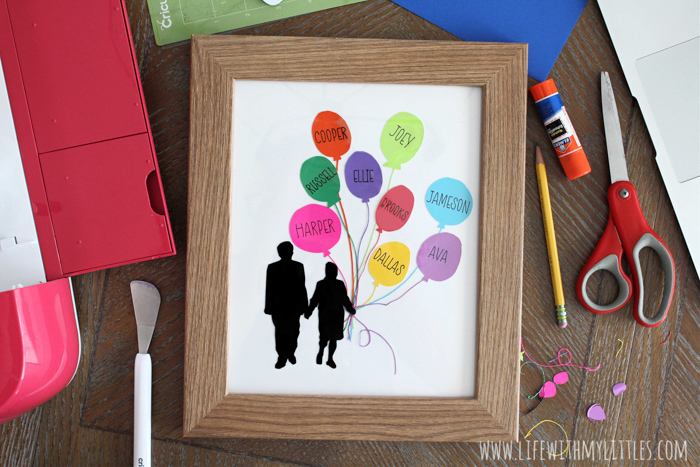
After all the balloons are glued down, glue down the grandparents. Pop it in a frame and you’re done! You just made your very own handmade grandparent balloon art gift!
Grandparent Balloon Gift DIY
Grandparent balloon art gift you can DIY and give this Christmas! All you need is some cardstock and a Cricut machine to make the perfect, personalized grandparent gift.
Materials
- Colored Cardstock
- Black Cardstock
- 8x10 White Cardstock
Tools
- Cricut Explore Air 2
- Basic Tool Set
- Black Pen Set
- Glue Stick
Instructions
- Open Cricut Design Space file.
- Choose the grandparent set that looks most like the grandparents you are making your gift for, and delete the other two.
- Make sure you have enough balloons by either deleting some of the balloons, or copy and paste to make more.
- Change balloon colors to match cardstock.
- Select the first balloon and press detach in the bottom right corner.
- Double-click "NAME" and change it in the text box to the name of the first grandchild.
- Recenter (or resize, if needed) the name in the middle of the balloon.
- Select both the name and the balloon and attach them together by pressing "attach" in the bottom right corner.
- Repeat steps 5-8 for all the balloons you need.
- Press "make it" at the top right.
- Load pen, load paper, and press "go" on the machine.
- After each piece is cut, you'll need to take them off, very delicately. Use a scraper and be very gentle.
- Assemble your picture by first deciding where you want to put the grandparents. Take a pencil and make a tiny dot under the hand where they are going to be holding the balloons.
- Decide how you want to arrange your balloons on the paper, and then start gluing them by beginning with the balloons that will be at the top first. Some of the lower balloons may need to cover the strings, so you want to do those last.
- After all the balloons are glued down, glue down the grandparents.
- Pop your picture into a frame and you're done!
There are also two other variations of the grandparent balloon art that I want to mention.
If the grandchildren you’re making balloons for can write their own names, letting them personalize their own balloons might add a special touch to the gift.
Also, if the thinness of the balloon strings keeps throwing you off, you could also cut the balloon strings off with scissors and just draw the strings with a black pen.
I hope your own grandparent balloon art gifts turn out great, and I’d love to see them! Tag me on Instagram if you share them! Merry Christmas, mamas!

Leave a Reply