This is a sponsored post written by me on behalf of Cricut. All opinions are 100% mine. This post contains affiliate links.
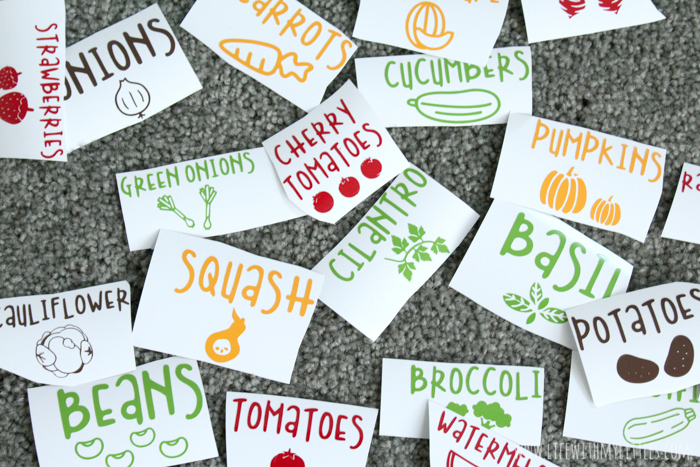
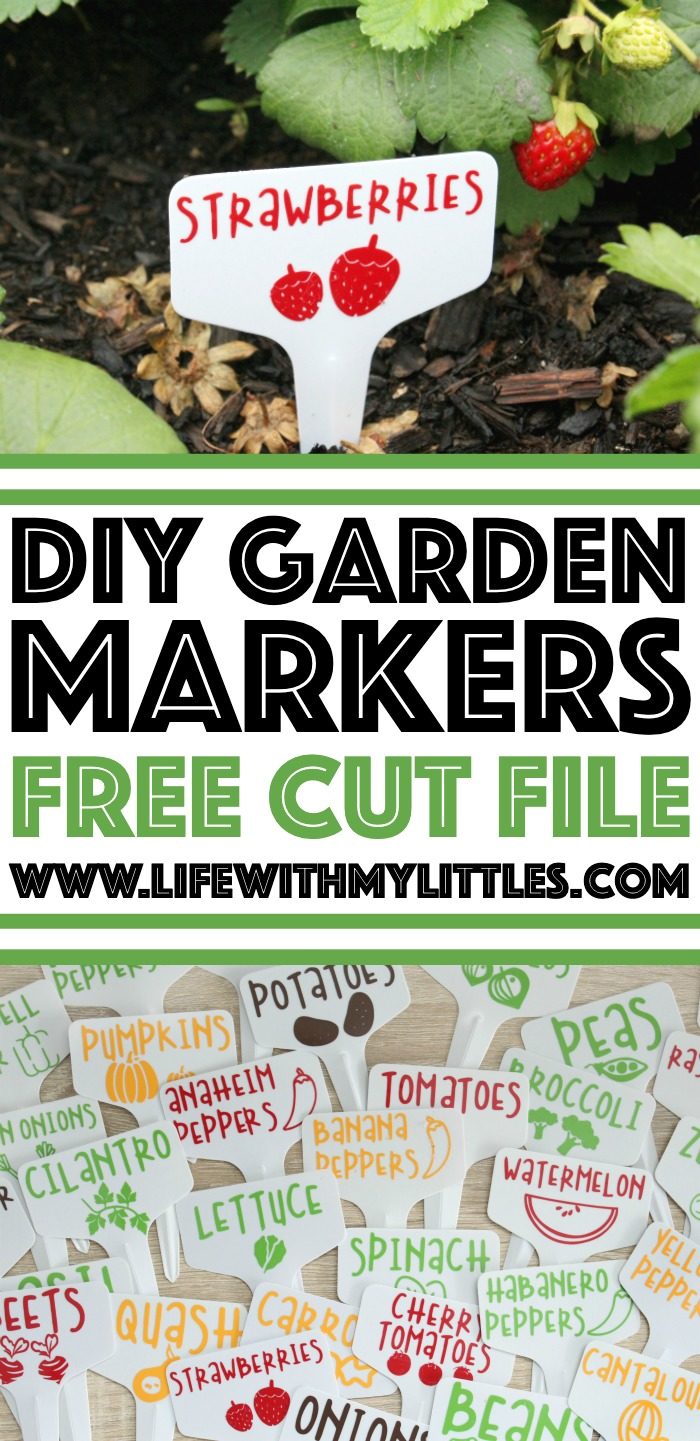
These DIY Garden Markers are the perfect way to mark fruits and vegetables in your garden! Permanent vinyl and plastic garden tags combine to make durable, long-lasting markers! 32 different fruits and vegetables included!
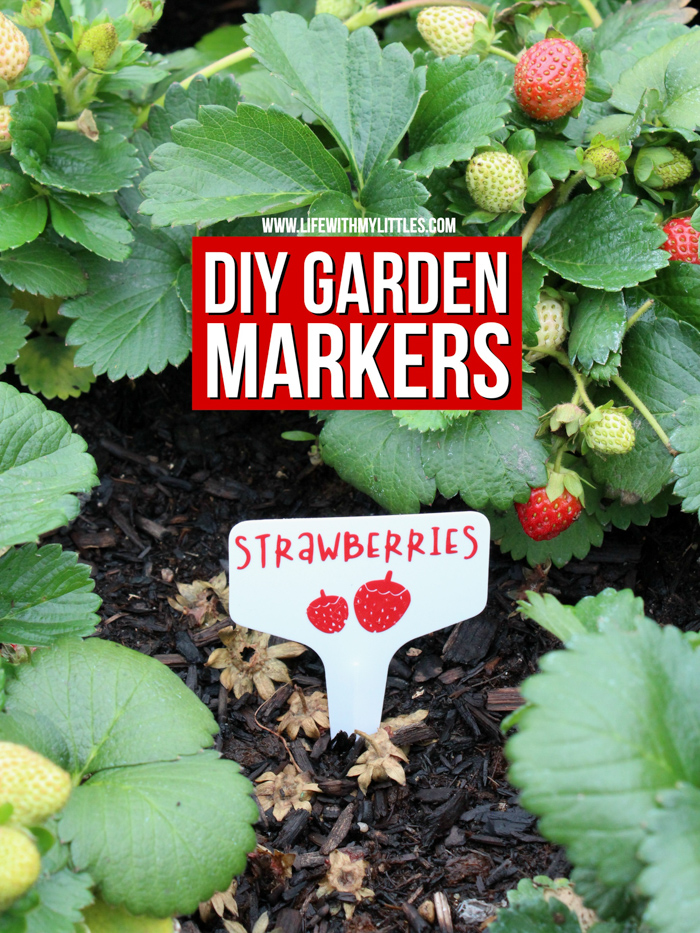
When we bought our first house in Texas four years ago, one of the first things we did in the yard was build a garden box and plant a garden. Every year since then, we’ve had a garden.
I absolutely love gardening and I love growing my own food and flowers, but one thing that drives me crazy is trying to find affordable garden markers that last the whole growing season!
Popsicle sticks and even metal garden markers don’t last very long, and by the end of the season, you can barely read what’s written on them, or they’re so weathered that you can’t even find them!
This year I decided to try something new. I got a Cricut Joy machine back in April, and it has completely changed my DIY game. It’s the smallest Cricut smart cutting machine ever, about half the size of my Cricut Explore Air 2, so it’s easier to store and transport. It connects via Bluetooth so you can set it up super fast, and you can use it with Cricut Design Space on mobile or desktop.
My favorite part is that you can buy Smart Materials, which are different from other vinyl and paper because they’re designed to work without a cutting mat! I can’t even tell you what a game-changer the Smart Materials are! Creating your own projects has never been so fast and easy!
I decided to make DIY garden markers using my Cricut Joy, vinyl, and plastic garden markers. Of course, I wanted to use the Smart Materials to cut out my labels! I grabbed Permanent Smart Vinyl in Tangerine, Tomato Red, Coffee, and Lime Green.
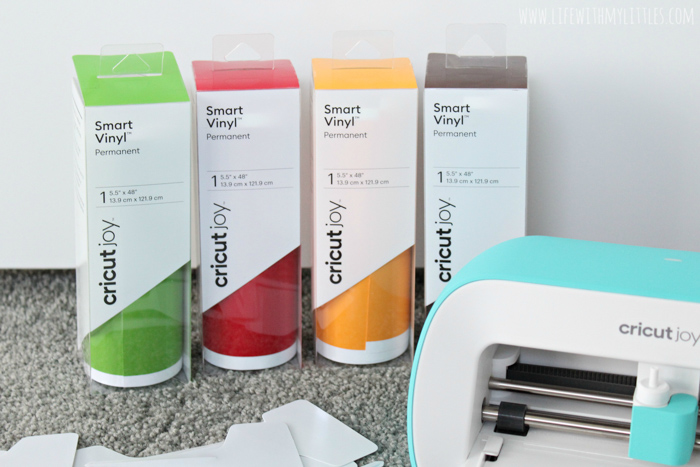
I grabbed my Transfer Tape and some plastic garden markers I got off Amazon. I also got out my Starter Tool Set to make weeding and applying my vinyl easier.

When I was designing my labels on Cricut Design Space, I wanted to make not only the fruits and vegetables we’re currently growing, but as many as I could think of so other people could use the labels, too! You can access the file in Design Space by clicking the image below.
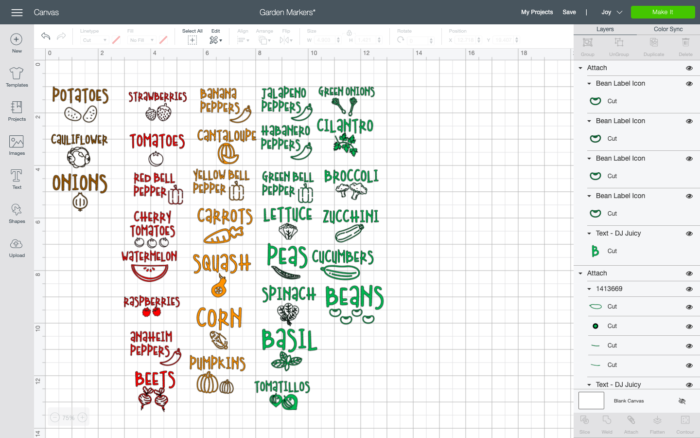
After you’ve opened your file, you can delete any images that you don’t want, or even change the colors. Make sure that each image will fit on your markers that you’ve chosen, and then, get ready to cut!
Press “Make It” in the top right-hand corner, and then select “Without Mat” for your Smart Materials.
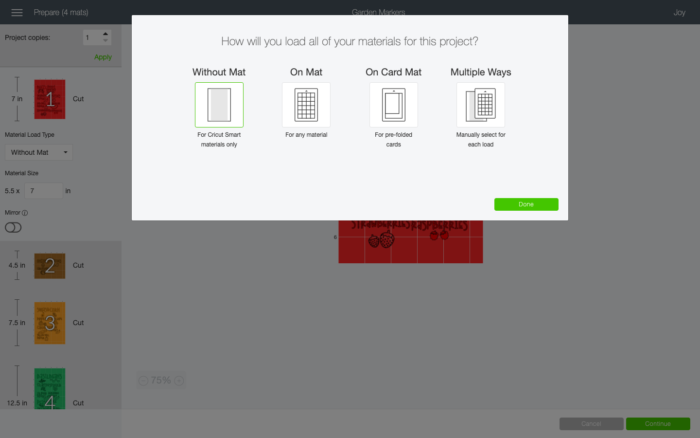
Next, you’ll be brought to a screen where you can review all of your cuts on the mat. Make sure everything looks good, and then press “Continue.”
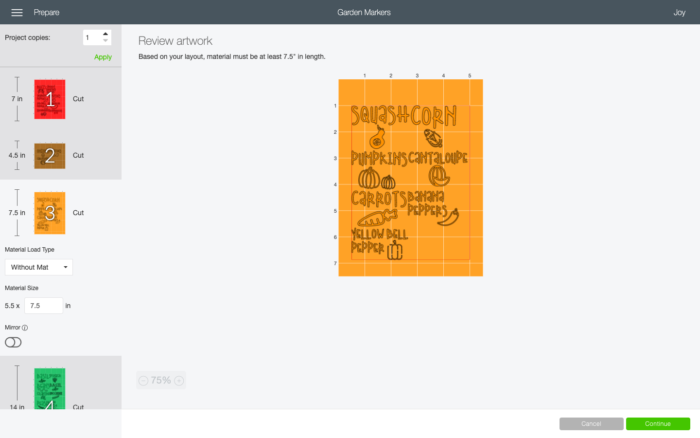
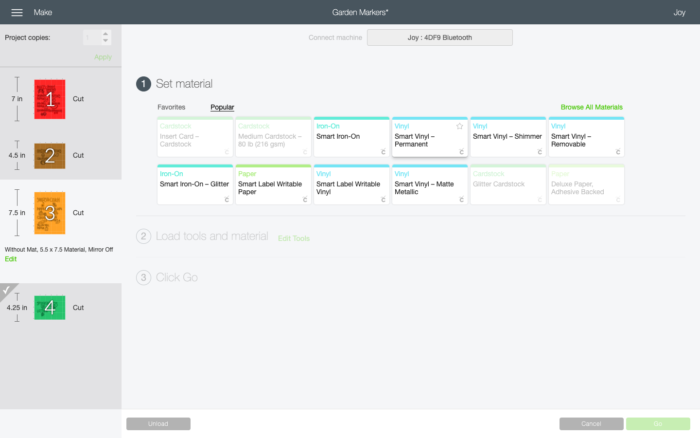
Now select your material. I used the Permanent Smart Vinyl for this, so obviously that’s what I selected!
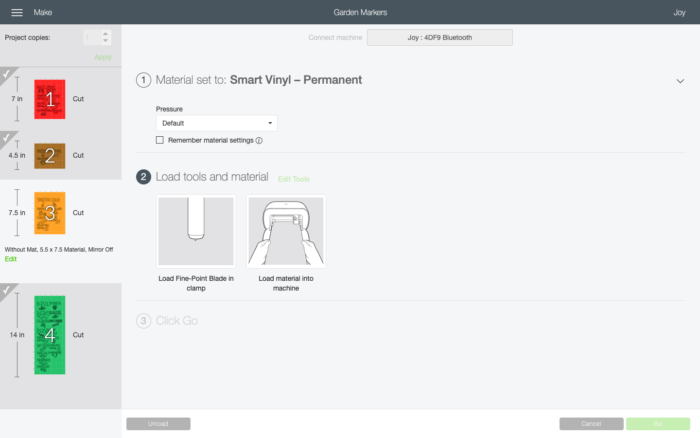
Next you’re given the option to change the pressure. Mine worked fine with default, so you can just leave that. Make sure you have your fine point blade loaded in, and load in your Smart Materials. The Cricut Joy is very intuitive, so it knows when you’re loading the material and just rolls it in the rest of the way for you.
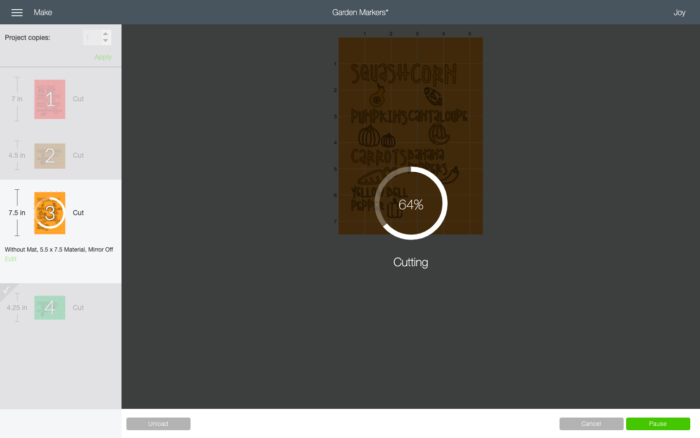
After you load the material, just press “Go!” Your Cricut Joy will do all the work for you!

Cricut Design Space will give you a little progress wheel and at the end of each color, you just unload it. Then you confirm you’re using Smart Materials on the next color, load it in, and press “Go” again!
When all four colors have been cut, you get a fun little “Complete” notification. Then it’s time for you to actually get to work!
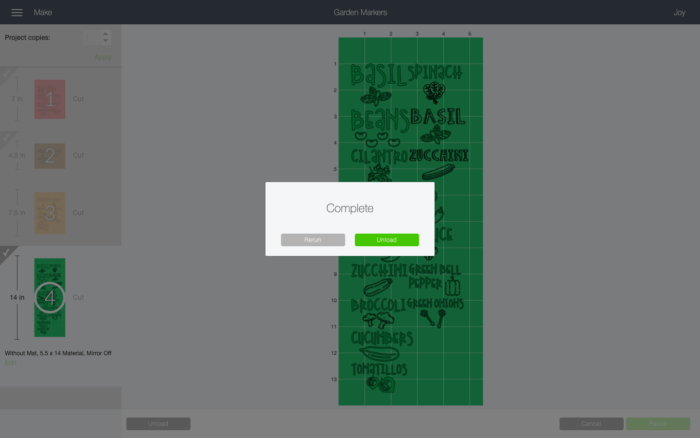
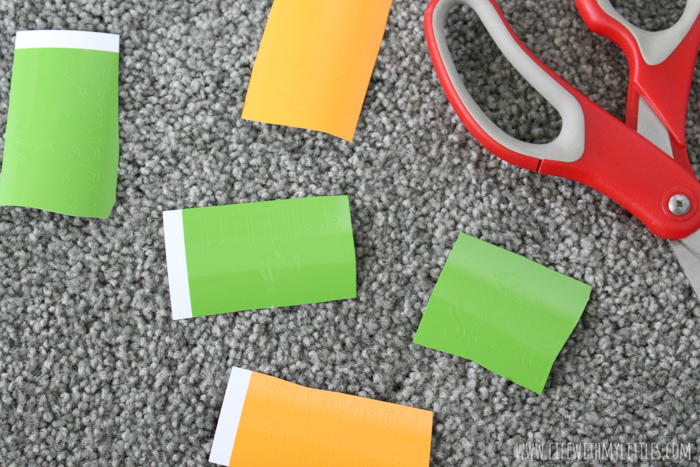
First, you want to trim around each label so you don’t have a big long sheet with a ton of labels on it. This makes it a lot easier to weed!
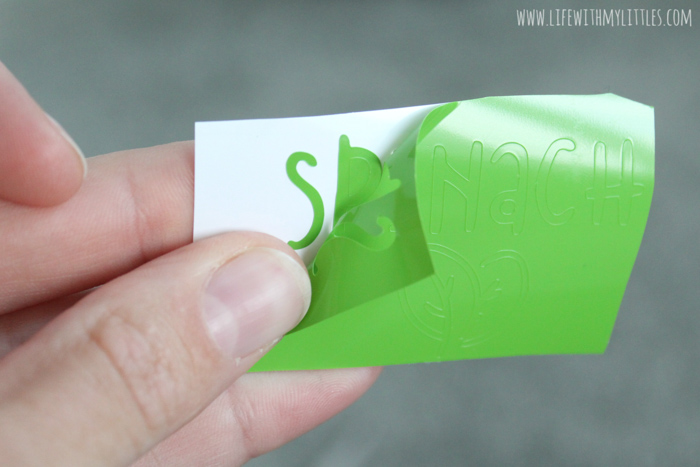
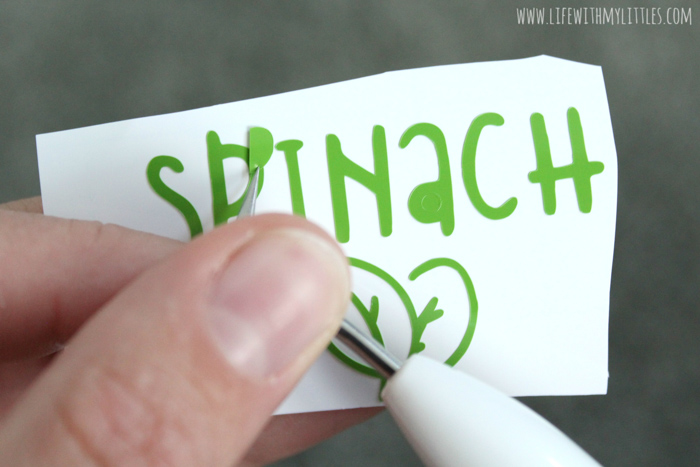
Next, weed off the extra vinyl around the outside of each label, and then use your weeding tool to get any interior vinyl off that you don’t need (like inside letters or in the fruit and veggie pictures).
Now, using your scraper tool, transfer your labels to the transfer tape. I usually cut out a small rectangle of transfer tape so it will fit on each label. If the vinyl isn’t sticking to the transfer tape when you start pulling it off, that means you need to use the scraper tool more.
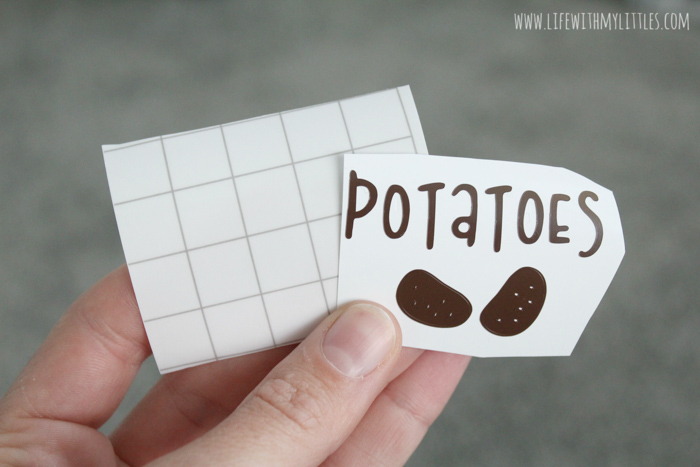
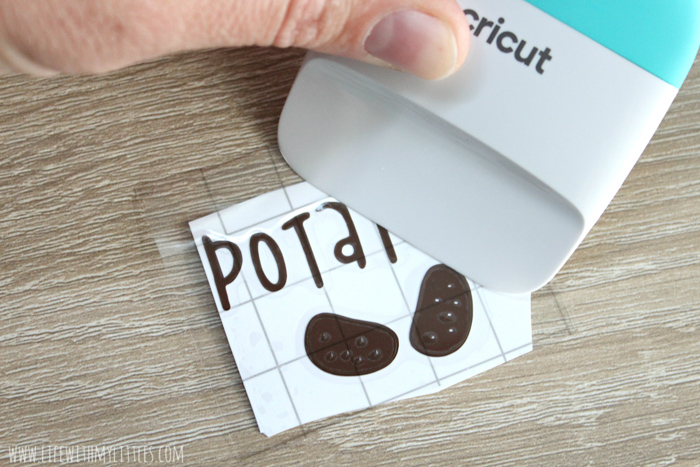
Once the vinyl is stuck to the transfer tape, peel off the backing paper and align it onto your garden marker. Press down firmly with your scraper again, and then peel off the transfer tape!
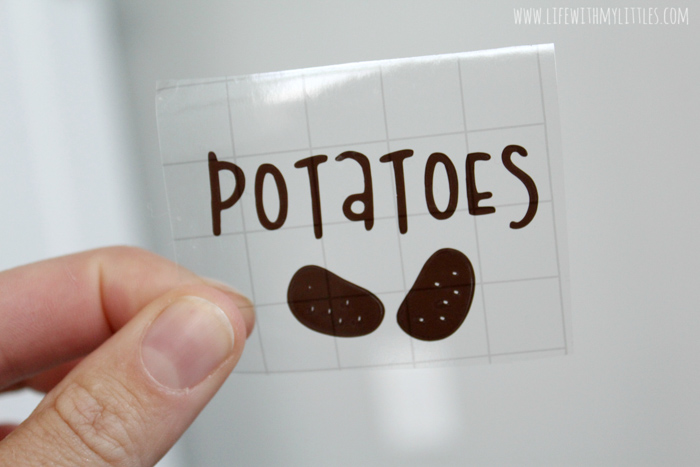
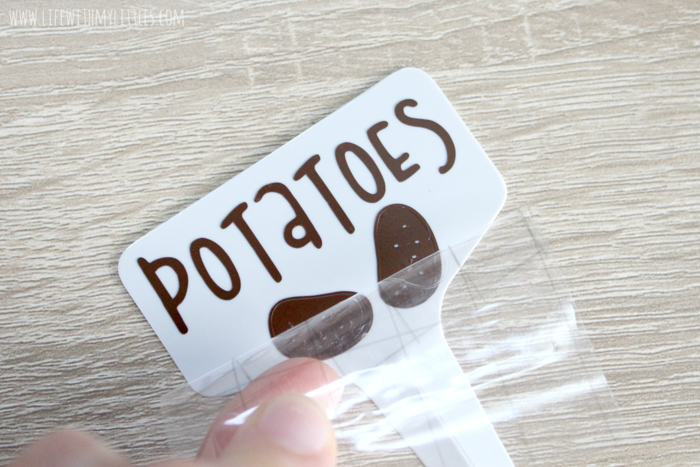
And you’re done! So fast, so easy, and the perfect durable garden markers for your garden!

I love the way my garden markers turned out. And they look even better in my garden! I obviously can’t tell you with 100% certainty that these will last all season, but I’ll update this post in the fall and let you know! But I’m not worried 🙂

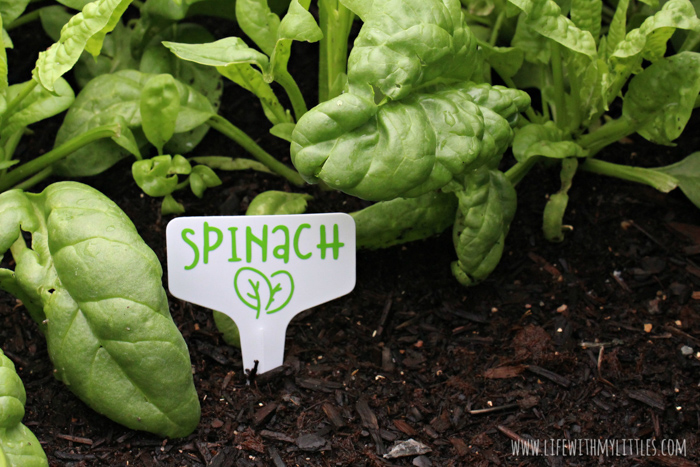
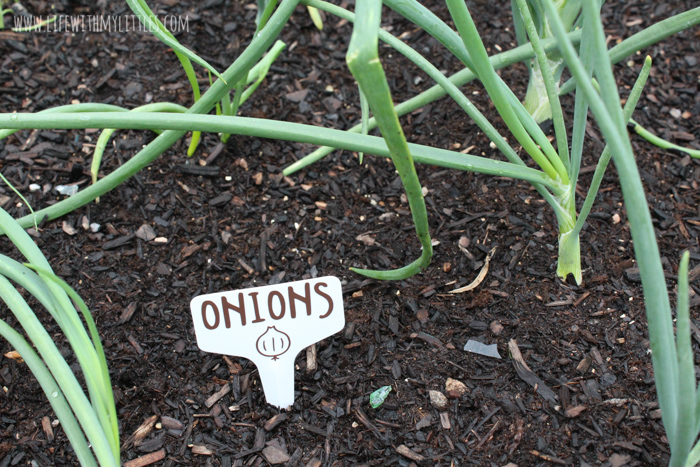
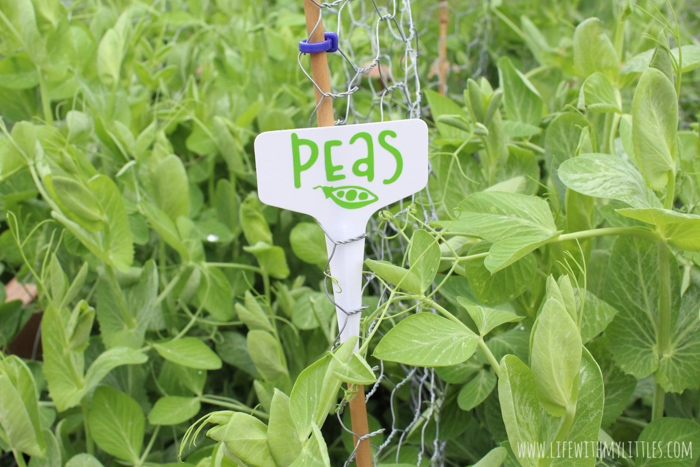
My Cricut Joy made my DIY garden markers so much faster and easier. I’m not kidding when I tell you you’ll LOVE the Smart Materials! They save a lot of time!
For more home improvement inspiration, head to the Cricut blog, where you can find weekly home renovation project inspiration and tutorials!
Christine says
Such a cute idea! Looks like you’ve got a great garden going! I wish I had a green thumb.
Chelsea Johnson says
Thank you! It’s so much fun and so fulfilling! I never thought I could grow anything until I really studied and learned myself! And I learn more every year! Just start small!
Lisa says
I am unable to access this file. It doesn’t show up on Design Space. Doing something wrong?
Chelsea Johnson says
Hmmm…I’m not sure why. It works when I click on it.
maria ortiz says
Hello ,
Thank you so much for sharing these wonderful garden images 🙂 the only problem when I click on the design it takes me straight to DS but the make it or customized its high lighten and its not working please help. thank you so much Maria
Chelsea Johnson says
You may need to contact Cricut to help you there! Sorry, I don’t know what’s going on!
Elle says
Hello! Like others – I cannot access this file in Design Space. Is there somewhere on your blog that I can download the SVGs? They are very cute!
Chelsea Johnson says
Try this link: https://design.cricut.com/landing/project-detail/5efa0e7870f1da02d4952eca
Tziporah Thall says
Hi. When you follow that link it says that the project can’t be made because it “Contains images that were uploaded or or no longer available. This project could only be made or customized by the owner”
This is really unfortunate as this product, looking online extensively, it’s definitely the cutest and best for garden markers! If there was anyway that you can fix this that would be so awesome!
Chelsea Johnson says
Try this link: https://design.cricut.com/landing/project-detail/5efa0e7870f1da02d4952eca
Travis C says
How did your markers do for the season? Are they still in good shape or are some peeling?
Chelsea Johnson says
The did great! I actually even reused some for the next season. I still have all of them!