A simple, minimalist DIY triple desk tutorial that even the most beginning of DIYers can tackle! The butcher block countertop gives it a beautiful farmhouse feel and it’s perfect for any homework or homeschool room!
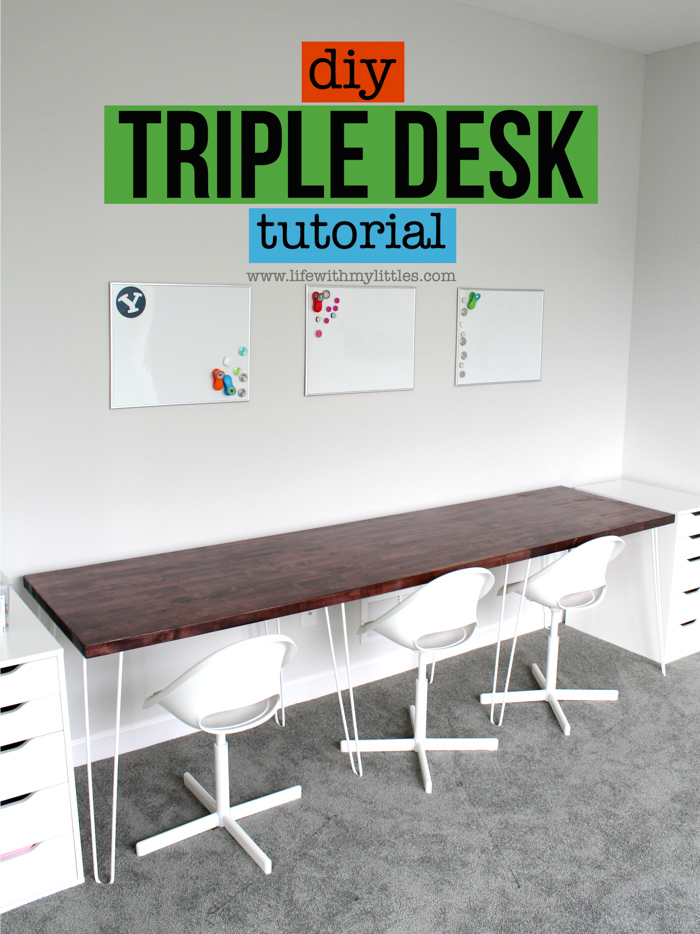
Before construction even started on our home, I knew that I wanted a homework room for the kids. And the main piece in the room had to be a triple desk.
Over the course of the months it took to build our house, I scoured the internet for a triple desk that would work in their homework room. There were tons of double desks, and even rooms where someone had just put three of the same desk together, but no true triple desks.
In the end, I realized that if I wanted a triple desk for my kids that would last for years, I would have to make it myself.
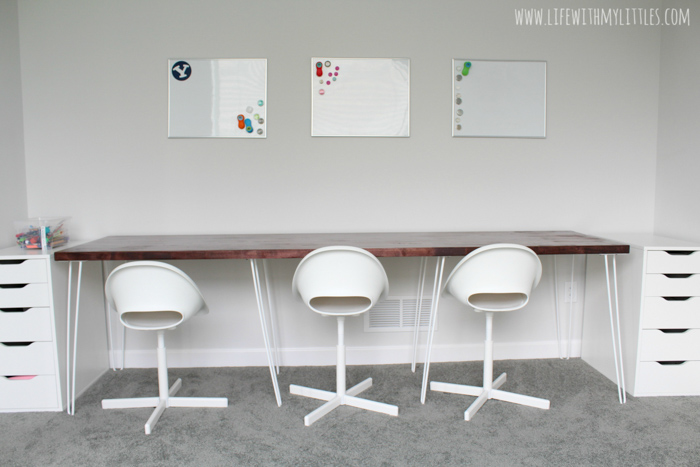
I’m not particularly handy, so I knew if I was going to build this massive desk I was dreaming of, it was going to have to be simple. Simple and minimalist.
The main requirement of my desk (besides being big enough for three kids) was that I wanted the top to be (or at least look like) dark wood. This eliminated a lot of options. Ikea had a long laminate countertop that looked like wood, but with all Ikeas closed for months, I grew impatient and turned to other alternatives.
Enter, the butcher block countertop.
Sturdy, solid, wooden, and GORGEOUS. Not to mention they’re available at most home improvement stores.
In the end, all I had to do to make a beautiful triple desk for the kids’ homework room was sand, stain, and seal the wood, and then screw on legs! Easy peasy!
If you want to make your own triple desk, first you need to choose what length you’re going to do. Butcher block countertops come in a variety of lengths. I used an 8′ countertop, but a 10′ countertop would also work well for a triple desk.
Note: butcher block countertops are SUPER heavy. I recommend bringing someone to the store with you when you get it.
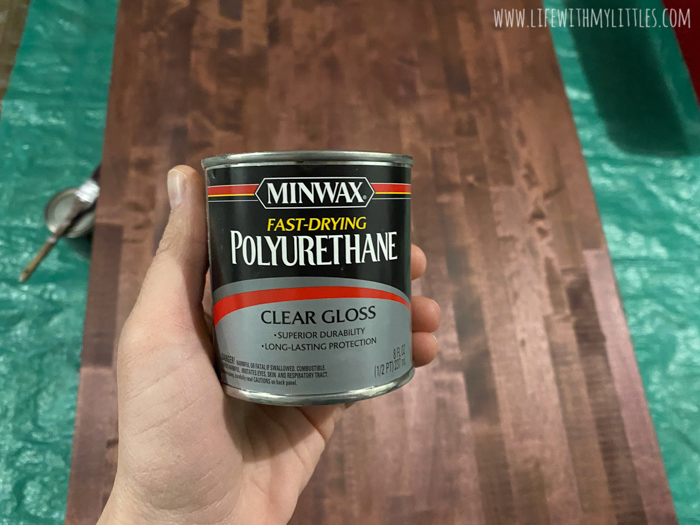
You also want to choose a stain and a sealer. I used Varathane Premium Wood Stain in Black Cherry for my stain and Minwax Fast-Drying Polyurethane in Clear Gloss for my sealer.
First, I set up my workstation. I highly recommend putting a big giant tarp under where you’re sanding, staining, and sealing, because duh, you don’t want to stain your floor. In our garage, I laid out a tarp and then propped up the butcher block on some storage bins. Make sure you have them far enough under the two ends that you can stain the sides.
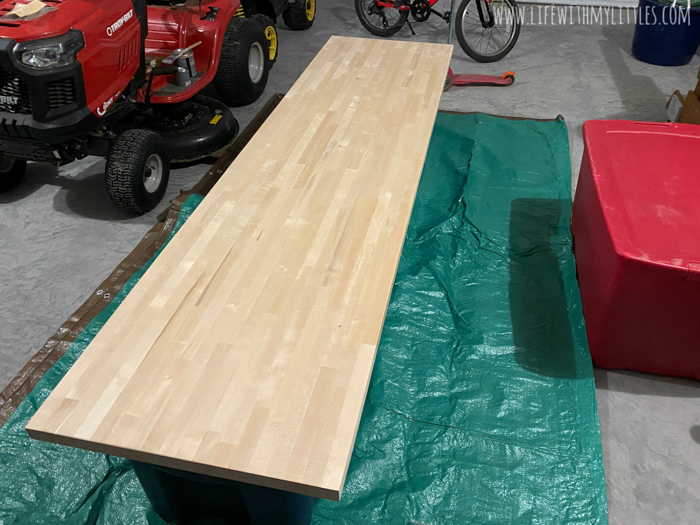
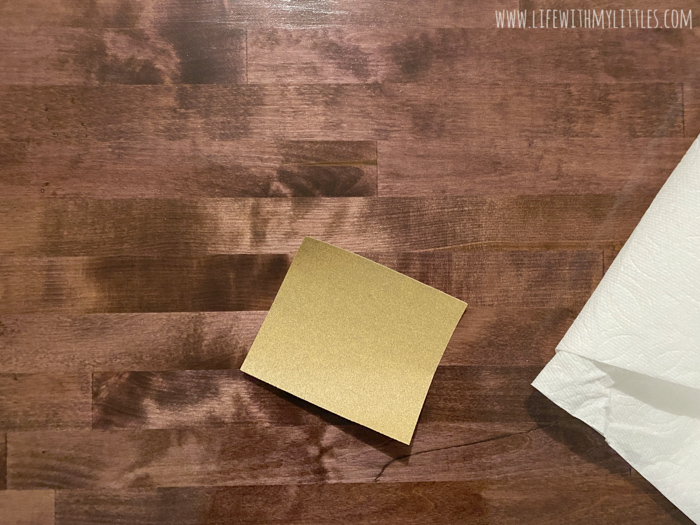
Next, gently sand the top and sides of your butcher block. I used a random piece of sandpaper left over from a previous project. Since butcher block is pretty smooth to begin with, you won’t have to do much work.
Note: sand with the grain, not against!
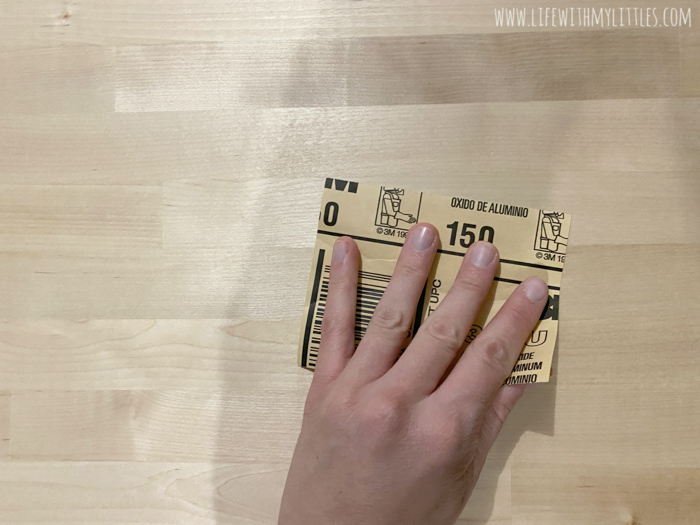
After you sand, use some kind of towel or rag to wipe off any excess sawdust you sanded off.
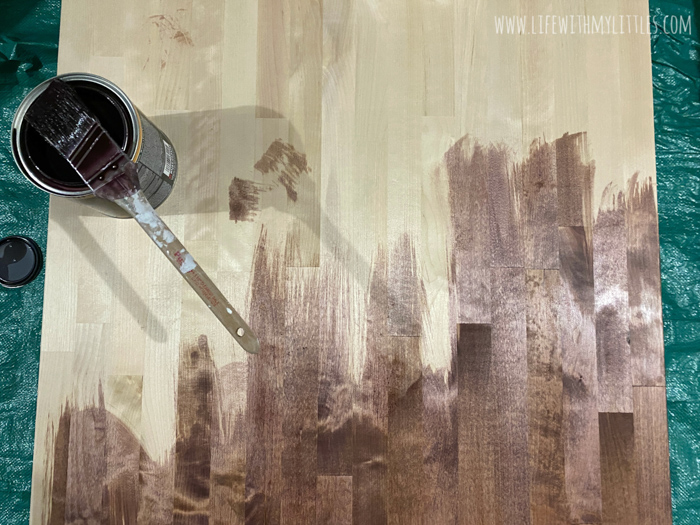
Now comes the fun part! Stain your wood! I did two coats of my Varathane stain and sanded lightly after each coat.
Note: make sure you shake/stir the jar well before you stain. It’s also important to wipe off any excess stain that hasn’t soaked in after brushing it on. And again, stain with the grain!
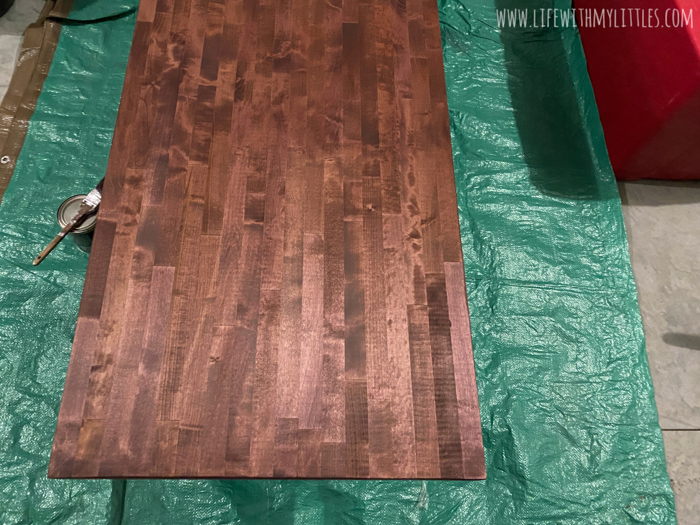
After you get your desired color of stain, seal that baby! I did two thin coats and sanded lightly after each coat.
Note: let your stain and your sealant sit for 24-48 hours IN BETWEEN COATS. I know it’s hard to wait that long when you’re excited and just wanted to get it done, but I learned the hard way that the stain starts to lift if you don’t wait long enough before starting your sealant.
The hard part is now over! Once your butcher block-turned desktop is stained and sealed, bring it inside to where you plan on keeping it. It’s hard to maneuver such a long piece of wood once it has legs on it, so I recommend assembling it where it’s going to reside.
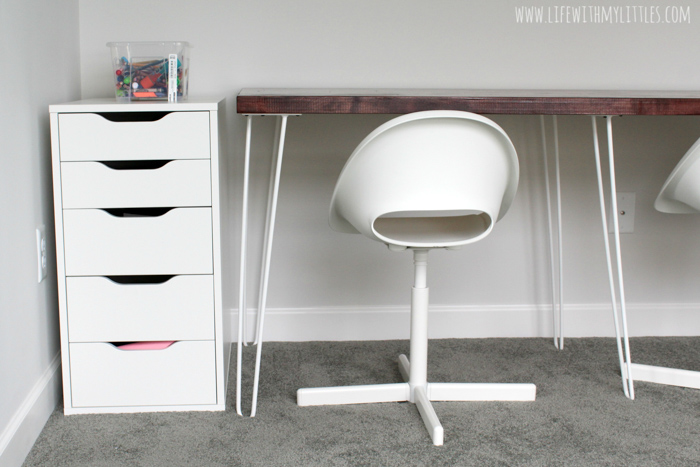
Flip your desktop upside down and measure where you want your desk legs. My desk legs are hairpin legs from DIY Hairpin Legs and I LOVE them. They were a little pricier than just doing some straight Ikea Adil legs like I had initially planned, but I’m so glad I went with the hairpin legs.
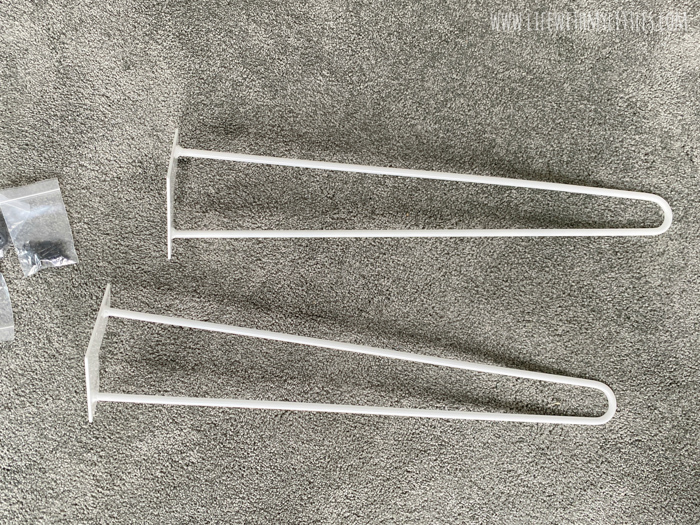
DIY Hairpin Legs had super fast shipping, hairpin legs in all colors, and you can even get different heights. The legs on my triple desk are white, 27″ tall, two rod legs. They also have triple rod, if that’s more your style. (And no this isn’t sponsored, I just genuinely love the hairpin legs I got).
First, screw your four corner legs on. Mine were just about a half inch away from the edge. Line them all up and screw them on!
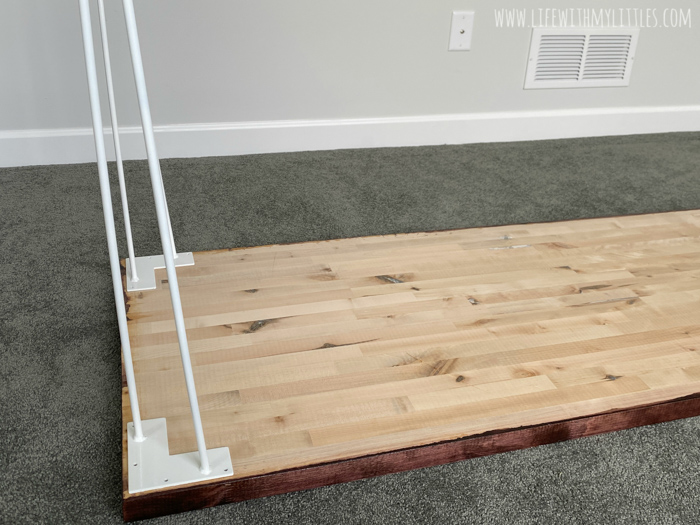
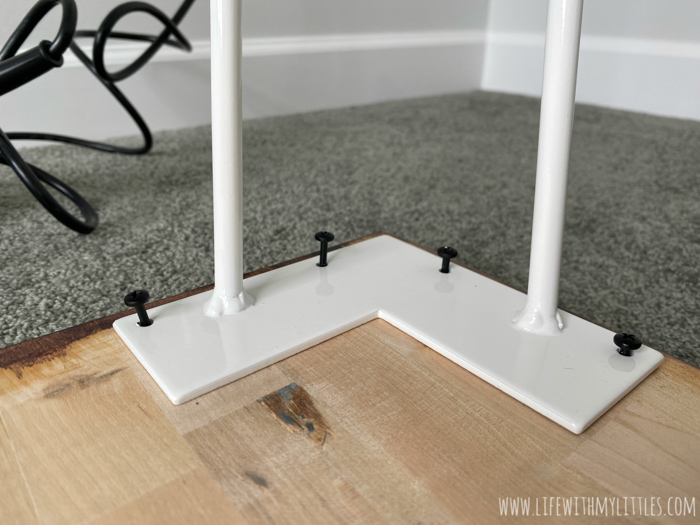
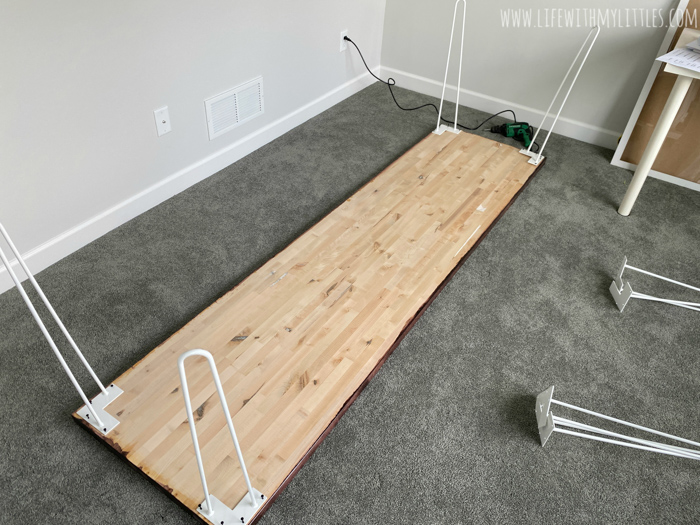
Now you need to screw on your middle legs. I did two pairs of legs in the middle for stability, because the desktop is pretty heavy. You might be able to get away with only two in the middle and just center them, but that’s obviously not what I did.
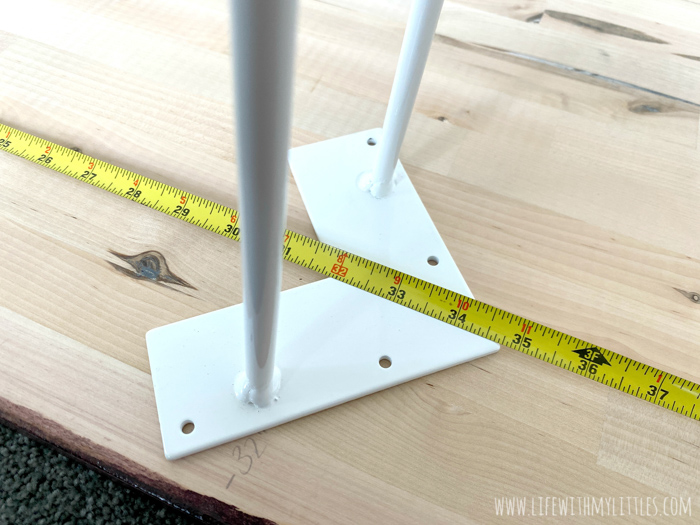
If your triple desk is an 8′ one like mine, I’ve made it easy for you and already done the measurements for your middle legs. Eight feet is 96 inches, so each desk section should be 32 inches (96÷3=32). I centered each set of legs at 32″, about 1/4″ from the edge of the desk. Then I screwed them on, too!
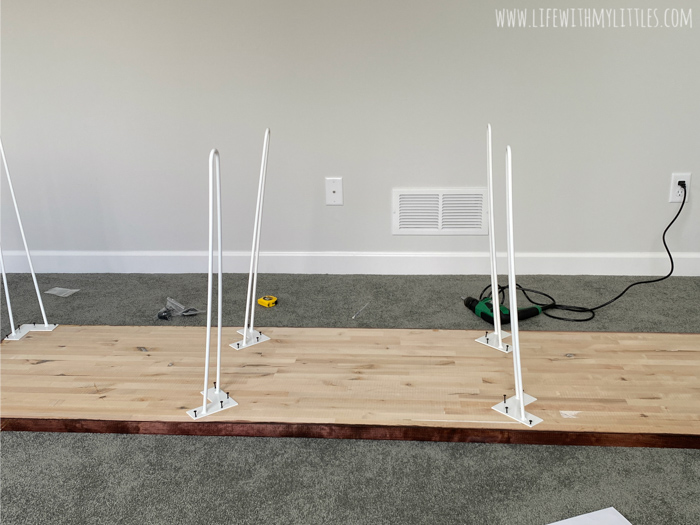
Now you can grab a buddy and flip your desk over! This part absolutely has to be done with two people. You can’t just tip it up because you’ll bend your hairpin legs. Trust me.
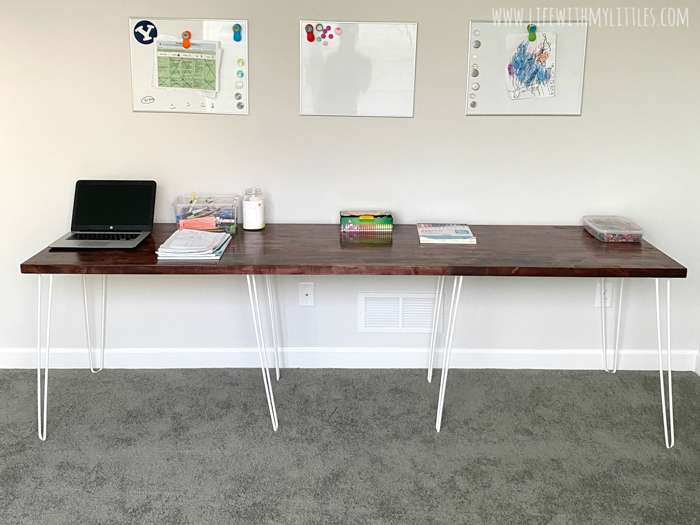
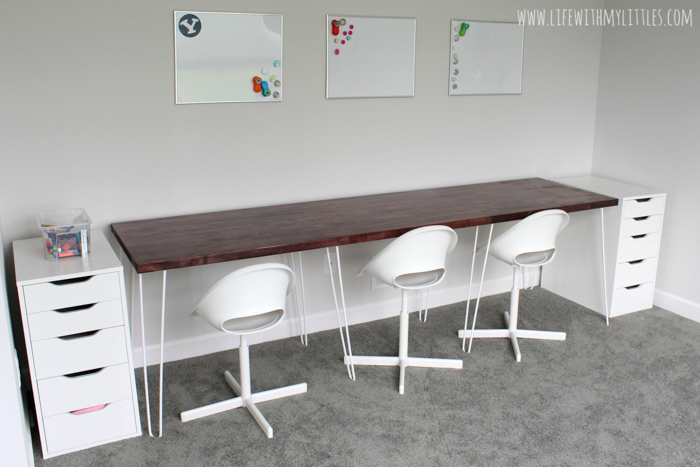
Voila! You’re done! A beautiful, custom, DIY triple desk, made just by you!
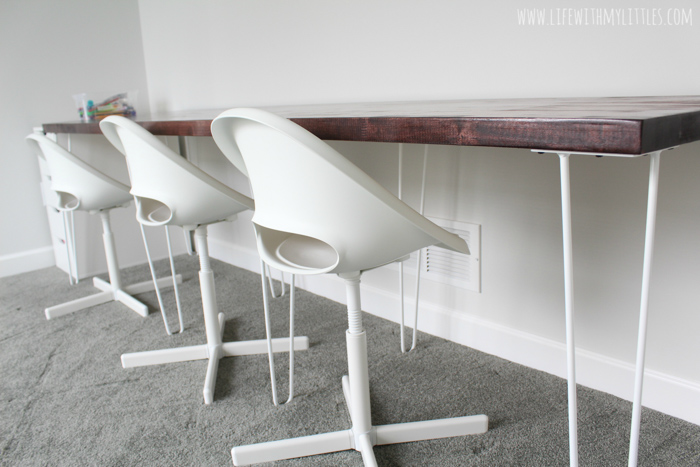
I love our triple desk. My older two kids did some of their distance learning there, and they’ve all enjoyed doing arts and crafts at the table. It’s exactly what I wanted and I’m so glad I decided to go the DIY route!
Leave a Reply