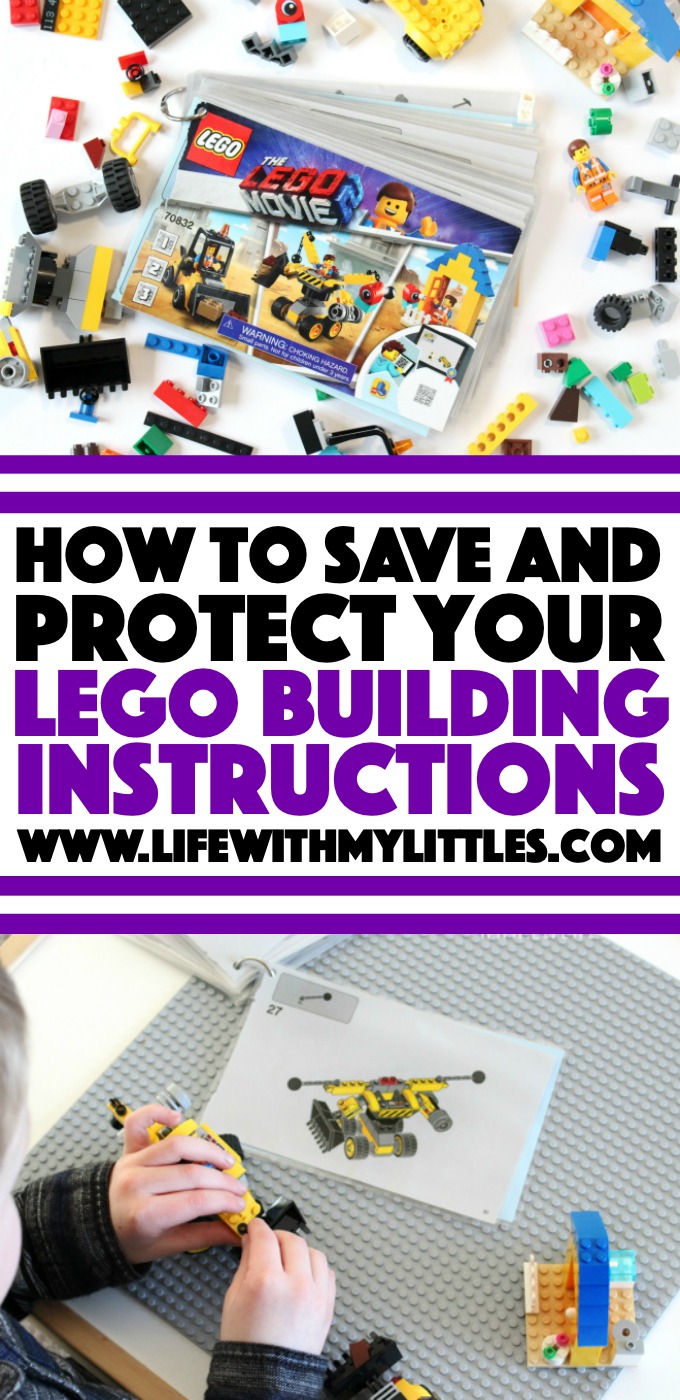
Tired of ripped, crumbled, or missing pages from your LEGO building instructions? Here’s an easy tutorial and video to help you save and protect your LEGO building instructions for hours and hours of play!
This post is sponsored by LEGO. This post contains affiliate links.
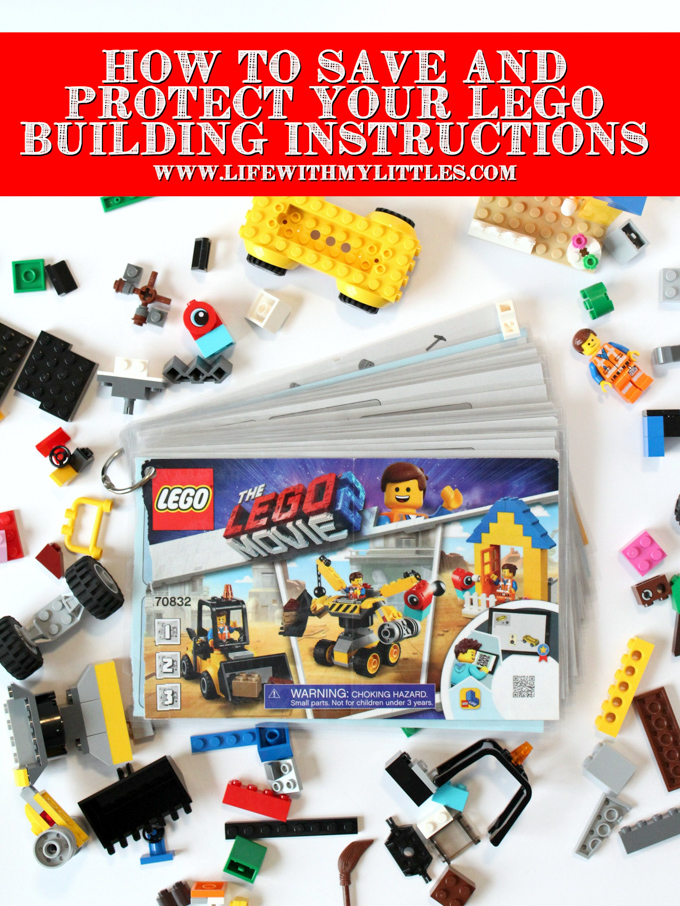
My oldest son got his first LEGO DUPLO set when he turned one-year-old, and ever since then, we’ve been a LEGO family. In the last five years, we’ve amassed quite the collection of both LEGO DUPLO sets and regular LEGO sets. My kids all love building their own creations (even my two-year-old!), but they also love building and re-building all the different sets they’ve collected. Unfortunately, paper instructions get pretty beat up when you have three young kids flipping through them all the time. Pages tear, rip completely out, get wet, and even get lost or thrown in the trash. And when that happens, it makes building those sets incredibly difficult (and sometimes impossible!).
Sure, we’ve tried taping our LEGO building instructions, but several of them were so beat-up that even after taping them several times and in several places they weren’t holding together. Plus, they could still rip. It got to the point that every time my kids asked me to build one of their sets with them, I’d say no because I didn’t want to spend the time trying to find missing pages or guessing what bricks came next.
Then about three months ago, I figured out a way to save, restore, and protect all of our LEGO instruction booklets. I took my youngest son to his very first speech therapy appointment, and while we were in the waiting room, he brought me a book. Each page had been laminated individually and the book was bound by a few binder rings.
LIGHTBULB.
I went home, grabbed my laminator and the most beat-up LEGO building instructions I could find (which happened to be my daughter’s LEGO DUPLO Sofia the First Royal Castle set) and got busy. I found the missing pages online, printed them, and restored the instruction set to a condition even better than when it was brand new!
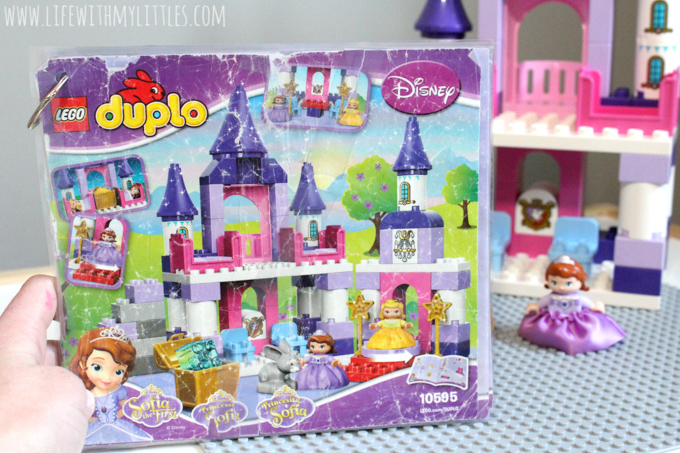
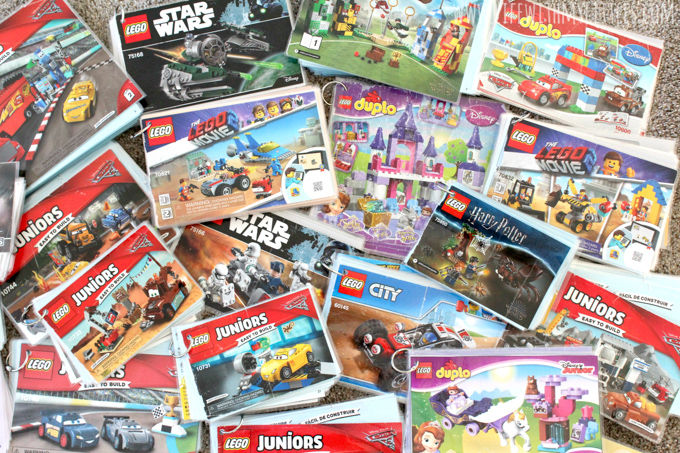
I immediately set to laminating as many instruction booklets as I could. It took a few days, but it was absolutely worth it. Now I don’t worry about my kids destroying their LEGO instructions and we can start and finish building every set we have! Honestly, I can’t believe I haven’t seen this anywhere else, because it’s so smart! (And I’m only half taking credit for this idea because the therapists’ office inspired me to do it. Someone over there is a straight up genius.)
Today, I want to share with you exactly how to save and protect your LEGO building instructions (and how I saved and protected my peace of mind!). It’s really easy, although labor and time-intensive, but it’s so worth doing.
video
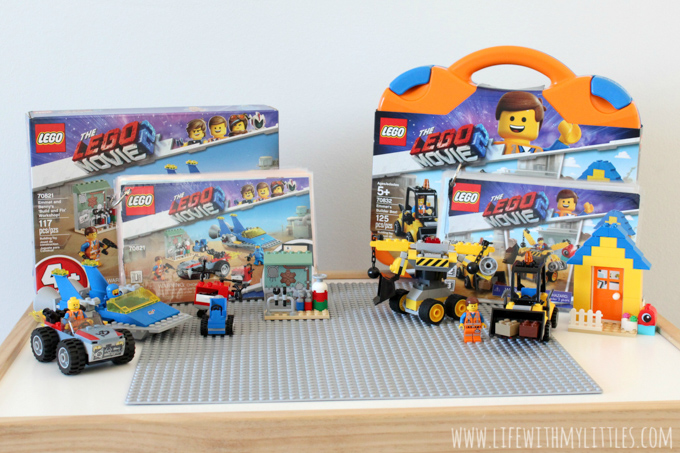
I’ll be using sets from The LEGO Movie 2, which, if you’ve been living under a rock, comes out Friday! We went to an advanced screening last weekend and you guys, IT IS SO GOOD. You have to see it! These sets are Emmet’s Builder Box (for ages 5+) and Emmet and Benny’s ‘Build and Fix’ Workshop (for ages 4+).
All you need to get the job done are
- building instructions from your favorite LEGO set
- a laminator (I have this Scotch Pro Thermal Laminator)
- laminating pouches (get a pack with a lot of pouches like this one)
- scissors
- a hole punch
- binder rings (I got these 1-inch rings)
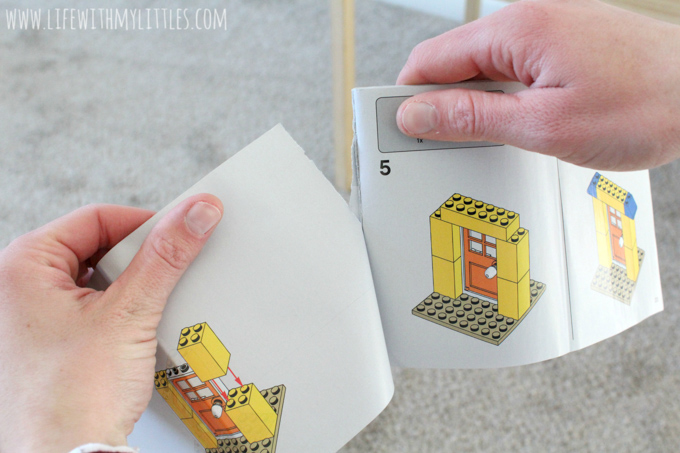
First, GENTLY tear apart your building instructions on the fold. I know, it seems wrong, but it must be done. Make sure you keep them in order and remove the staples carefully. I accidentally laminated a page with a staple still in it and it got all messed up.
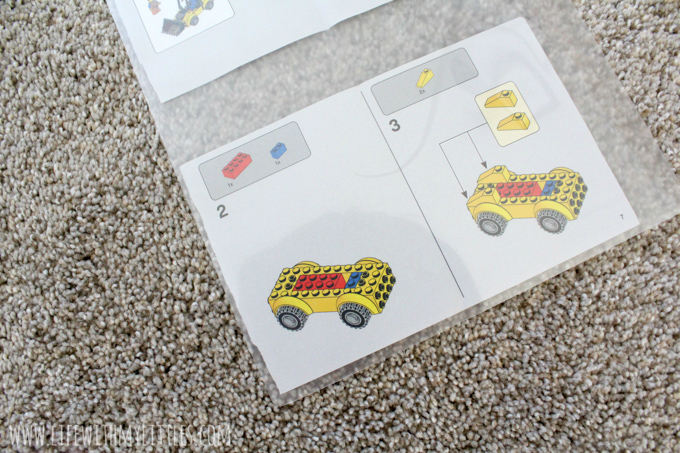
Next, arrange two pages at the top left and bottom left of a laminating pouch. Leave a tiny bit of room along the edges and be precise because otherwise when you cut out your pages, you’ll have to cut four sides instead of two (see below).
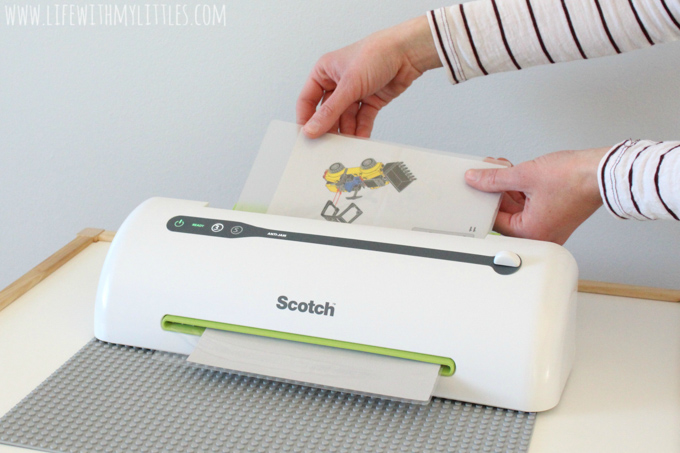
Gently and while holding the bottom of the laminating pouch feed your pouch into the laminator. Hold it until both pages are in the laminator (otherwise the second one might shift around).
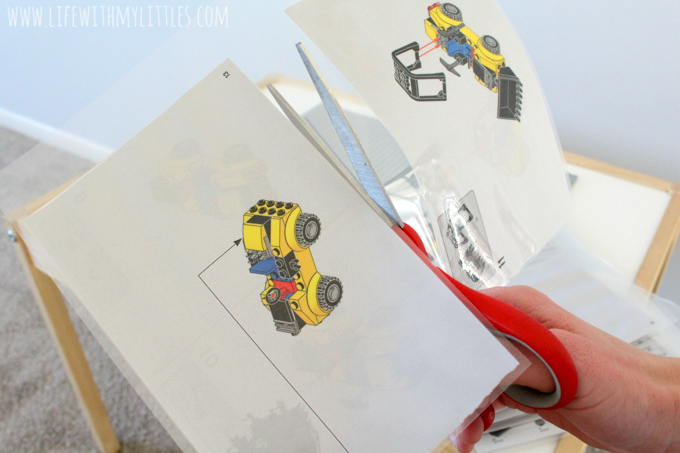
Cut along the edges and place in a stack IN ORDER until you’ve done the whole booklet.
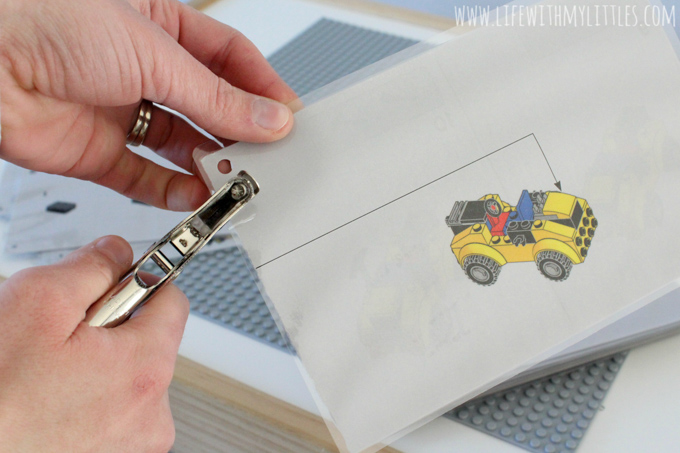
Once your whole set is laminated and cut out, punch a hole in the top left corner of each page. Be aware when you punch the holes not to cover up any important details (like how many of a certain brick to use). Do it in the same place for each page.
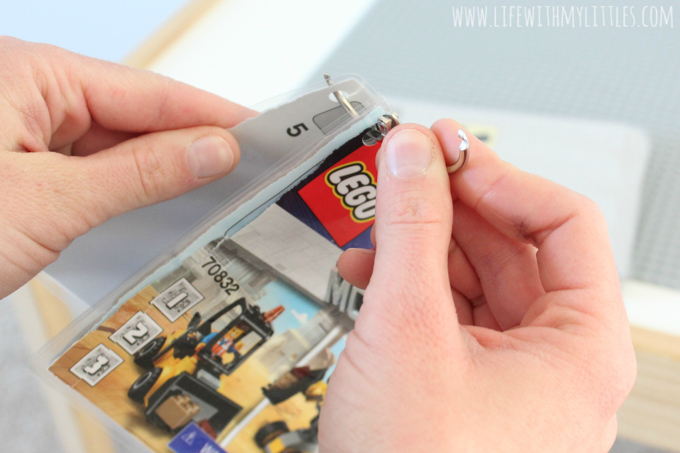
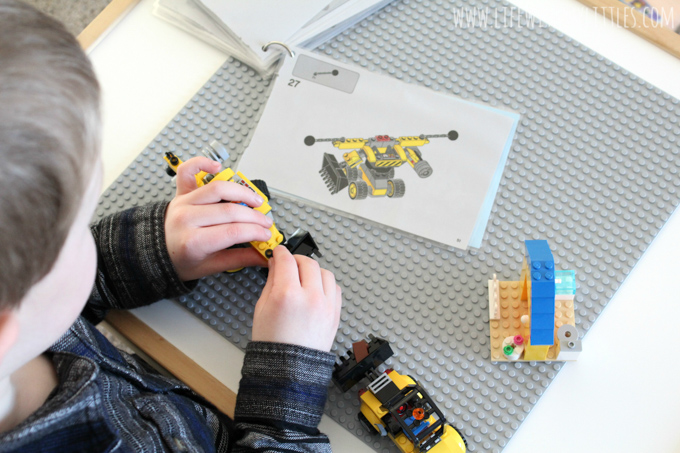
Feed a binder ring through all the pages, close it up, and you’re done!
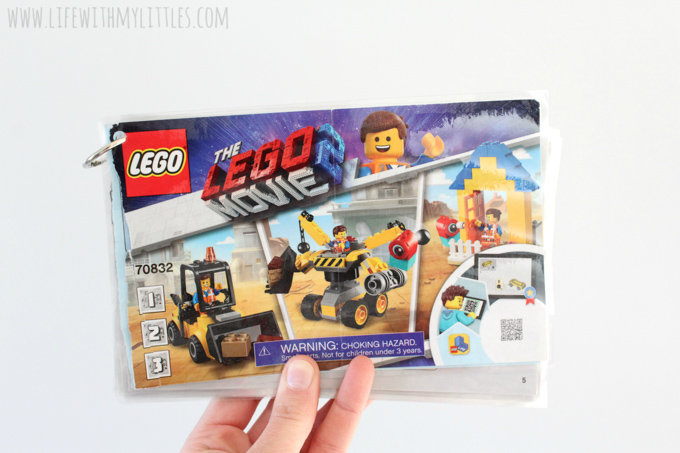
You now have a waterproof, tear-proof, childproof set of LEGO building instructions for hours and hours and HOURS of fun!
A few quick notes:
- I did try doing a ring on both the top and bottom left of one set of instructions, but it was harder for my kids to flip through. It’s up to you, but we decided to keep it simple with just one ring per instruction booklet.
- If any of your booklets are missing pages or pieces or the pages you do have are so torn you can’t get them to lay flat, search on the LEGO website for the instructions and print out new pages. Make sure you print the front and the back, and make sure they’re the same size as the original pages that you have on hand. Cut them out, glue them back to back, and you’ve got a quick replacement page!
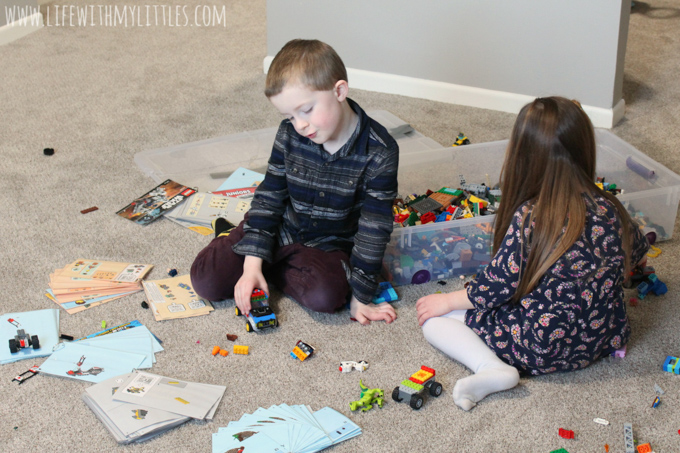
In the few months since I did this with my kids’ LEGO instructions, my kids build their sets (and I help!) way more often. I’ve been doing it with the new sets they’ve gotten, too, just as a preventative measure, and I have no regrets about tearing them apart and laminating them. I used to keep their instructions in their closet where they couldn’t destroy them any more, but now they have them in a box in their room so they can have them whenever they want. Now, everything truly is awesome (see what I did there!?).
Now if I could just figure out a way to organize all their LEGO bricks, am I right!?
Have fun saving and protecting your LEGO instruction books, and make sure you go see The LEGO Movie 2, out Friday!
Leave a Reply