The food is the most important part of throwing a party. Check out why the details matter in this helpful and informative post, plus tips on how to throw a Pinterest-worthy party!
I received free product in exchange for this post.
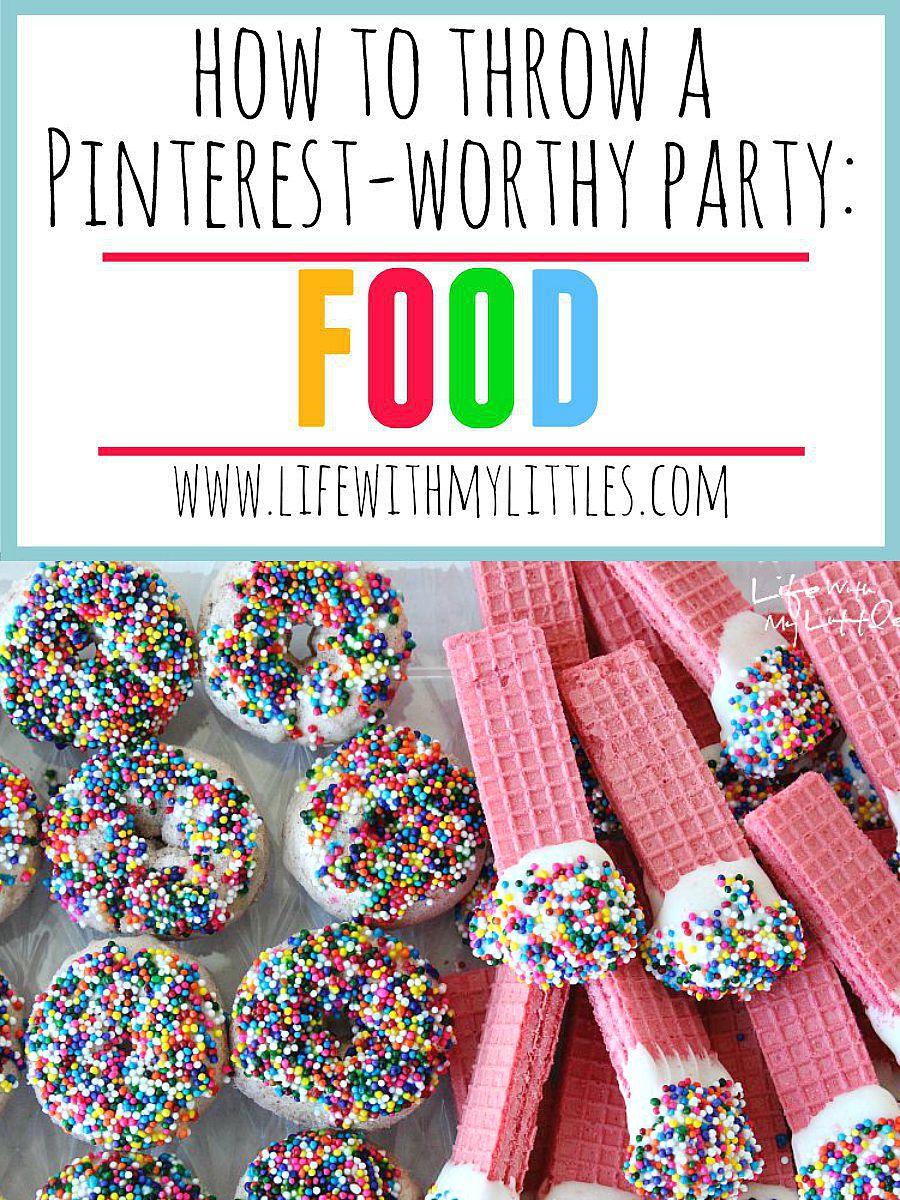
On the 12th was my daughter’s first birthday party. I had so much fun planning and throwing it, and it turned out exactly how I had imagined it in my head (having a vision is key to party-planning!). If you saw last Monday’s post, you’ll know I am doing a series called “How to Throw a Pinterest-Worthy Party.” In the first post I gave you basic tips to throwing a Pinterest-worthy party, then I gave you tips on invitations, and decorations. Today is the last post and I am going to focus on food (the most important part!) and go more into detail about what I did for Little A’s sprinkle party!
First, some general tips. Like I have said multiple times in this series, the most important thing to throwing a Pinterest-worthy party is to pay attention to details, and work the theme into everything.
For my daughter’s sprinkle themed party, it was easy to tie sprinkles into the food. When I threw my son a train birthday party, I did train-themed cookies, traffic light brownies, train-shaped sandwiches, and a veggie train car. Search Pinterest for whatever your theme is and I’m sure you’ll have tons of inspiration to work with.
And as far as details with food go, take the time to make things exactly how you want. Don’t be intimated because someone made adorable cookies and you want to try them. DO IT. Ask for help, look for tutorials, and just try. Even if it’s not perfect, people will be impressed that you went for it. One important part of taking your party food to the next step is customizing it. Sure I could have served plain donuts, cookies, pretzels, and strawberries, but I made them my own with chocolate and sprinkles!
The day before party day I designate as “baking day” and I get all of the food ready. For this party, that entailed decorating the cake and dipping tons of things in chocolate and sprinkles. But seriously, if you are going to go all out and really get into your party, you will need at least a whole day to do this. When I did my son’s party, I actually had to take two days because one day was devoted entirely to decorating royal icing train cookies. I don’t know if I would recommend that haha.
Okay, let’s get onto the party food!
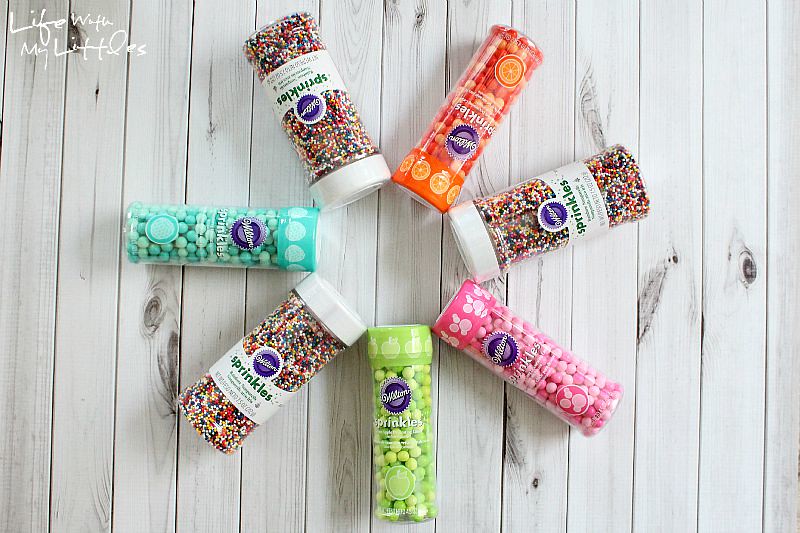
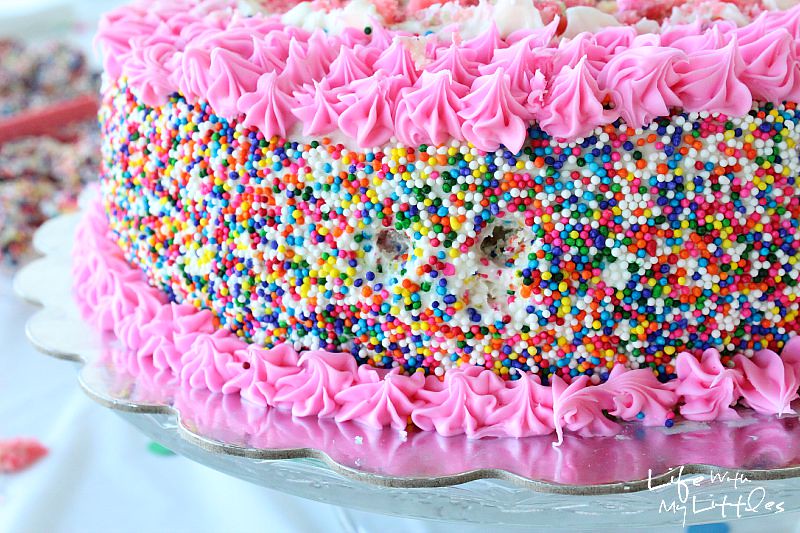
First, since my theme was rainbow sprinkles, I used Wilton Rainbow Nonpareils in everything! It was amazing and easy and no-stress.
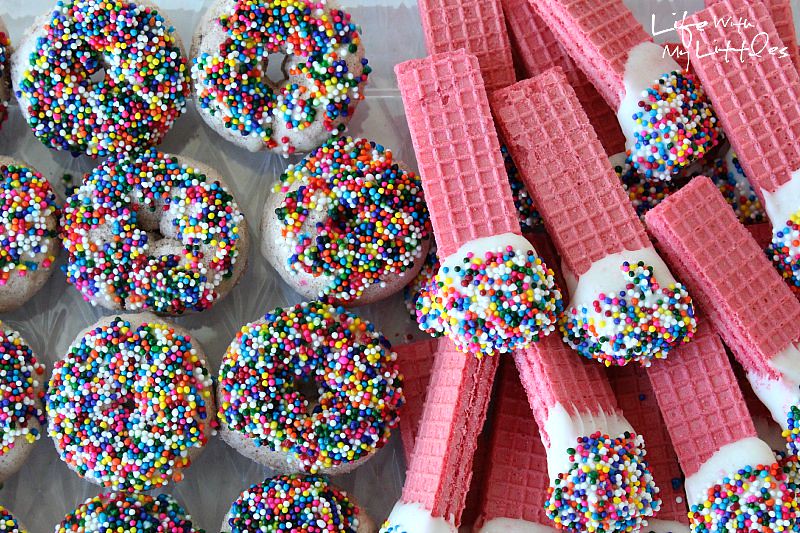
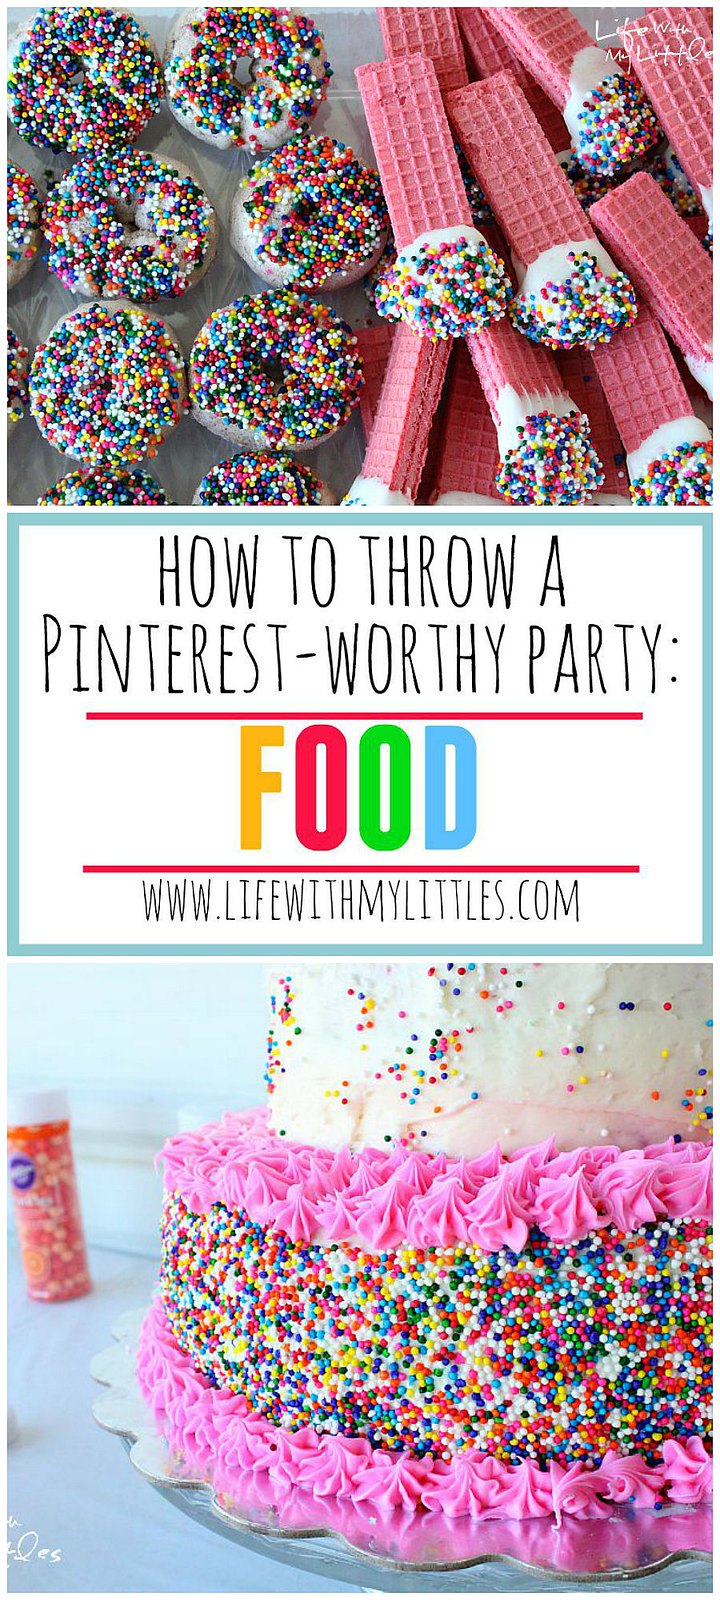
I had store-bought donuts dipped in a vanilla glaze and sprinkles,
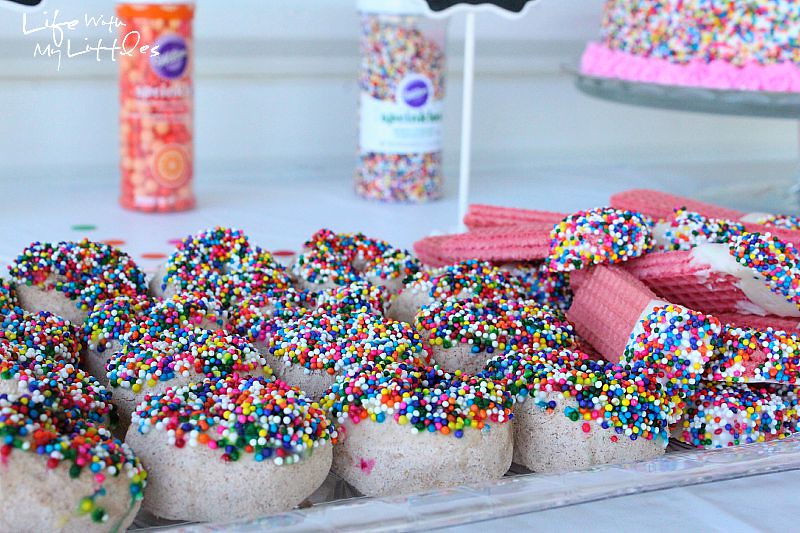
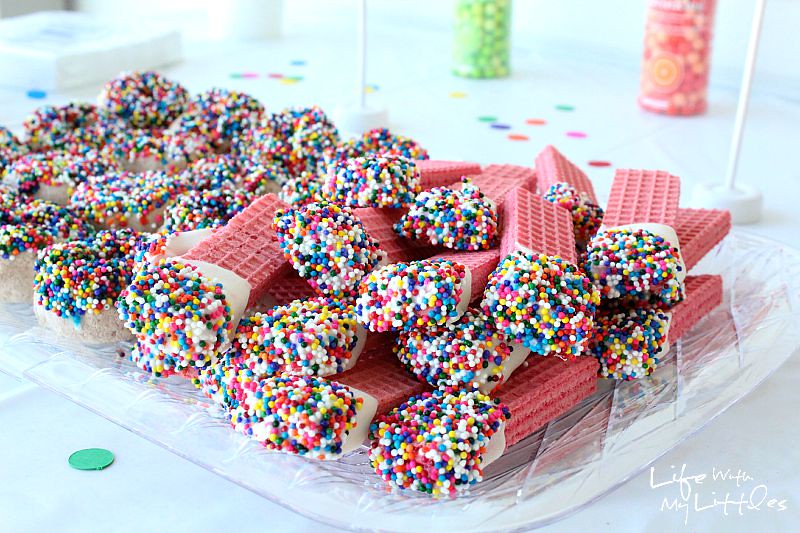
pink wafer cookies dipped in white chocolate and sprinkles,
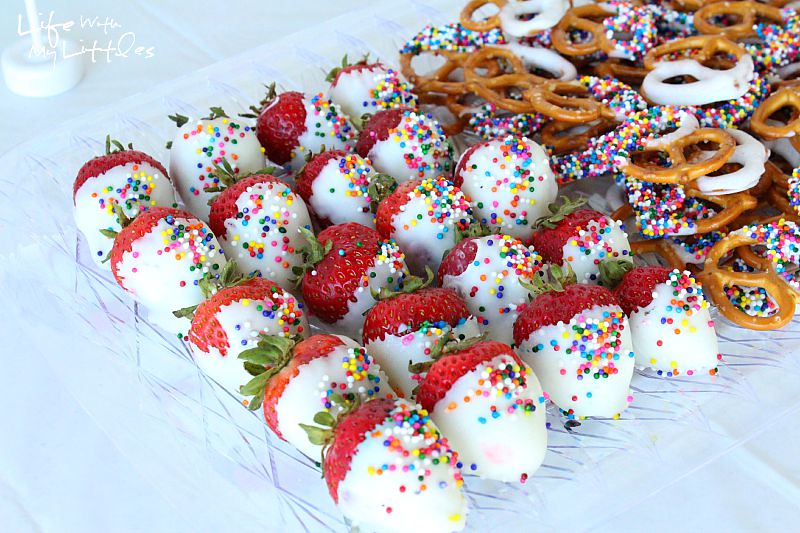
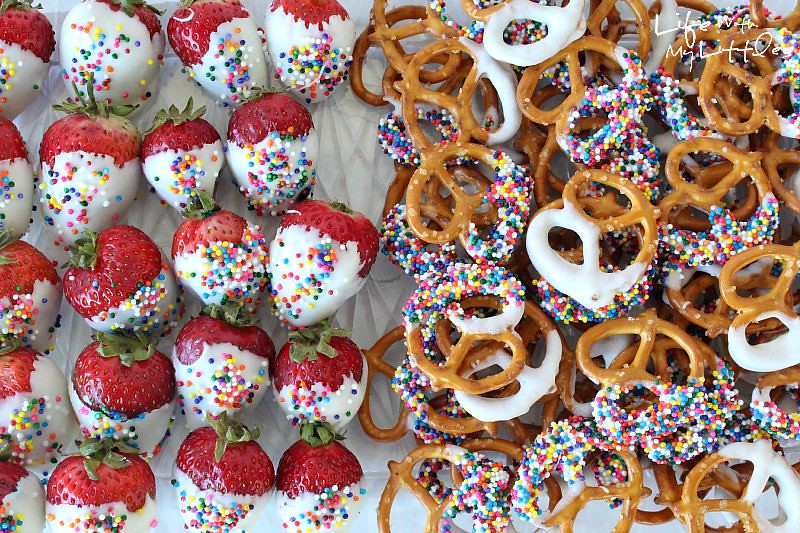
strawberries dipped in white chocolate and sprinkles,
and pretzels dipped in white chocolate and sprinkles.
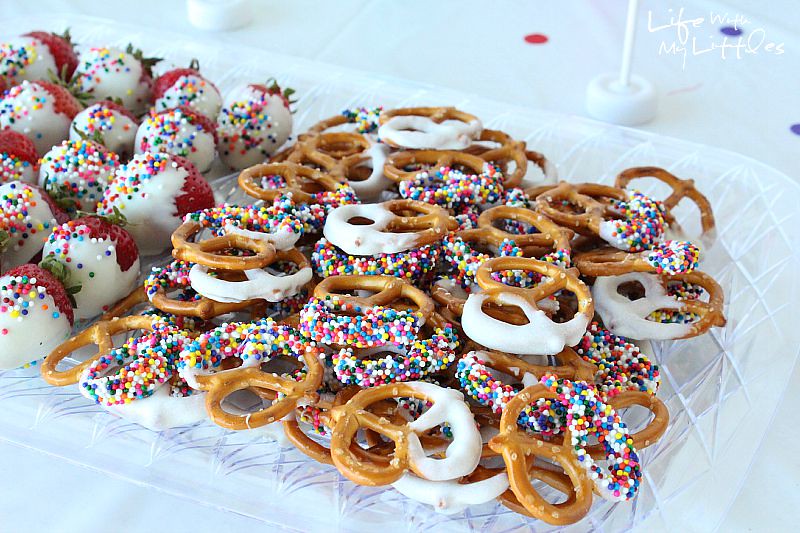
The easier the better! And these were all super easy and delicious! When you are doing food for a party (especially if it’s a big party), you don’t have to make everything from scratch. I didn’t make my own donuts and the pink wafer cookies and pretzels are obviously from the store. Easier, but I was still able to make them my own.
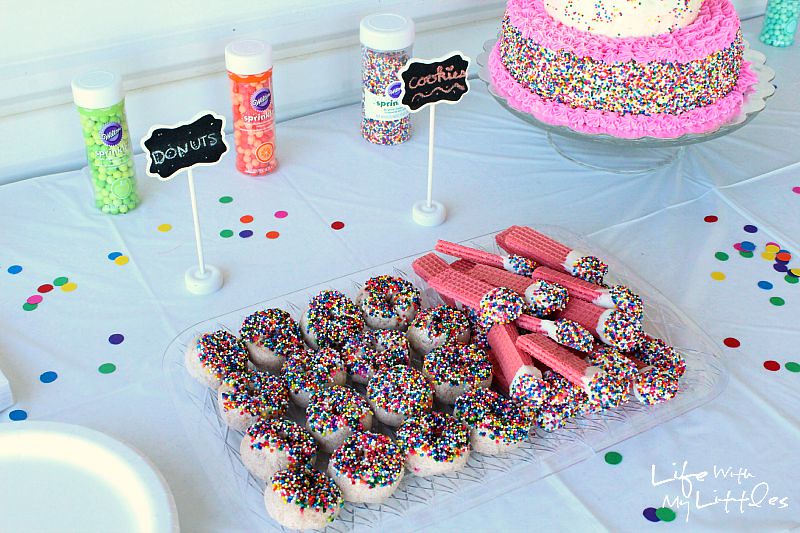
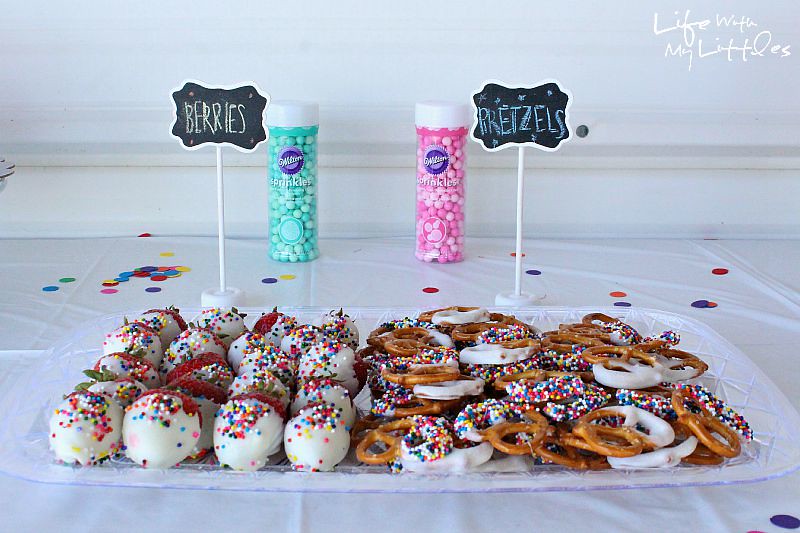
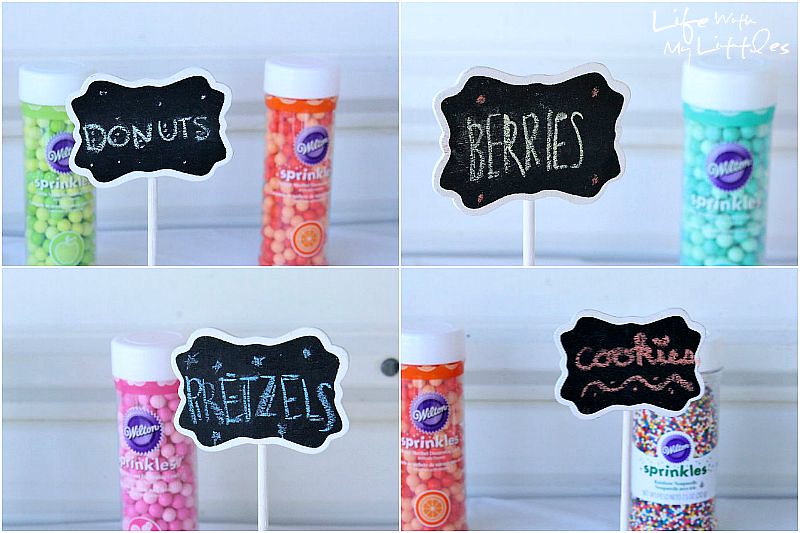
I also had cute little chalkboard signs that tied in with some of the other decorations (but you can read more about that here).
Now let’s talk about the cake.
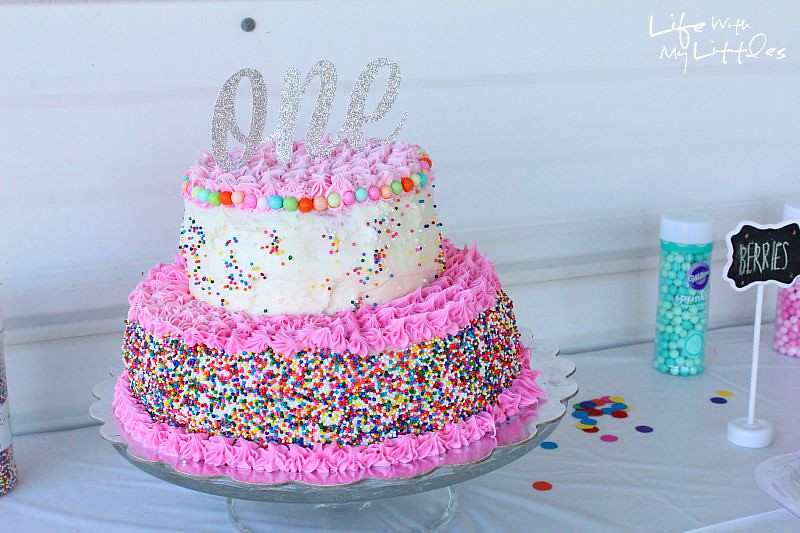
If you aren’t good at making cakes, go buy one. I promise it will be easier for you and you won’t end up serving something you aren’t proud of. But if you are good at cakes, then show off your skills!
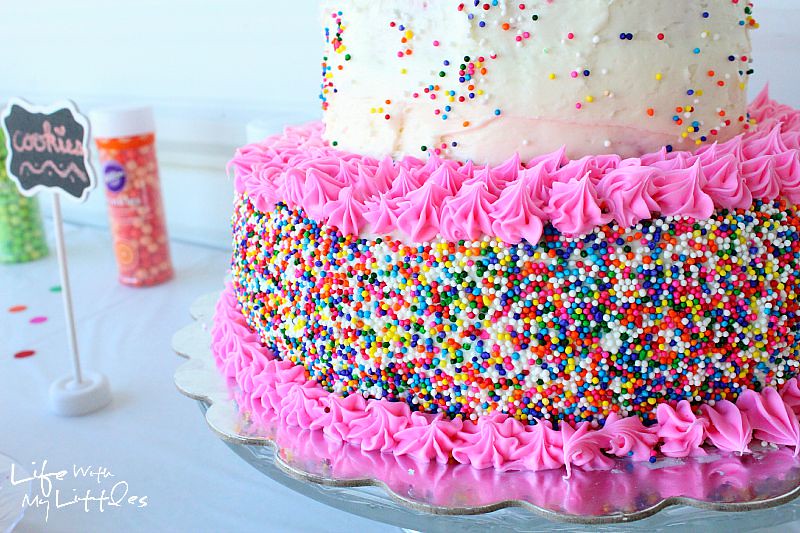
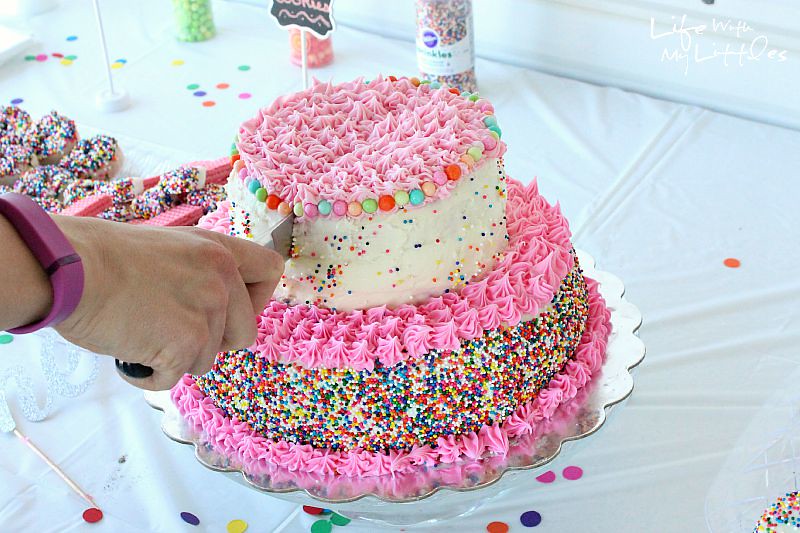
For Little A’s cake, I used boxed vanilla cake (dyed pink) marbled with boxed funfetti cake. I did two 8″ layers with frosting and homemade raspberry jam in between, and then two 6″ layers with frosting and homemade raspberry jam in between. I almost always used boxed cake mix and store-bought frosting because I think they taste delicious and I don’t like homemade buttercream.
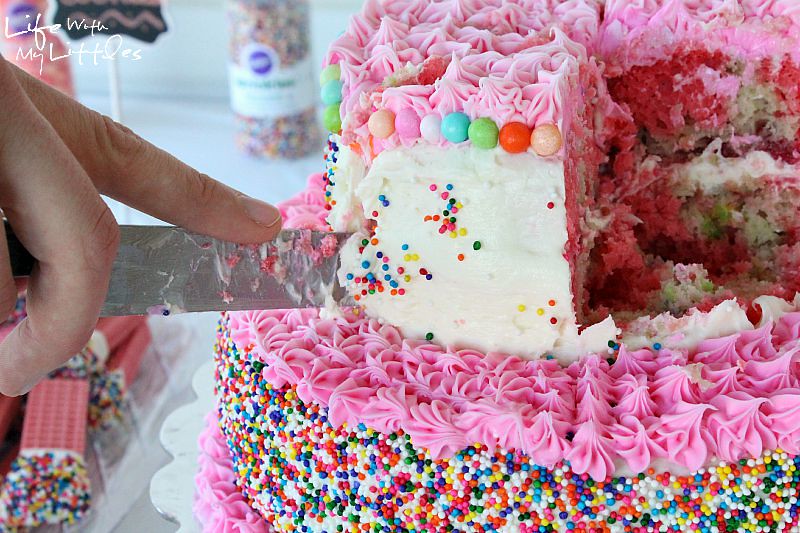
I layered the cakes and then dirty iced them. (If you follow me on Instagram, you may have seen some sneak peeks of this!) Then I refrigerated the cake and decorated using frosting, Wilton Rainbow Nonpareils, Wilton cake decorating tips and bags, and Wilton’s new line of flavored Sugar Pearl Sprinkles. It was perfect! And of course, I used Pinterest for my inspiration!
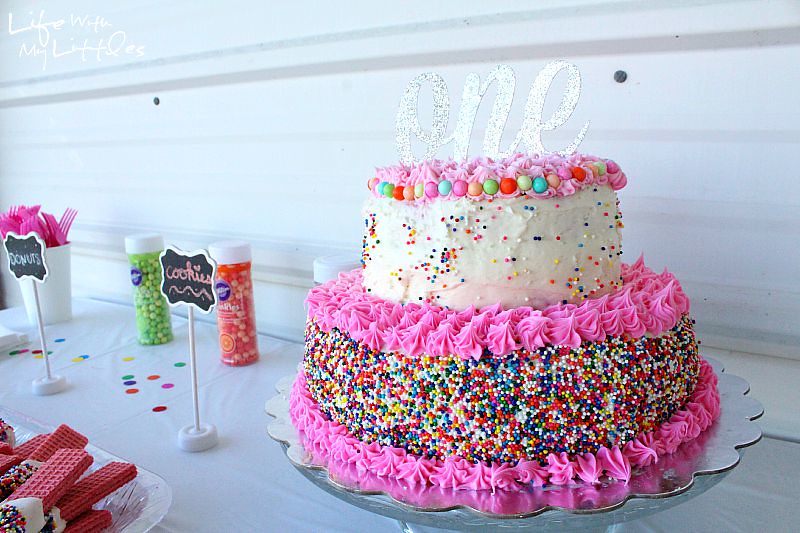
The cake should be the centerpiece of your dessert table, so seriously, if you aren’t good at cakes, get a store-bought one. And if you really are bad at them, I promise there is hope if you practice. I used to be super bad at them. Like, should-we-eat-that-thing-bad at them.
I also used a cake topper from Mika’s Party Shop on top of the cake. It was a silver glitter “one” written in script and it was beautiful! I used it for Little A’s cake smash shoot, too, and I loved it then as well!
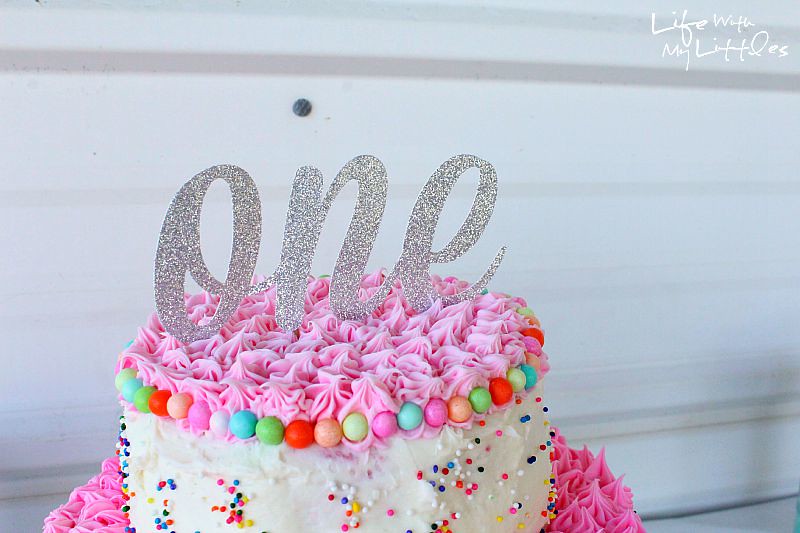
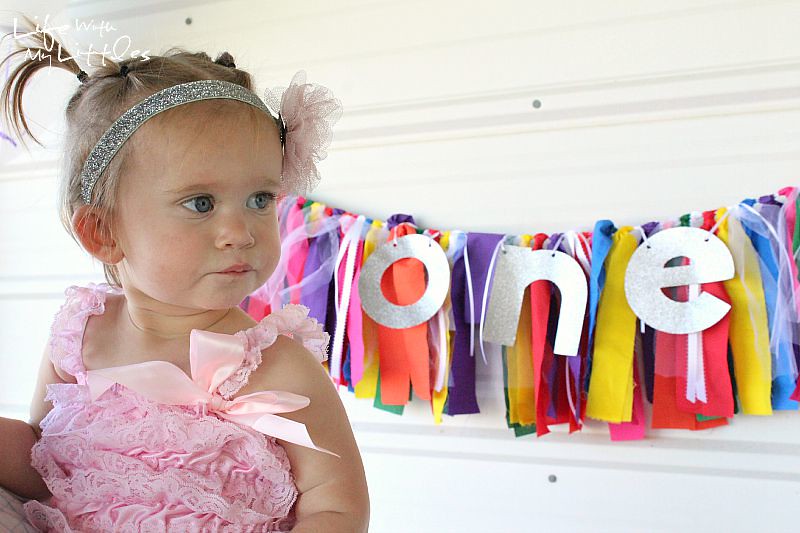
Plus the silver tied in really well with the silver in the decorations and Little A’s headband.
And if you look closely at this picture, you’ll see very clearly where Little J decided to stick his toddler fingers into the cake and lick the frosting off. THREE TIMES. Toddlers.
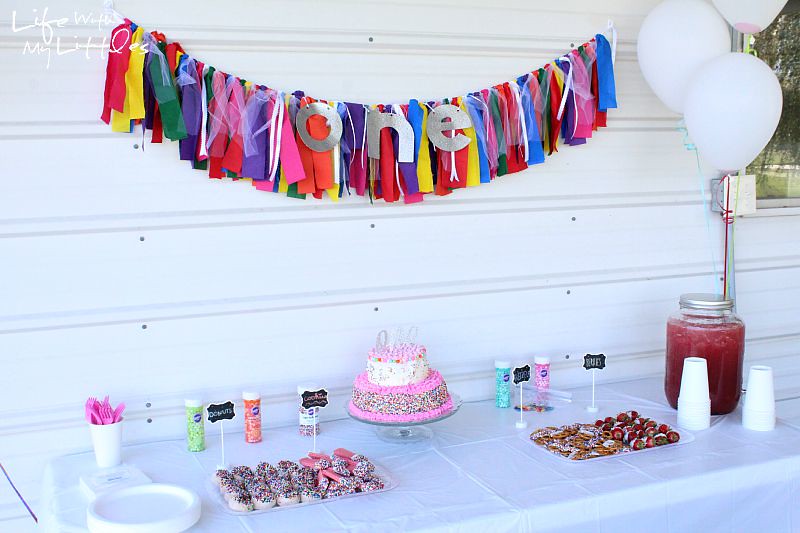
Last, I had a big glass mason jar-style dispenser filled with black cherry lemonade (P.S. it was amazing).
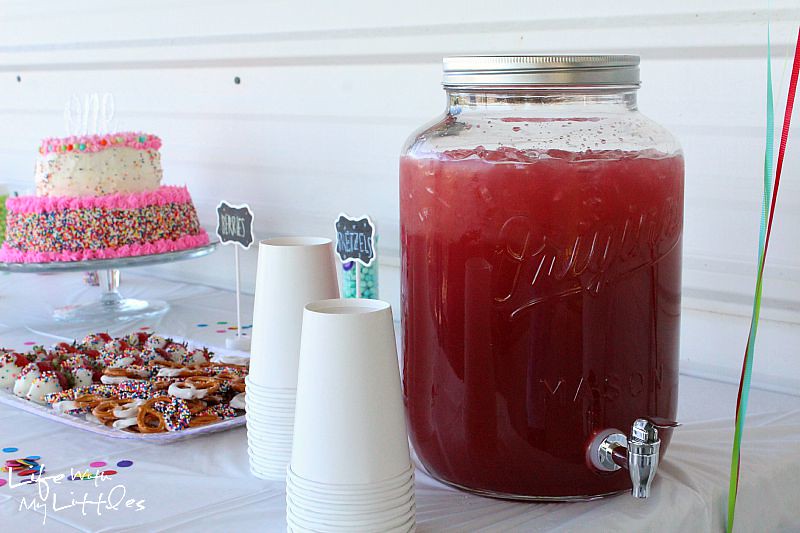
One more thing about the food. You obviously want to make sure that you have it set up in a way that is easy for your guests. I put the silverware, napkins, and plates on one side of the table, food in the middle, and then the drink and cups on the end. It was simple and made sense as you went from left to right.
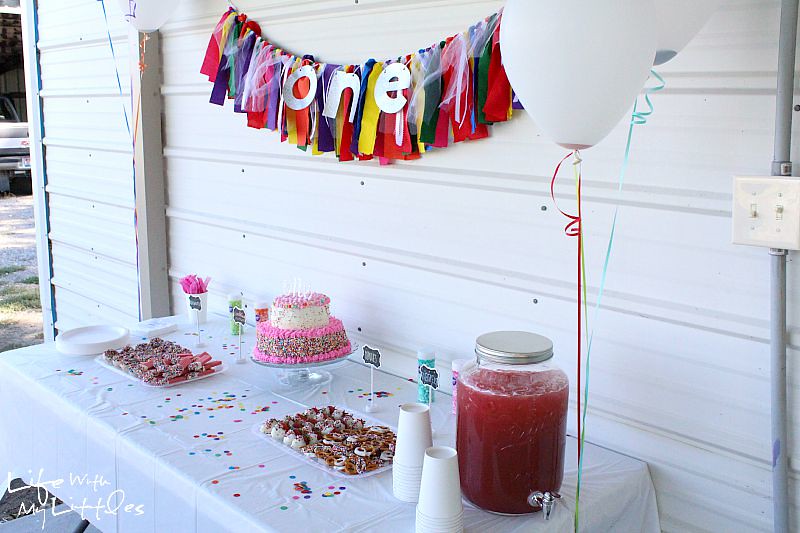
The food for your Pinterest-worthy party is (in my opinion) the most fun part of throwing a party. It’s the most rewarding part, since you get to eat it, and it definitely doesn’t have to be the hardest part. Just remember to tie in the theme, don’t go overboard, and pay attention to details.
Thank you guys for joining me in my “How to Throw a Pinterest-Worthy Party” series! I had a lot fun planning, throwing, and writing about Little A’s party, and I’m glad I was able to share some tips to help anyone else out!
If you missed any of the other posts in the series, you can check them out here:
How to Throw a Pinterest-Worthy Party: General Tips
How to Throw a Pinterest-Worthy Party: Invitations
How to Throw a Pinterest-Worthy Party: Decorations
Leave a Reply