This cheap and easy way to display your child’s artwork is made with a wood board and clips! It’s super simple, but looks expensive!
This shop has been compensated by Collective Bias, Inc. and its advertiser. All opinions are mine alone.
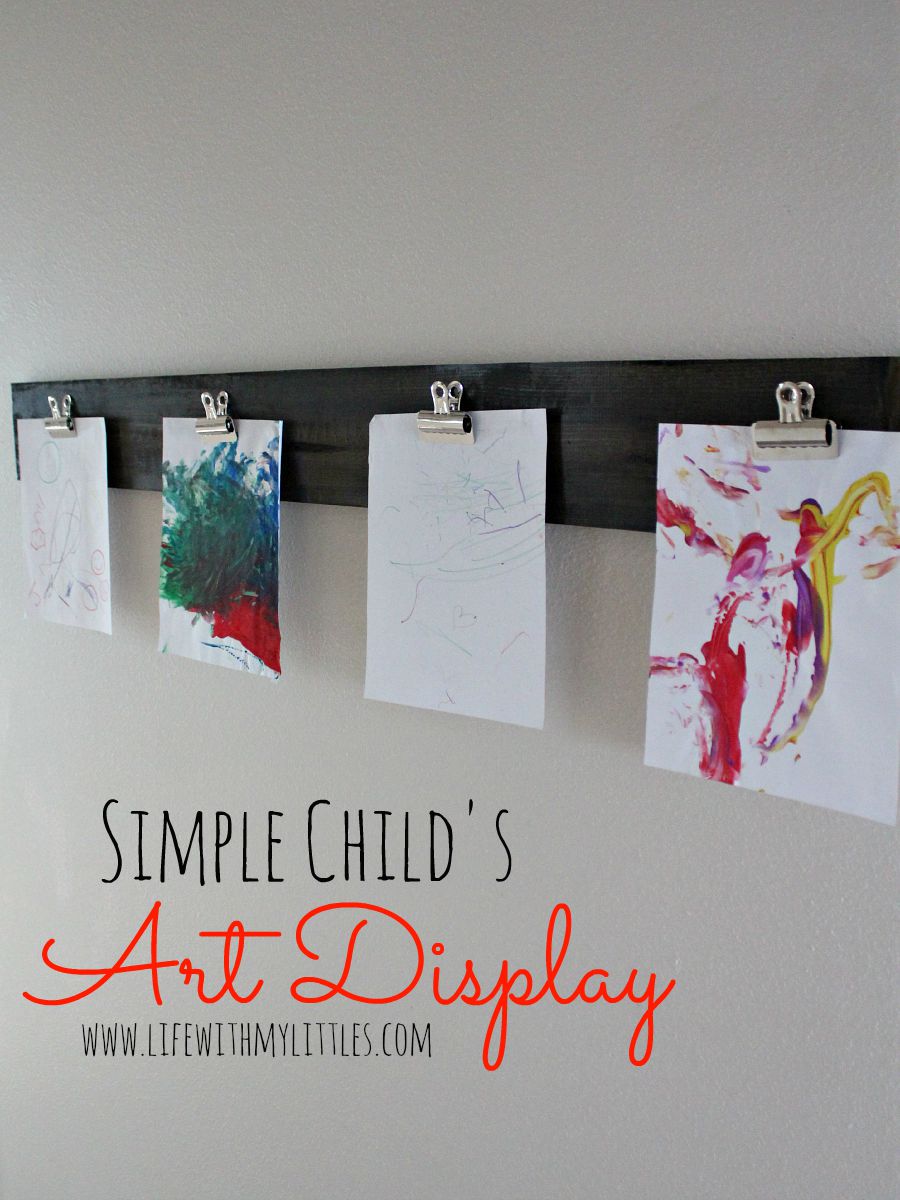
In the last few months, our toddler has gotten very into coloring. Any time he sees the Mister’s desk he asks if he can color. The result is that we have a lot of colorful toddler art at our house. Usually our fridge is covered with scribbled pictures, but since our daughter has started crawling, she has been tearing them down! So I needed to come up with a new solution, and fast. I’ve seen a few cute art displays floating around Pinterest, and I decided to combine a few and make my own! And guess what? This easy way to display your child’s artwork is the result!
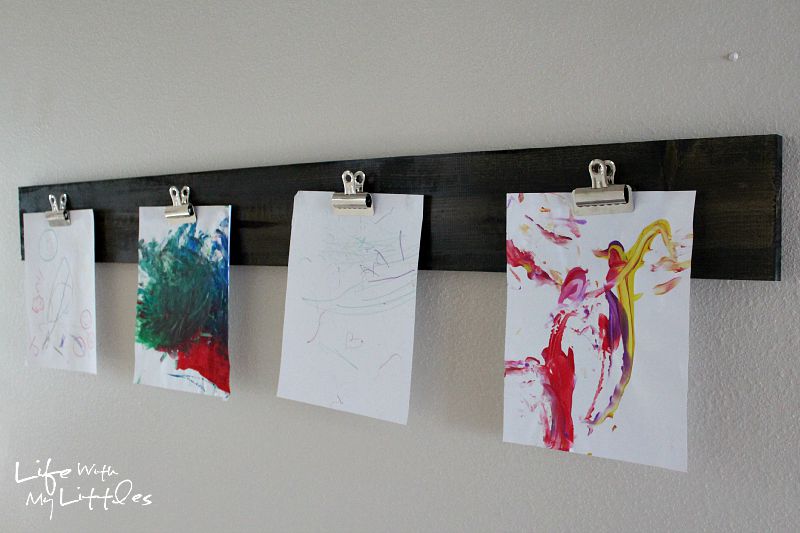
To make this simple project, you will need a 4 1/2′ board, some stain in the color of your choice, some size 3 bulldog clips, wood/craft glue, and Command™ Picture Hanging Strips (the medium/large package).
First you want to stain your wood. Do it outside and let the stain dry at least 24 hours.
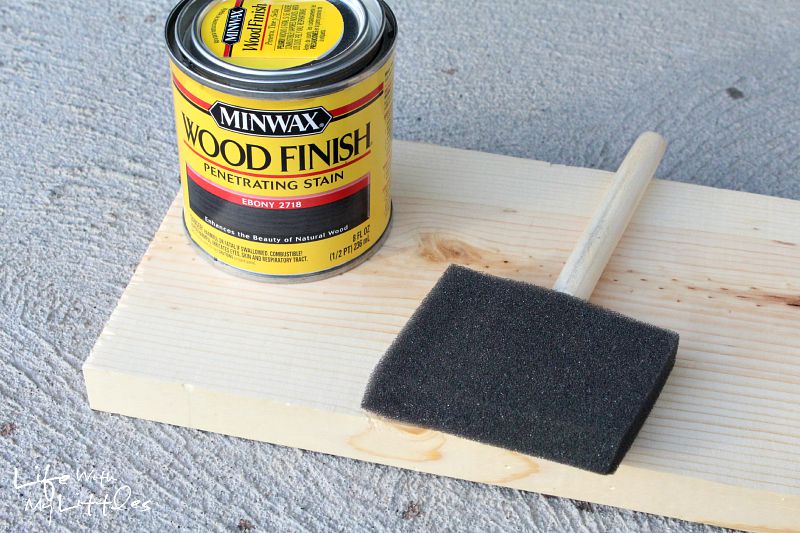
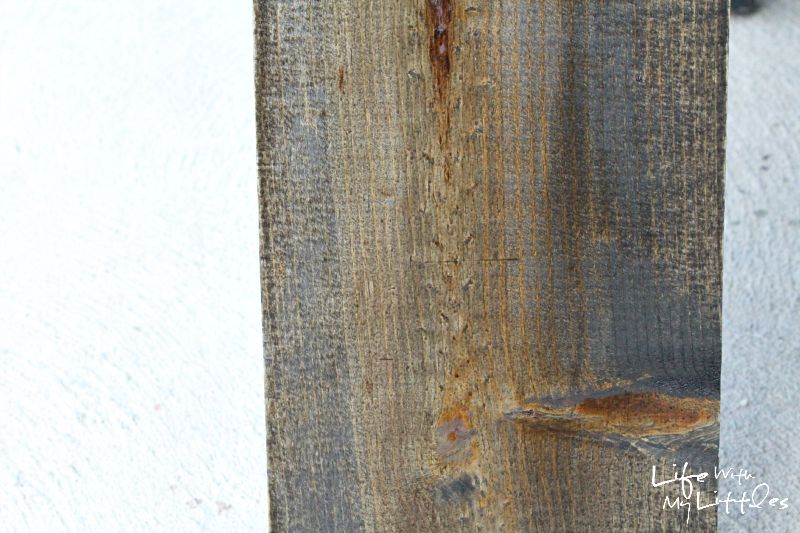
I painted three coats of stain onto my board, and I love the way it turned out!
Next you will want to bring your board inside and decide where you want your clips. Lay your board down, grab a ruler, four pieces of paper, and your four clips. Clip your paper onto your clips and lay them out so they aren’t touching.
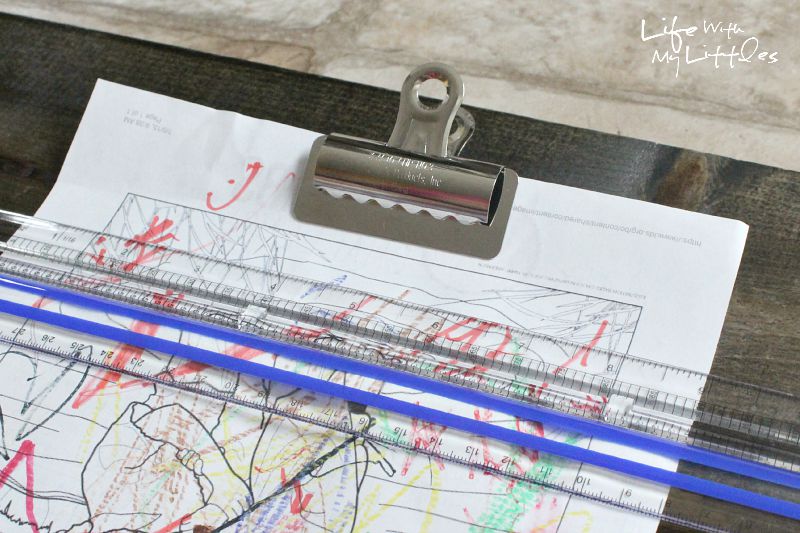
Measure so your clips are evenly spaced, and then remove your paper. You can mark your wood where you want them, but if you have a lighter stain you might not want to. My clips were 11 1/2″ apart.
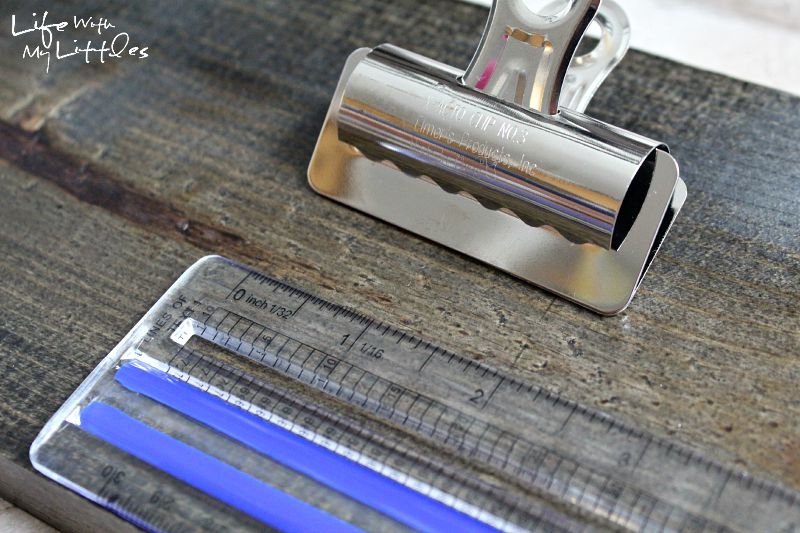
Now grab your glue and place a small amount on the back of your clip.
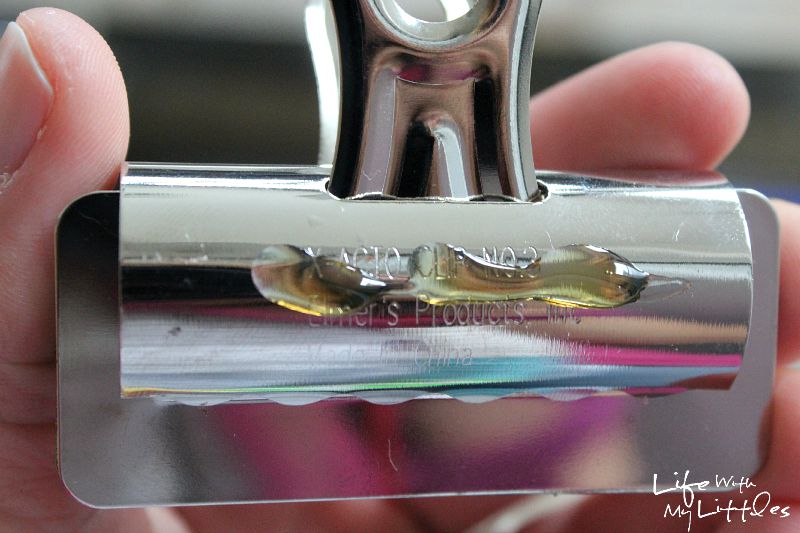
Stick your clip down exactly where you want it, and hold for at least 30 seconds before letting go. Repeat with the rest of the clips.
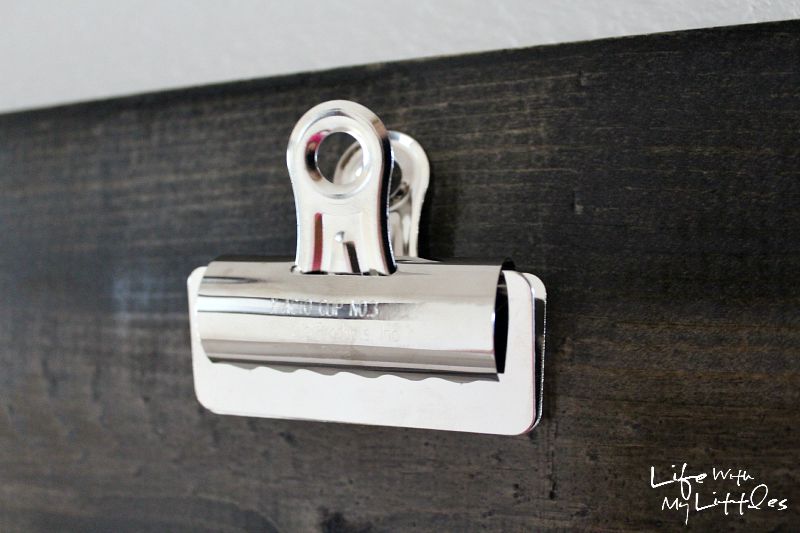
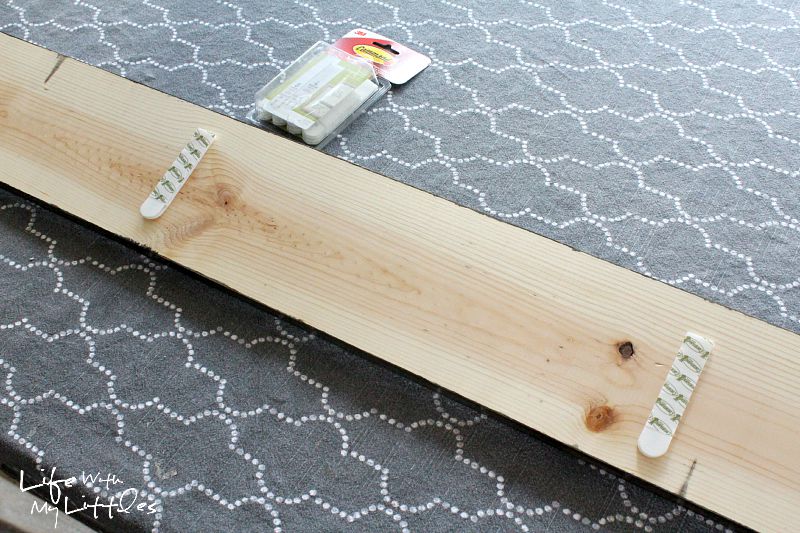
Now the main challenge of the project was to figure out how to hang it. Last year I made a wooden growth chart ruler and used sawtooth hangers, but it was pretty wobbly and I didn’t want to do that for this project since I knew I would be changing out the pictures frequently. And then it hit me. Command™ Picture Hanging Strips! They hold on strongly and remove cleanly, which is exactly what you want when you are hanging a big project like this.
The large Command™ Picture Hanging Strips are perfect because they can hold up to 4 pounds per set of strips. Just to be safe, I used four sets of strips on my board, evenly spaced.
Follow the instructions on the back of the package to attach the strips to the wood and to the wall. Now guess what? You are done! And your project is all hung up and ready to hold your child’s art!
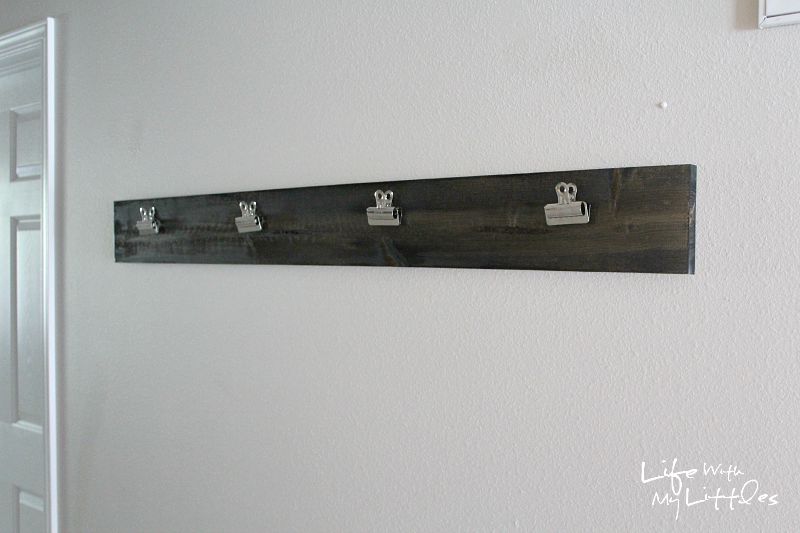
I was so surprised at how quickly this project came together. And I love that it lays flat on the wall with the Command™ Picture Hanging Strips. It looks great and my son loves pointing out to me that he has his own little display!
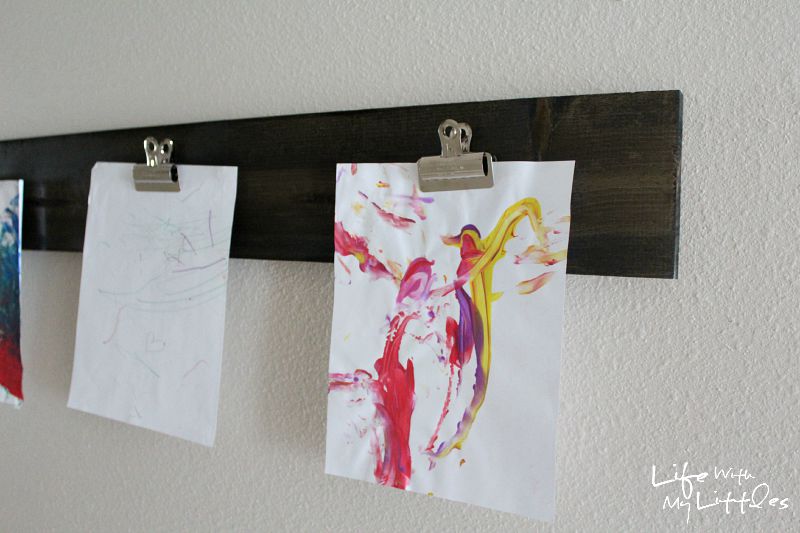
I guess it’s time to get out the paper and crayons!
Michelle @ A Dish of Daily Life says
What a cute idea! I wish I had thought of this when my kids were little! I’m passing it along to my sister in law though…it is perfect for her kids!
Chelsea Johnson says
Thanks, Michelle! I love how it looks in my house and it was so easy!
Sara @ Mom Endeavors says
Adorable! I need this in my house and the Command strips are a great way to hang it! #client
Chelsea Johnson says
They were so easy and secure! They were perfect!
Jennifer says
This is such a cute idea! I’d love to do this in the future. Also, I have to say, I’m a fan of the picture that Little J painted on the far right. It looks like two tropical birds to me. Bravo.
Chelsea Johnson says
Haha thanks! He has skills. That picture was actually from last year. I need to get Little A to do one and a new one for Little J! Art project!
Nikki - fluorescentbeigeblog.com says
This is exactly what I need for me! I’d love to make this for my craft room to display projects! Thanks for sharing!
Chelsea Johnson says
You’re welcome! Have fun! It is super easy, and you can pick whatever stain you want to match your room decor 🙂