Sew your own Changing Pad with built-in diaper and wipes holders. A simple tutorial with lots of pictures, perfect for baby shower gifts!
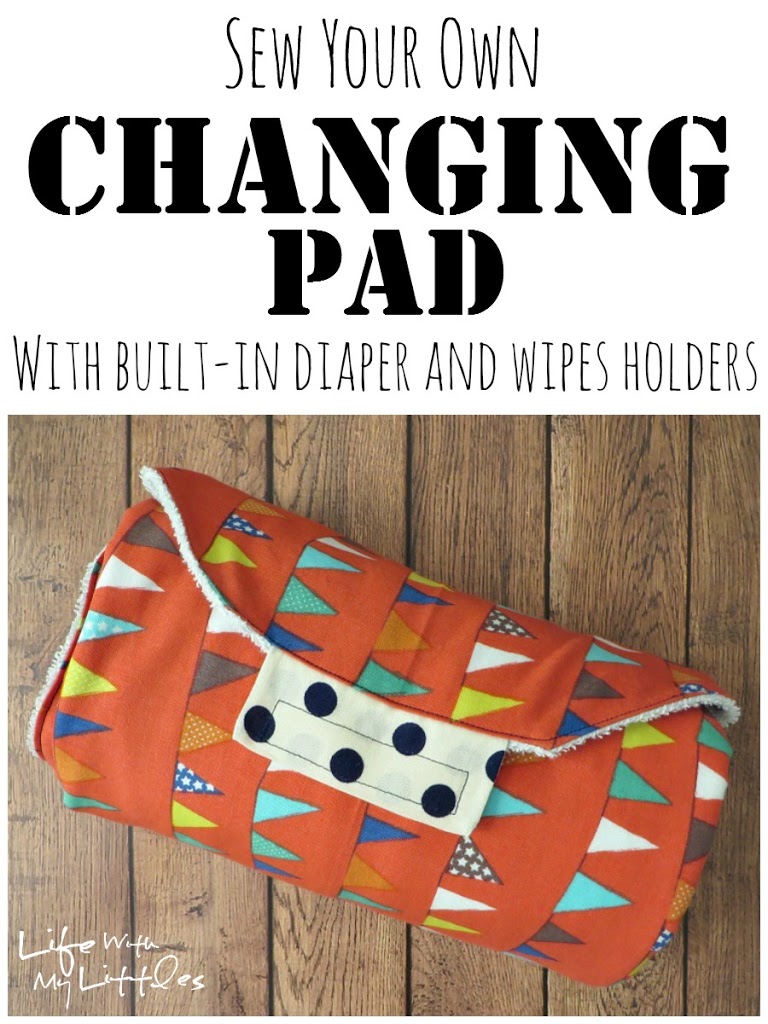
When Little J was born, my wonderful friend Shalie sewed the cutest and handiest changing pad for me. I have been using it for almost two years now, and it still is in great shape and works perfectly! A few months ago, she asked if I wanted the pattern and I immediately said yes! It has places to keep both diapers and wipes inside so you only have to grab one thing when you go change your baby, and it is soft inside so it’s comfy for baby, too. It’s not a hard pattern and I am excited that I get to share it with you today!
Here’s what you will need:
Pattern (download here)
1 1/2 yards cotton fabric (45″)
1 1/2 yards terry cloth fabric
1/4 yard coordinating cotton fabric for closure
3″ 3/4″ wide velcro
6″ 3/4″ wide elastic
Coordinating thread
Thin wipes case (mine is Huggies)
First, print, cut, and assemble your pattern.
When you are cutting it, don’t cut the extra overlaps on the right sides! Those are so you can easily match up your pattern!
Match A to A, B to B, etc. Make sure you are using those overlaps! Here’s what the general shape should look like (except this picture doesn’t use the overlaps).
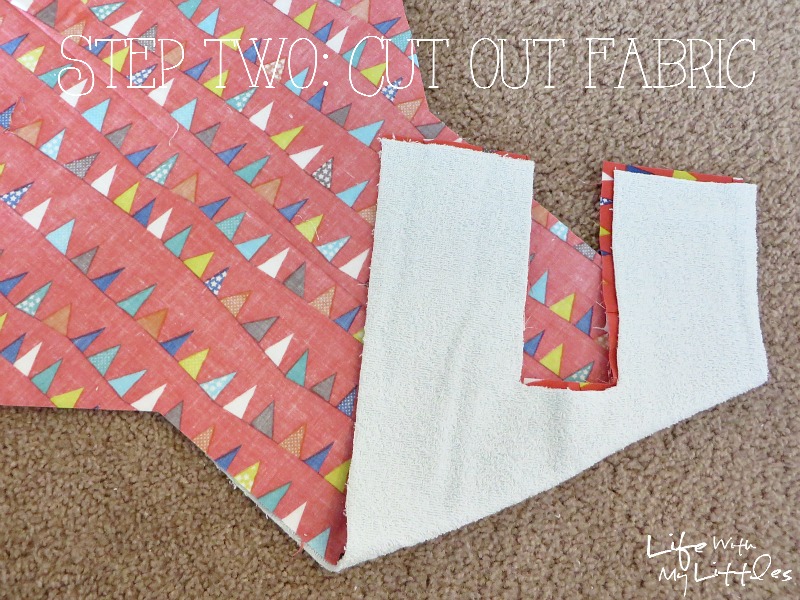
Second, cut out your fabric! Using the pattern with the edge on the fold, pin and cut it out. You will need to cut the big pattern piece on both the cotton fabric and the terry fabric. And don’t forget to cut your little rectangle for the closure (not pictured).
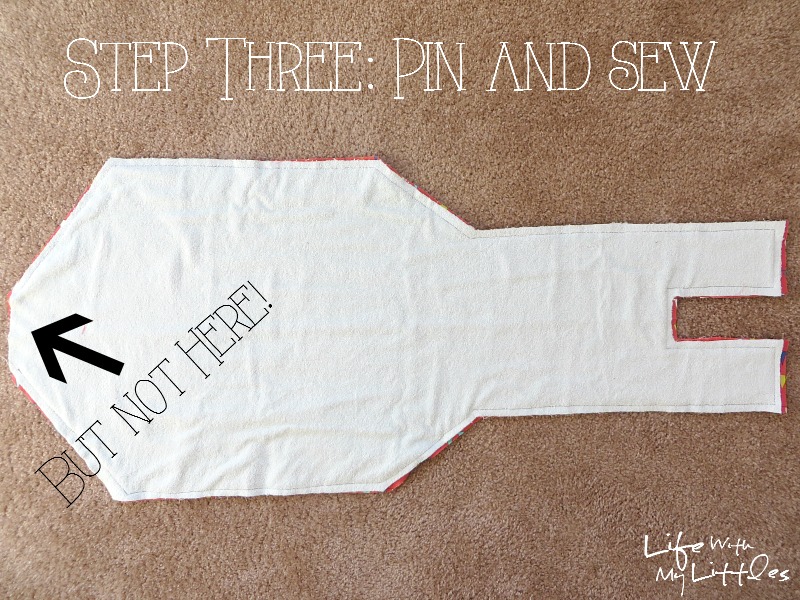
Pin right-sides together and sew all the way around, except for the very top. Sew with a 1/2″ seam for the whole thing, unless otherwise noted.
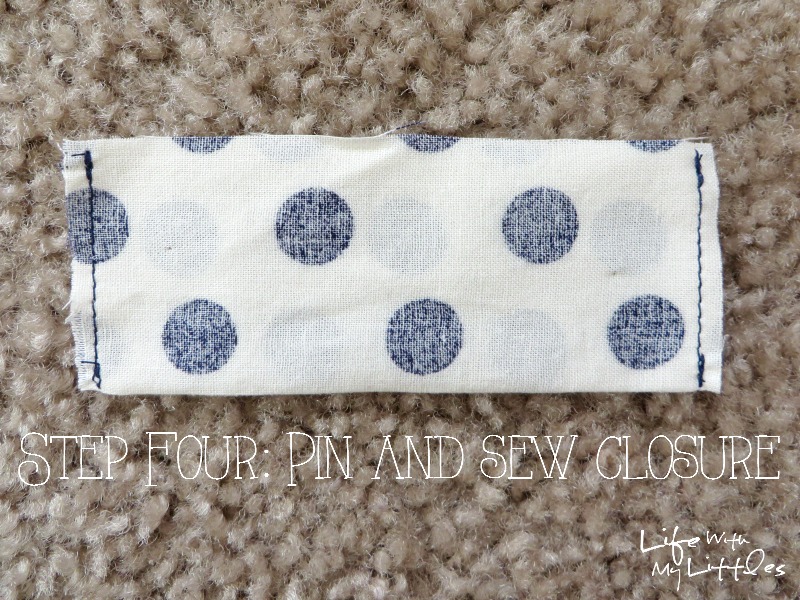
Pin your closure fabric piece, right sides together, and sew the two edges. You want to sew as close to the edges as possible on this one.
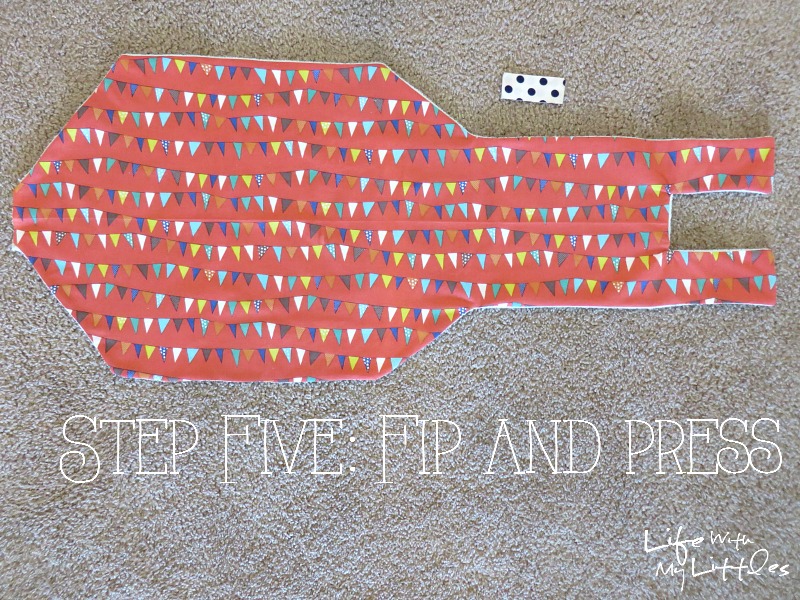
Flip both the changing pad and the closure piece inside out and press.
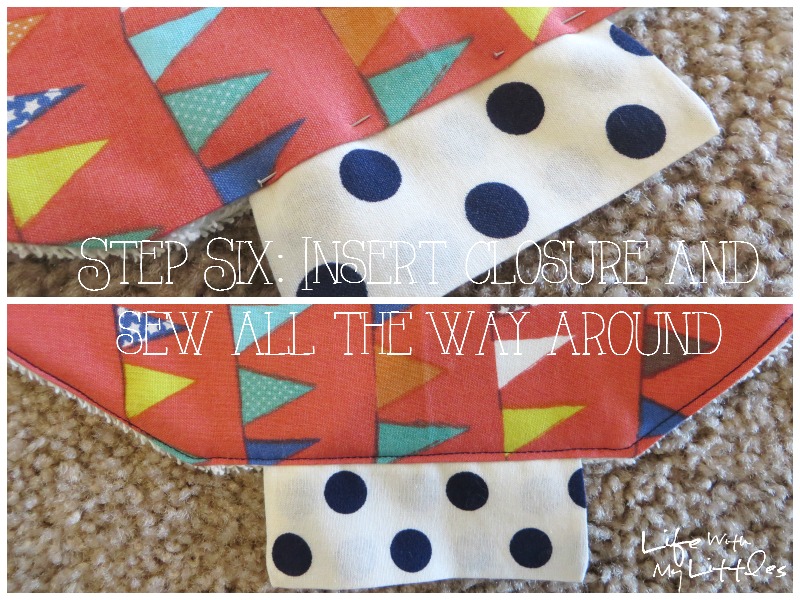
Insert the open end of the closure fabric into the open end of the main piece. Fold down the opening and sew right along the edge. Then continue sewing all the way around the edge (topstitch).
Okay this is where it gets sort of difficult to explain, so make sure you look at the pictures when you are doing this part.
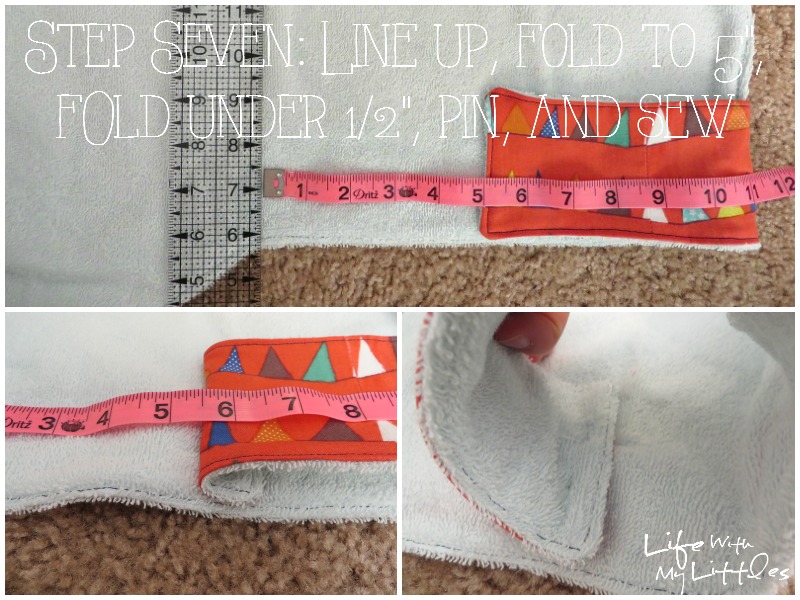
Get a ruler or straight edge, and line it up with the changing pad where it starts to slant back in (see picture). Fold over your flaps so they are 5″ away from the straight edge. Then, fold them under so they are 5 1/2″ away. Pin the folded-under part (see picture). Then sew.
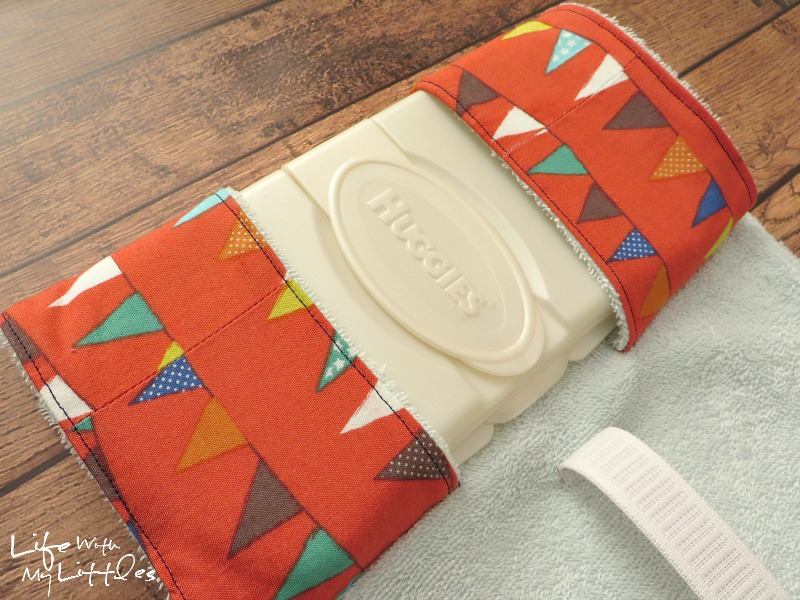
Now you have the part where your wipes case will fit!
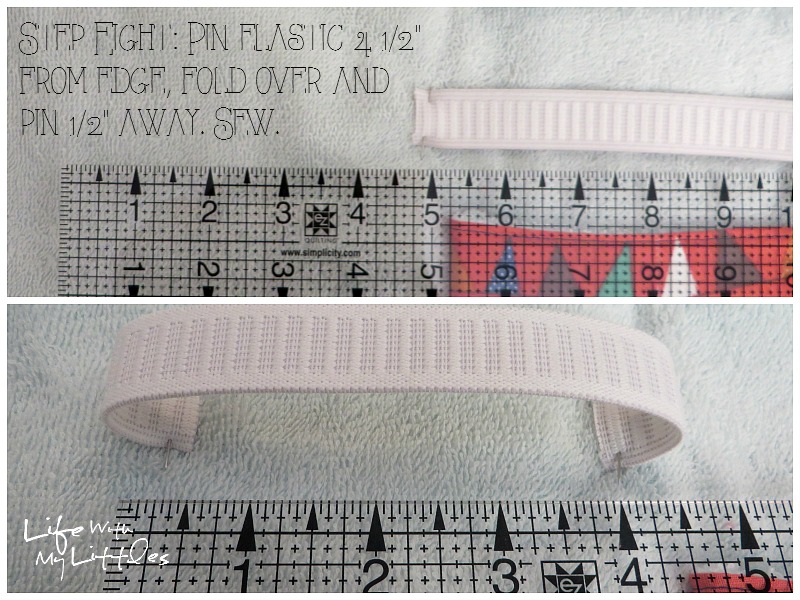
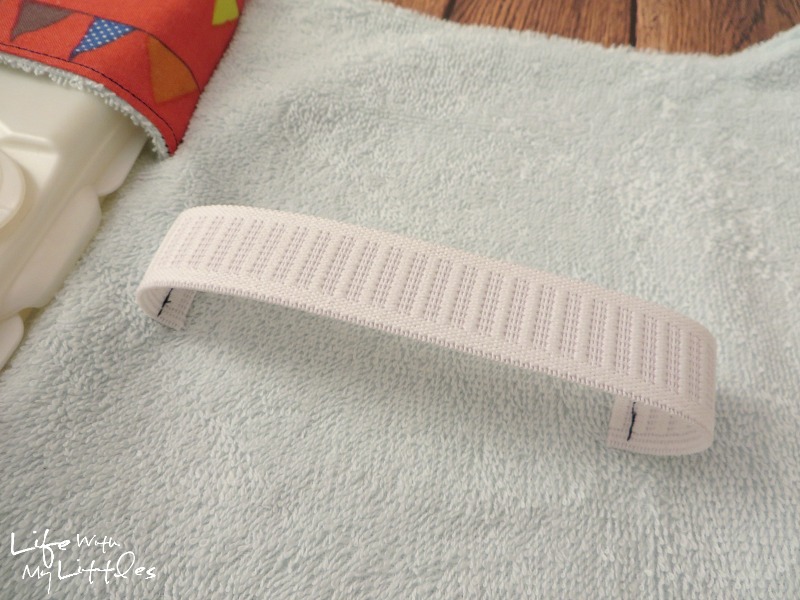
For the elastic, put one edge 4 1/2″ away from the straight edge in the center of the pad. Pin it. Now fold the elastic over itself and pin it so the ends are 3 1/2″ away from each other. Sew the folded-under parts.
Now you have the part for your diapers to slip in!
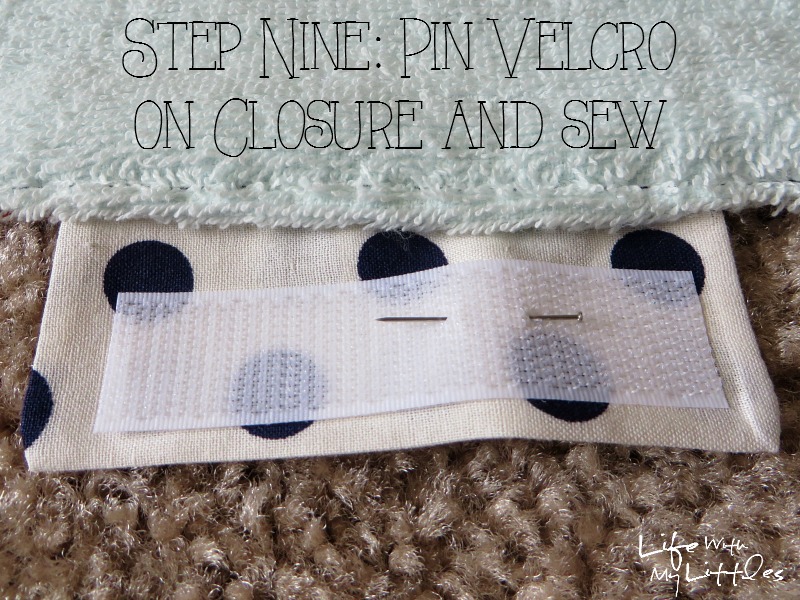
Now it’s velcro time. Sew 3″ of your velcro to the inside of the closure tab.
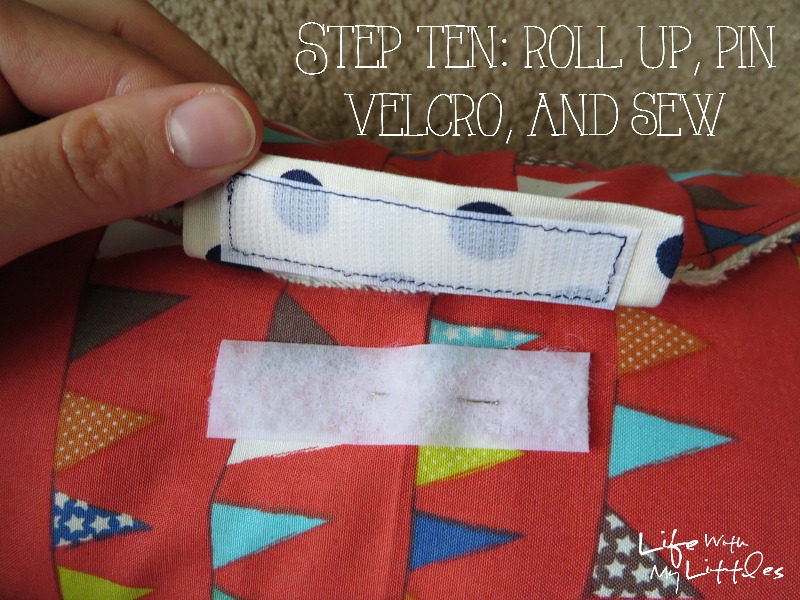
Then, roll your changing pad up with wipes case and diapers inside, and see where the other half of your velcro needs to be. Make sure you have your diapers and wipes case inside! Pin it and sew.
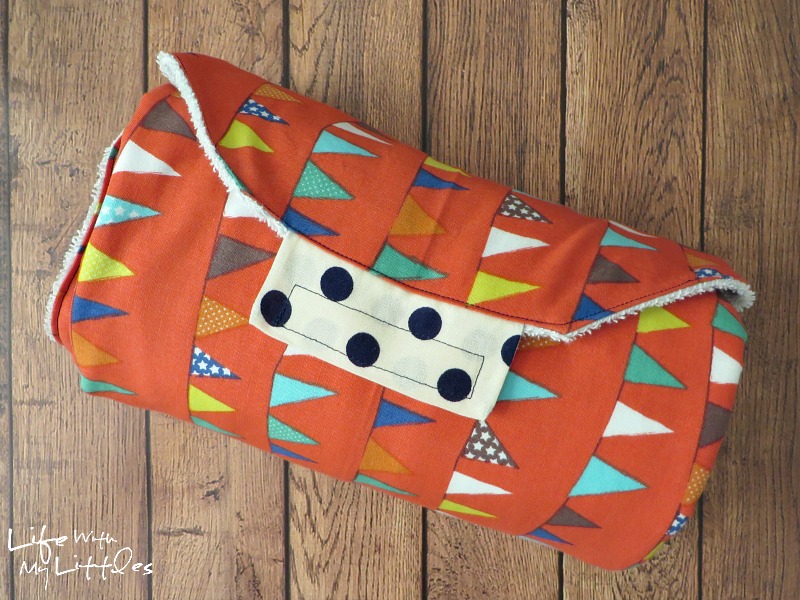
Now you are all done!
I love my changing pad so much! It’s so nice to be able to just grab one thing out of my diaper bag when I have to go change my littles.
This is a great baby shower gift, or even a great sewing project for yourself! It doesn’t take very long to make, and my materials only cost about $12, so it’s way cheaper (and more personal) than store-bought changing pad combos.
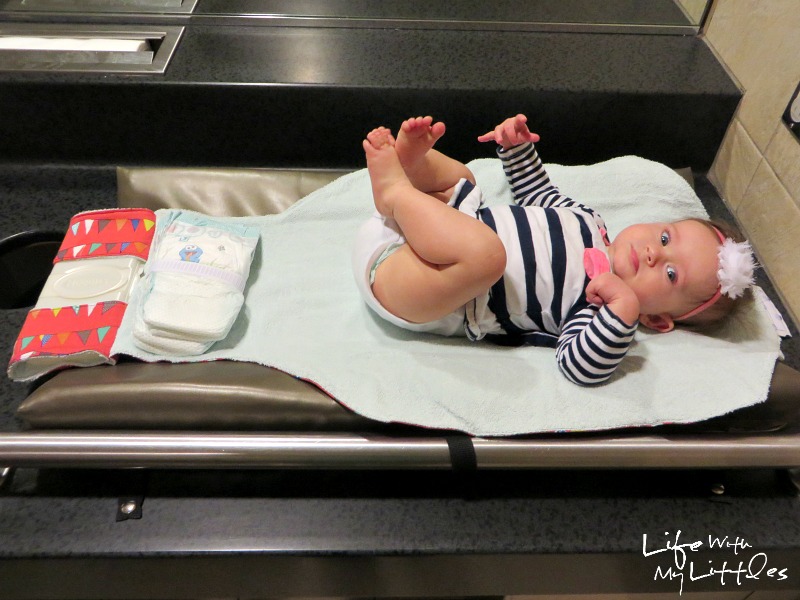
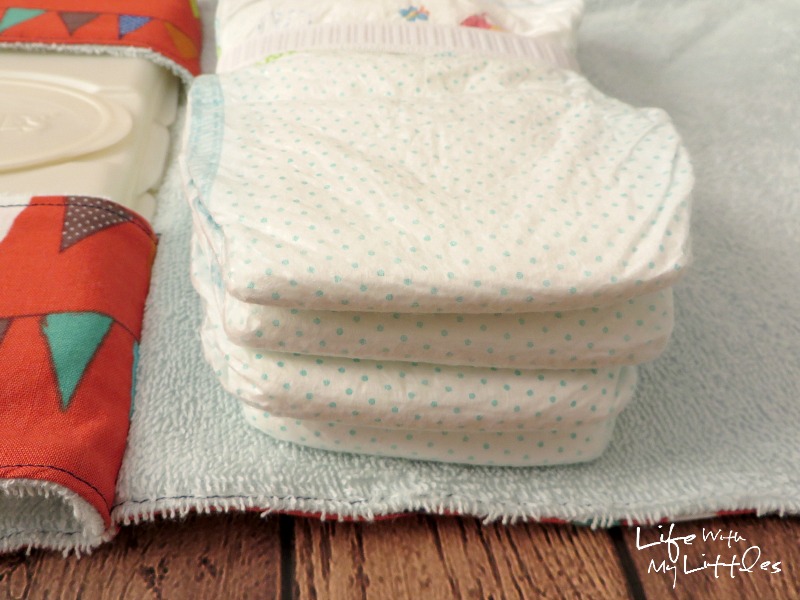
I also love that my changing pad is machine washable! And it can fit at least four diapers without stretching the elastic, so you can carry several backups!
Even Little A loves it!
Are you going to make this for yourself or a friend? Let me know in the comments below!!


Michele says
I’m trying to put the pattern together, but doesn’t seem to be matching up. How do I know how to match each piece together? Thank you, Michele
Chelsea Johnson says
Look at the letters on the pattern. A goes to A, B goes to B. You will have overlaps for each piece, so match the second piece (B) on top of piece A’s overlap.
Michele says
I finally got it,thanks again! I think I will try A fabric that has more body. My sample was cut out of flannel,too flimsey. Michele
Chelsea Johnson says
Did you do a terry cloth for the inside layer, too?
Michele says
YES I used terry inside, it did help. Thanks , Michele
Chelsea Johnson says
Great! You’re welcome!
Katie McCallion says
Turned out great! Thanks for the idea!
Chelsea Johnson says
I’m so glad! Thanks, Katie!
Kif says
I made one and i love it but i am having trouble finding wipes that will fit…they are all too big..what kind did you use? Thanks!
Chelsea Johnson says
This is a Huggies wipes case.
Becky Eck says
I made this for my daughter in law and she said she wishes she had two of them. She loves it! Instead of terry cloth I used waterproof fabric (PUL) for the lining, but added a third layer on the inside of fleece for padding. Just used the regular stuff everyone makes blankets out of. The outside was a very sedate navy but inside was real colorful PUL fabric. Little robots. It turned out so cute. Just went hunting for this pattern again to make one for my niece.
Chelsea Johnson says
That sounds adorable! I’m so glad she loves it! Thanks for sharing, Becky!!
Cynthia Gardner says
Is the section that holds the wipes sewn on the outside edges or where it turns over or both? It just says sew. I’m not a very experienced sewer so I may just be missing the obvious.
Chelsea Johnson says
It’s sewn on the part that folds over. So if you look at the picture on the bottom right of the one that says “step seven,” you’ll be sewing just right along the edge where it touches. Does that make sense?
Linda says
I just found this and want to start making it soon. Do you prewash the fabric, or just wash it all when it’s done. Thanks in advance, Linda
Chelsea Johnson says
I always prewash all my fabric. That way it won’t shrink up weird after it’s already sewn!
Linda says
I buy a lot of fat quarters, so I don’t prewash. Today I got some flannel and terry cloth. I think I don’t want to find out their shrink % is different. Thanks!!
Linda says
I got it done and I love it. I’d love to share the photo. The only changes I made were to sew the ends of the wipes holder closed. I was afraid the wipes pack might fall out when the diapers were used. Great design and I am going to convince my friend that her new granddaughter will need one, too.
Chelsea Johnson says
I’m glad you love it! And thanks for sharing!
Mary Stephany says
My dear friend is due, after an 11 year hiatus, and I was looking for useful things to make for her. This is the most perfect accessory! It will be my new baby shower gift for anyone expecting. My 2 new grandsons will each get one, too. Thank you SO much for sharing, I’m so excited to make one…or many 🙂
Chelsea Johnson says
You’re so welcome! Good luck!
Patsy Matthews says
I love this pattern. I did add Velcro to the side flaps, in 2 places. That allows the side flaps to stay put while rolling the pad to close.
Chelsea Johnson says
Great idea!!!
Patricia Robinson says
this is a great pattern and tutorial
Thank you
Chelsea Johnson says
Thanks, Patricia! I appreciate it!
Gail says
When copying the patteren, is it a standard size of paper?
Chelsea Johnson says
8 1.2 x 11″ paper! Just standard letter.
Solvei says
Can you give me the measurements of the changing pad, before sewing?
Chelsea Johnson says
I’m sorry, I don’t have that. You can print out all the pattern pieces and measure it after putting them together!
Geri says
Thanks so much for your ingenious. I wish this were around when I had my babies. I’ve made several, and with my daughters insistence we ended up modifying it a bit, she found that some wipes were bigger so didn’t fit well in space provided. Thank you again,
Chelsea Johnson says
You’re welcome! Thank you for sharing!