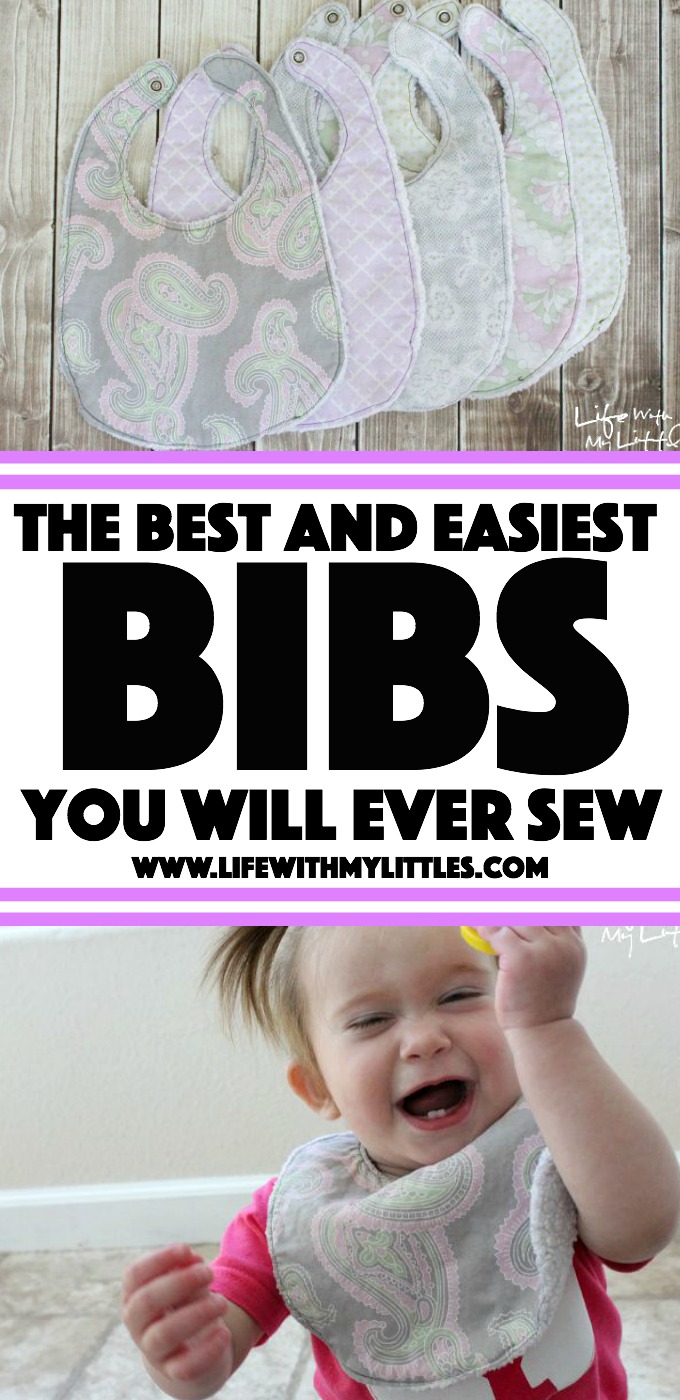
This really is such an easy bib tutorial! Only a few steps, and they are the best bibs!! Great for easy baby gifts, too.
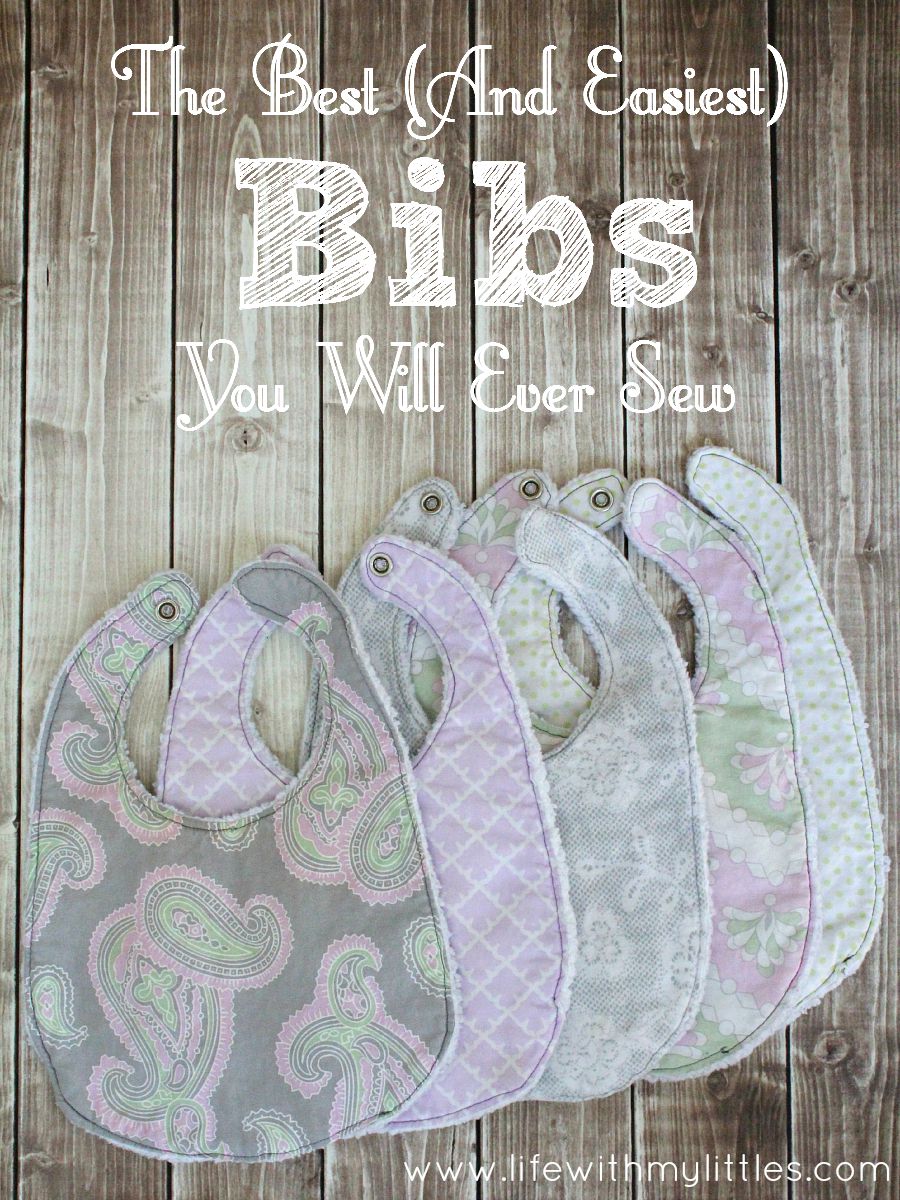
When I was pregnant with my son, I made a set of matching burp rags and bibs so I would have a bunch of cute ones to use when he was born. They worked AMAZING.
The tutorial that I posted for “The Easiest (and Best) Burp Rags You Will Ever Sew” currently has over 170,000 pageviews, and has been featured on several other websites as an easy baby shower gift. In that post, I mentioned that I also made some bibs for my son, and there were a ton of people who asked me to do a tutorial for the bibs.
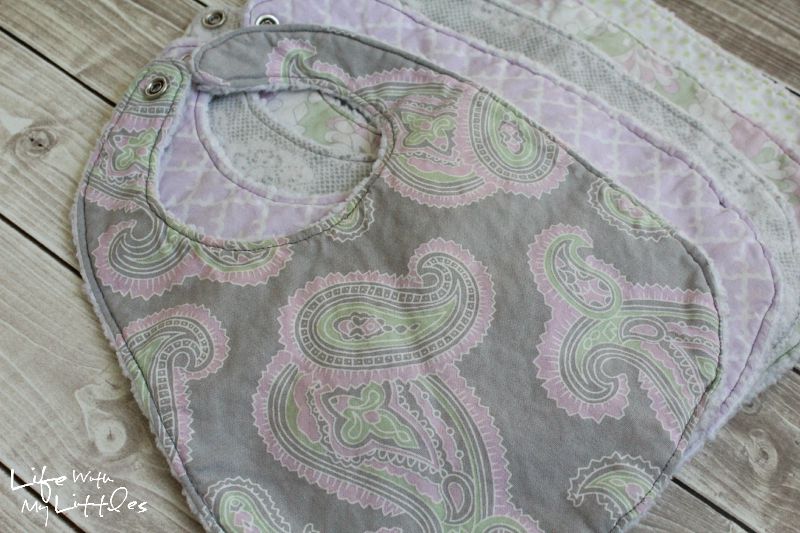
Now, almost a year later, I am finally putting together this tutorial for the easiest (and best) bibs you will ever sew. I made one change to the bibs I made my son to make them even better, but they are still easy and the best bibs.
In fact, I actually got out my son’s old bibs and have been using them on my daughter for months, and they still work great. So rest assured, these bibs are fantastic and can withstand multiple babies!
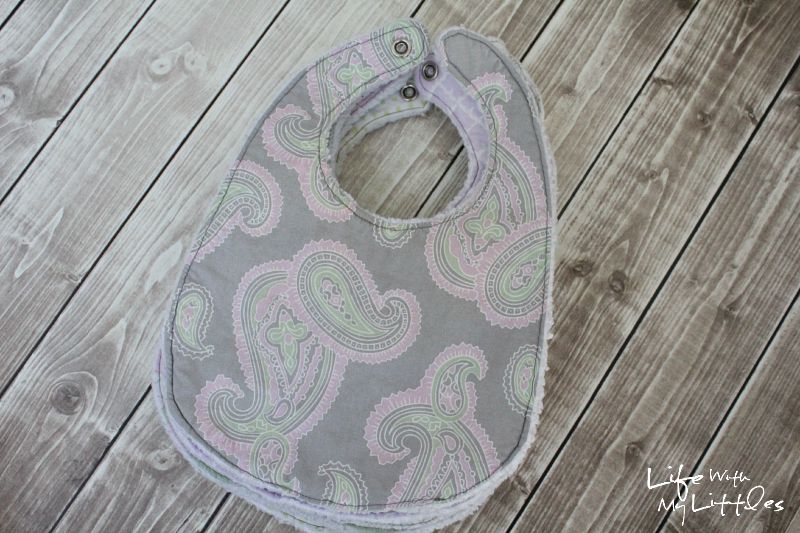
If you could master my tutorial for the burp rags (aka, sew straight lines), then you should easily be able to move onto this tutorial for bibs. I promise it is an easy bib tutorial. Obviously you will have to sew some curved lines, but don’t be scared because they are super easy and if you go slow, you will have no problem making yourself some cute little bibs.
To make one bib, you will need my fabulous free bib pattern, 1/3 yd cotton fabric, 1/3 yd minky fabric (also called Soft n’ Cuddly or Soft n’ Fluffy), matching thread, and a size 16 snap and fastener (like this one I got from JoAnn).
Now onto the tutorial! Don’t be scared. It may seem like several steps, but some of the steps are super easy and could’ve been combined (like pin your pieces).
First, assemble your pattern. Tape piece A over piece B and then cut around the edges.
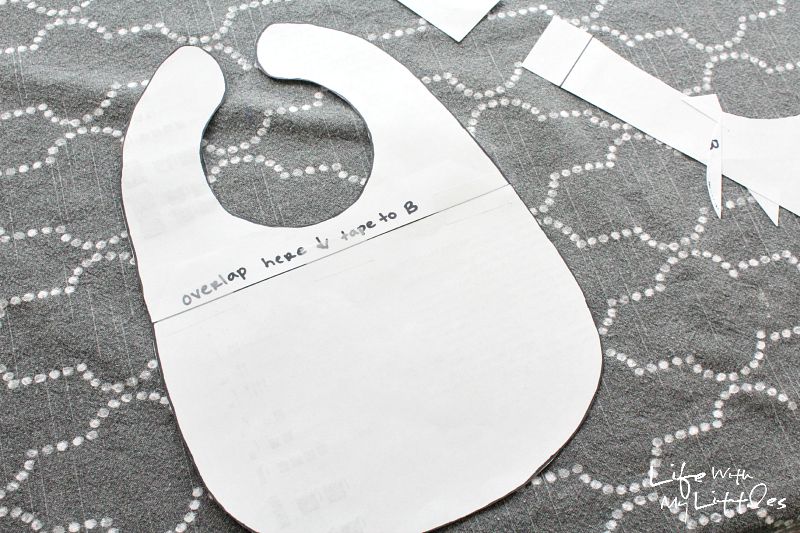
Next, pin your pattern piece to your cotton fabric, like in the picture. You can pin it up-and-down too, but you won’t make as many bibs from your strip of fabric.
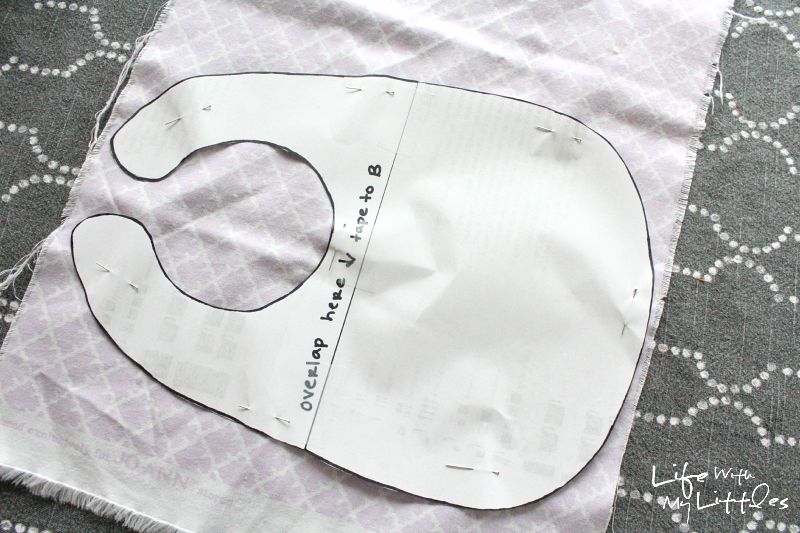
Cut it out, and repeat with the minky fabric. You should have two matching bib pieces.
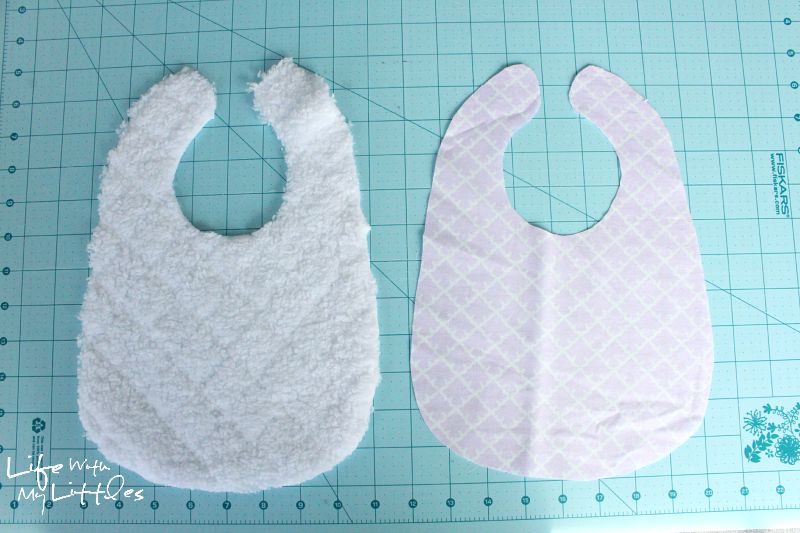
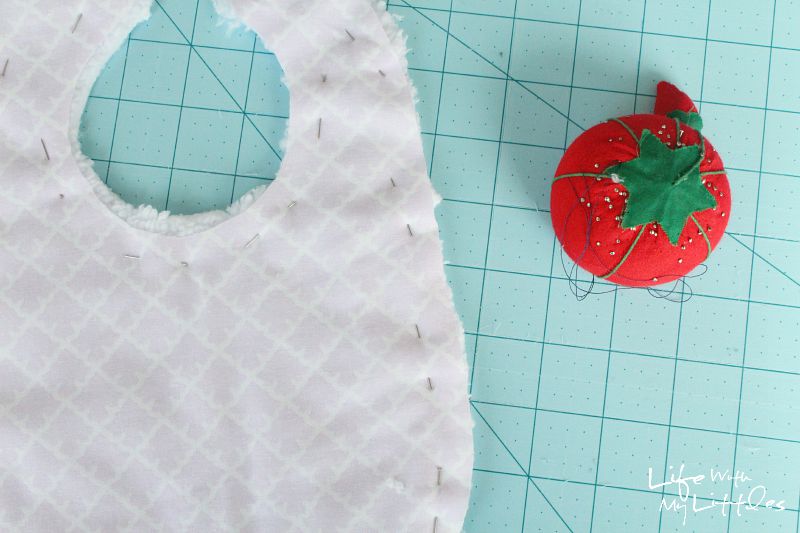
Pin your pieces together, right-sides together.
Now the only tricky part of the bib. The snaps. You will want to grab one top snap and one bottom snap, plus your fastener.
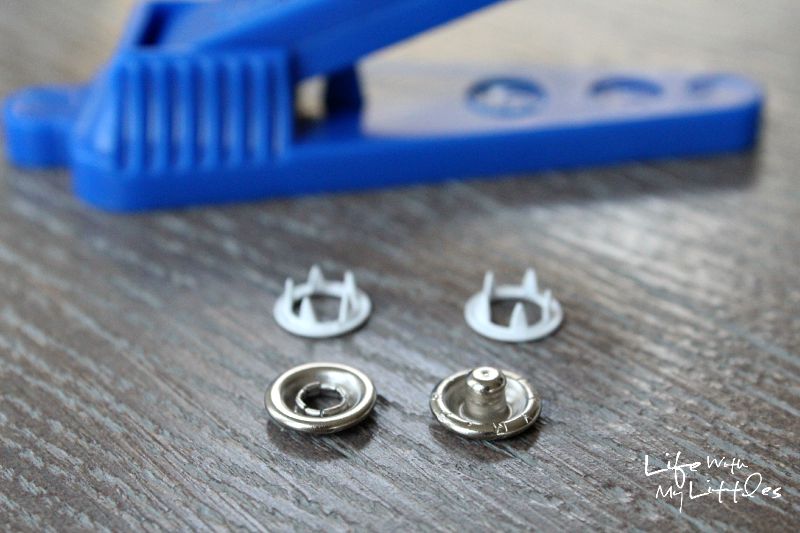
Now attach one side of your snap so the snap part is on the inside of the top of the cotton. Make sure you center it, but don’t put it too close to the top. You may have to fold down part of your fabric to get it.
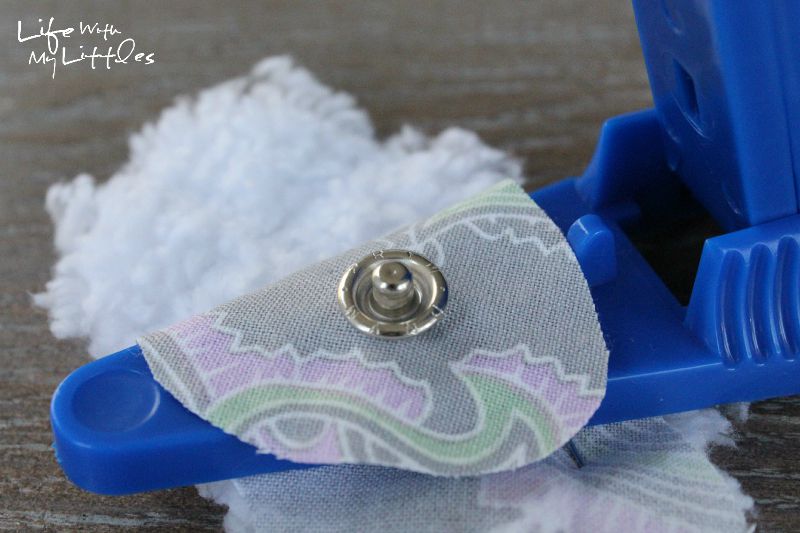
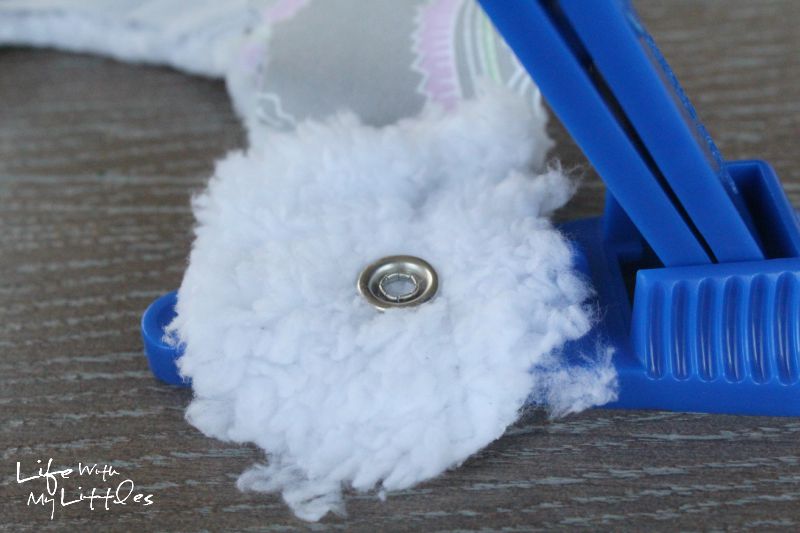
Next, attach the other side of your snap so the snap part is on the opposite bib top, but on the minky. It should look like this:
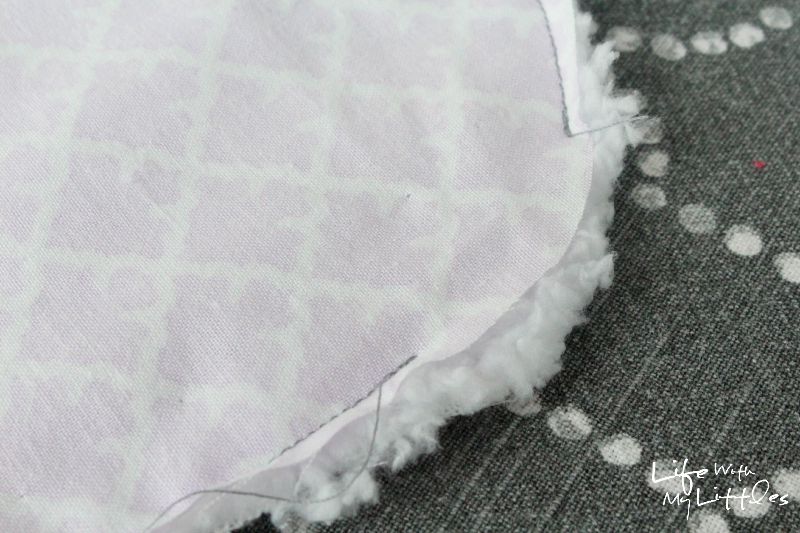
Now pin the top of your pieces again and sew all the way around, leaving a 2″ hole on the bottom side of the bib.
Flip your bib inside out, and then press with an iron. It will make topstitching your bib a lot easier if you press it with an iron first.
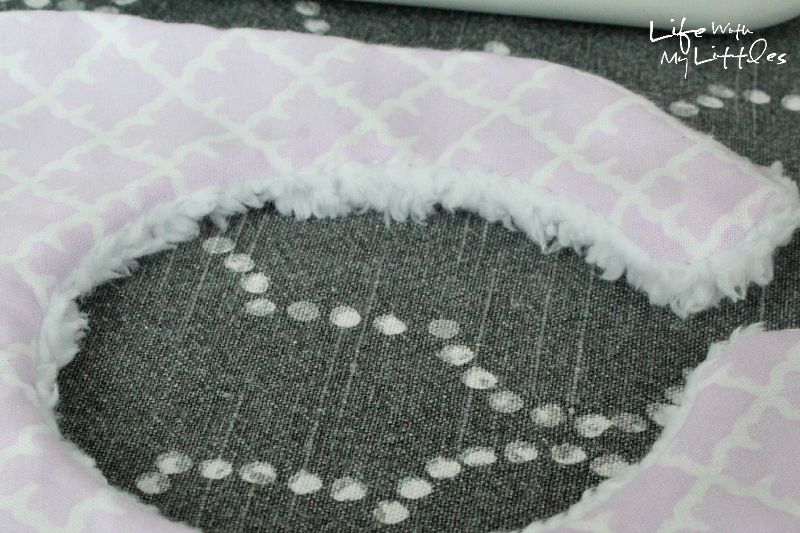
Now topstitch your bib all the way around! Aka, just sew about 1/8″ away from the edge, all the way around. Now you have a bib!
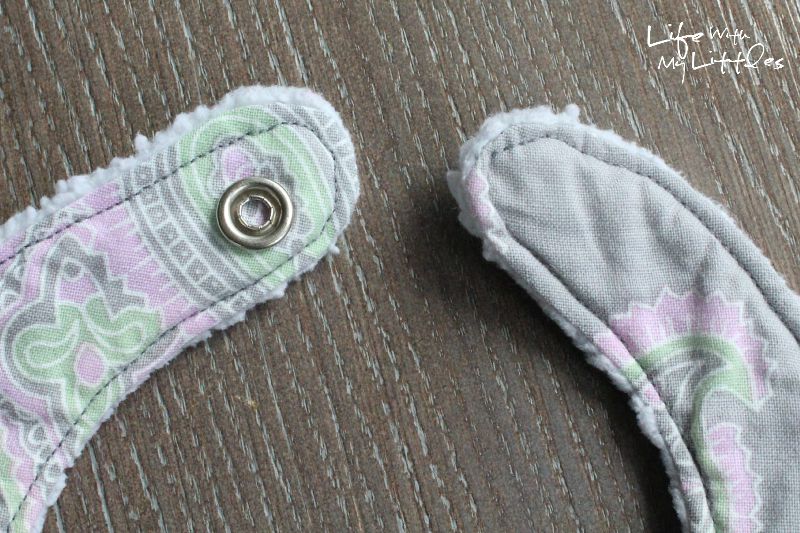
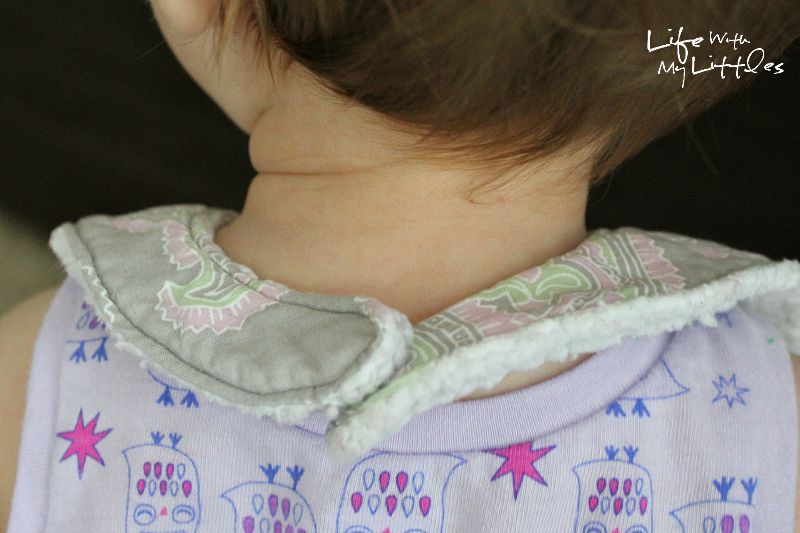
The first bibs I made for my son had velcro, but he learned to pull those off pretty fast. The snap fasteners have been so much better because I can keep the bibs on my daughter (she drools SO MUCH) and she can’t get them off!
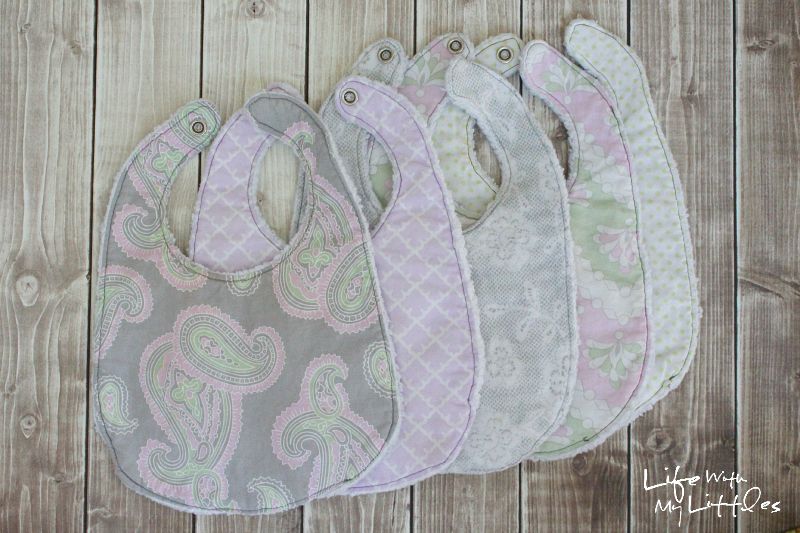
You can make 4 or 5 bibs from each 1/3 yd. of fabric. So you could make several of the same fabric, or if you wanted you could make a bunch of different ones in matching fabrics. Either way, your baby will be super stylish and people will compliment you on how cute your bibs are!
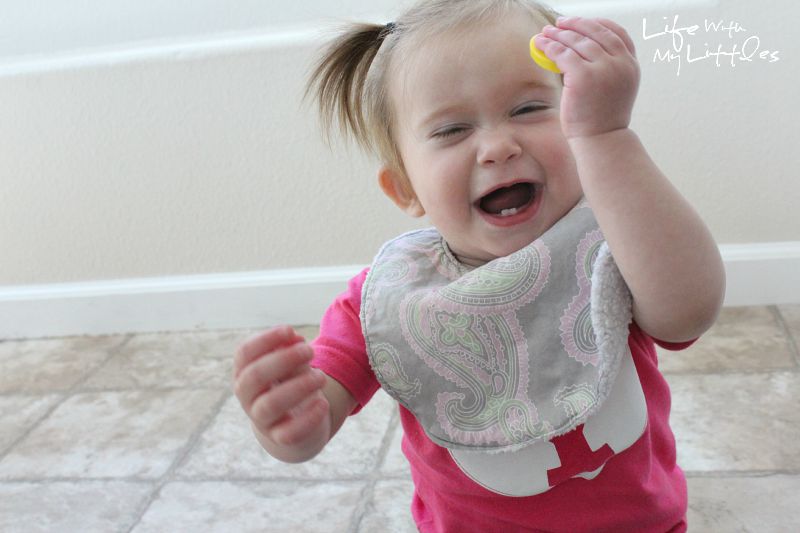
See, I told you that was a super easy tutorial! Now good luck, and happy sewing!
Kristina says
Woah. I am expecting and I am going to save myself some dollas and sew a bunch for my upcoming munchkin.
Thank you so much.
Chelsea Johnson says
Congratulations! And good luck!
Nikki says
What is the purpose of the top stitch? Just for looks or added stability?
Chelsea Johnson says
It’s for stability. If you don’t do the top stitch it won’t hold its shape.
Teri says
I could not find the backing you mentioned at JoAnn’s, but bought terry cloth. It was easy, although the top is quite narrow.
Chelsea Johnson says
Really? I can always find lots of minky fabric at JoAnn. And yes, the top is supposed to be narrow.
Bianca says
The “minky” I am finding is the one used for blankets that is not absorbent. Can you provide the exact name for the fabric you are using? I also checked on the site but only found Minky for blankets…thats more silky
Chelsea Johnson says
It’s also called soft and fluffy, I think. It’s really poofy and thick.
LJ says
Is the pattern intended to be printed portrait or landscape? Thanks!
Chelsea Johnson says
Landscape 🙂
Leanne says
Do you literally just use cotton for these? Some of the pictures look like flannel? Would that be too thick?
Chelsea Johnson says
Nope, they’re cotton!
fresh_as_daisies says
I like this pattern and found it very easy to follow, though I will probably cut my pattern slightly bigger next time, maybe just 1/4″bigger around. I actually loathe working with minky (what you have pictured is not what my fabric store calls minky). so I used flannel for the backs of my bibs and also added a layer of PUL inside to keep them waterproof. They came out fantastic, and I can’t wait to gift them to my nephew’s new baby.
Chelsea Johnson says
Glad they worked for you! Thanks for sharing!
Heidi says
I bought the dotted minky because it was labeled soft and comfy and didn’t see the other. Do you thik it will work??
Chelsea Johnson says
I haven’t tried that for burp rags, so I can’t say either way. Sorry!
Heidi says
Does the topstitching close the hole that was left in order to turn the bib right side out? Wondering how to sew that hole shut.
Chelsea Johnson says
It should, as long as you stitch close to the edge!
Heidi says
Also how old is the little girl wearing the bib as they say a newborn has a neck of 9 1/2 inches which is about what these measure out to be. They say 12″ for 4-24 month. Thank you
Chelsea Johnson says
She was about 10 months in these pictures.
Hilda says
Do you have 1/2 inch seam allowance or 1/4 inch seam allowance on the Bibs?
Chelsea Johnson says
I did a 1/4″ on these.
Grandma says
Did you have any trouble turning it right side out. The part that goes around the neck is all bunched up inside. Chelsea please helppppppp!!!!!!! I’m tooooo old for all this stress!!!!
Chelsea Johnson says
Try using a pen and gently pushing it out!
Lindsey says
Can you hand see these bibs and burp rags? If not, could you please recommend a sewing machine tutorials?
Chelsea Johnson says
You probably could, but I wouldn’t recommend it. The sewing machine makes it 1,000 times easier and faster, since you have to sew it inside-out and then flip it right-side out and topstitch it.
Caitlin says
What size needles do you use on this project? Thank you!
Chelsea Johnson says
I’m not sure…whatever one is on my sewing machine? I’m guessing a standard size.
Ella says
Great tutorial, but the neck was too small for my grandson by 4 weeks old. I am making more of them but I did cut the neck area larger on my template and now they are perfect. I would suggest that others make that neck hole a bit larger right from the start – always better to err a bit on the too large side than too small. Thanks for the great tute!!
Chelsea Johnson says
All babies are different sizes! These fit my daughter until she was done using them at almost 1!
Jane says
What are the width and length measurements ? So cute!!! Thanks
Chelsea Johnson says
Of the final bib?